Crimson Cowl in Love of Crochet – Fall 2013 Issue
 We have another scarf / cowl featured in Love of Crochet Magazine. The Fall Issue 2013 is available in stores until October 21.
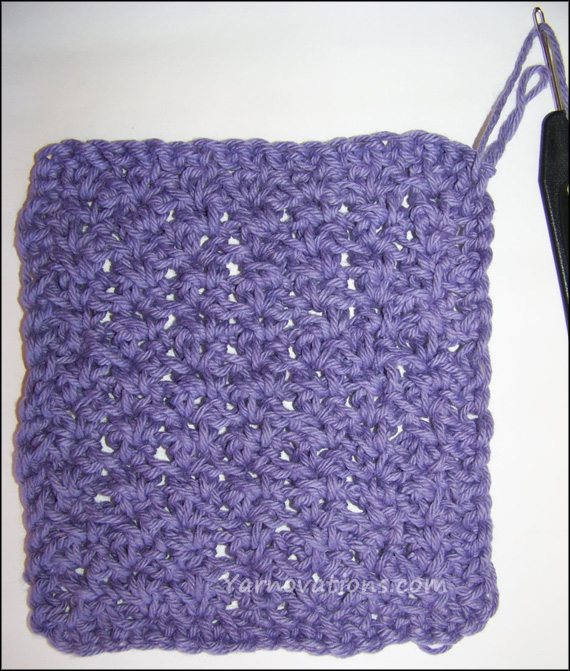
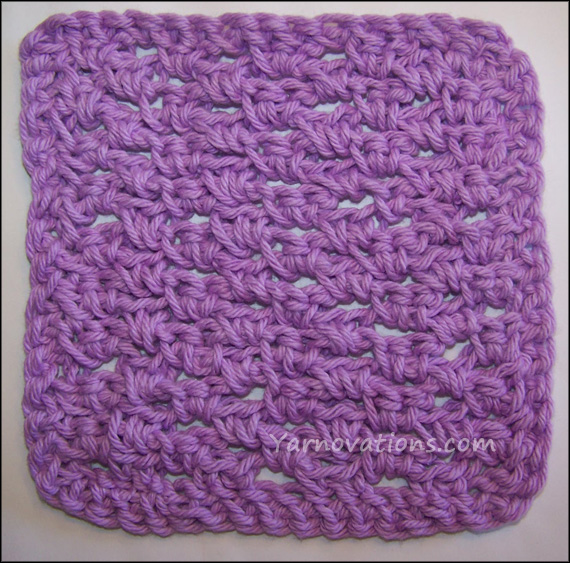
This Crimson Cowl is a great 1 skein project! We’ve used Boutique Changes by Red Heart. There are 6 different yarn fabrics in one skein.
For anyone learning how to do broomstick lace, this is a great first project. This stunning cowl looks more complicated than it is because of the yarn changes.
Update 5-15-2014
We have the rights back on this beautiful cowl pattern. You can now get the free Crimson Cowl pattern in the shop.
Magazine Errata: On Row 3, the ch 1 is only done at the beginning in order to lock your yarn at the top of the loops. Here’s the correction:
Row 3: (broomstick lace row) insert hook in 5 loops, yo, pull through loops, ch 1, work 5 sc in same group of loops. *work 5 sc in each set of 5 loops* across.
Please also note that the tassels are just one strand of yarn folded in half and attached with a lark’s head knot.
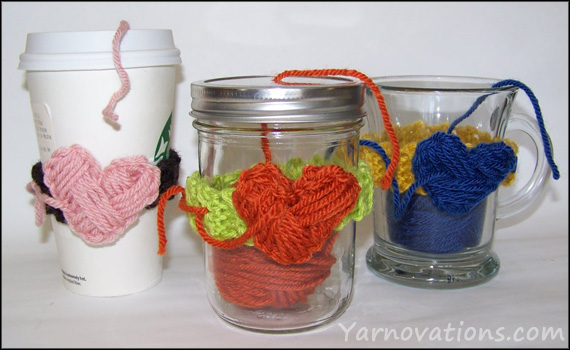
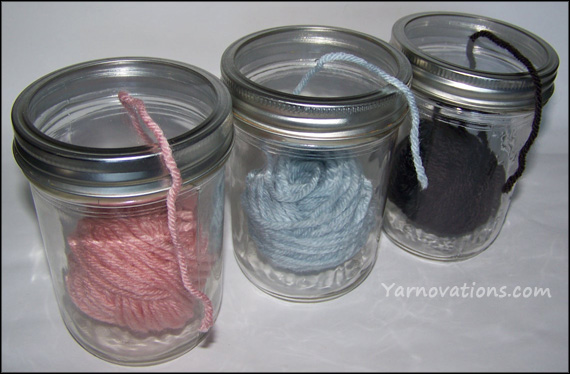
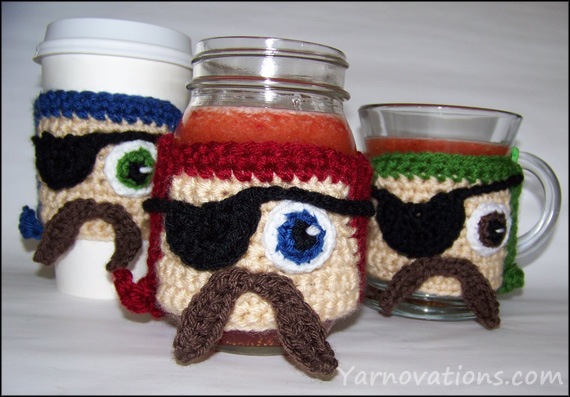
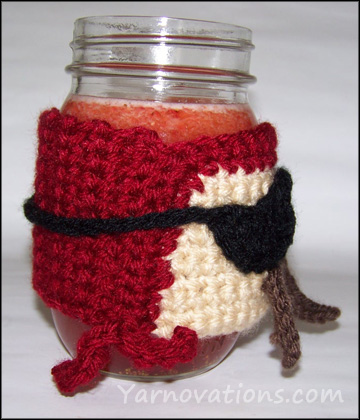
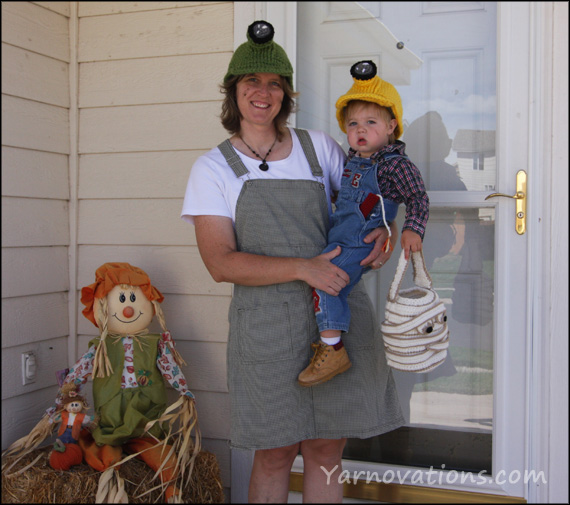
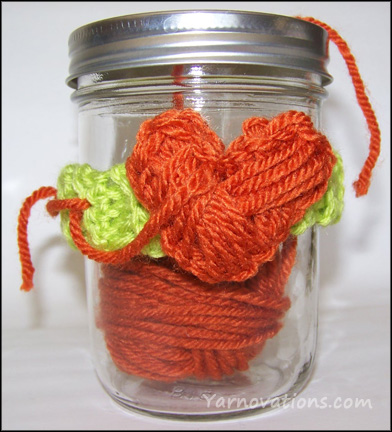 This mason jar yarn keeper is similar to yarn bowls and yarn keeper bags. The mason jar version has the added benefit of looking adorable on a shelf stuffed with yarn in a kaleidoscope of colors.
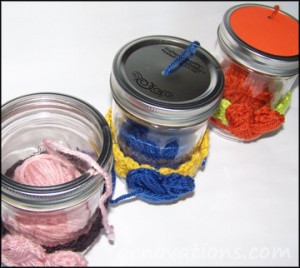
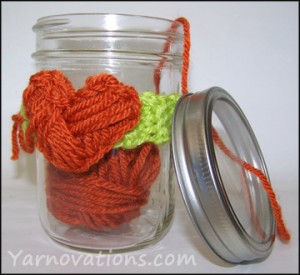 I Love Yarn Day Cozy
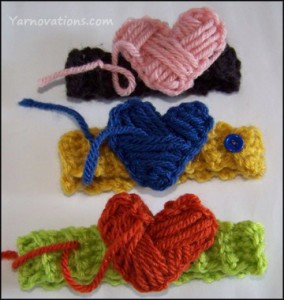
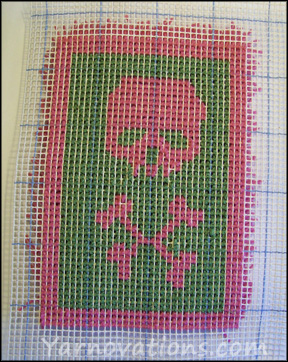
 HEART INSTRUCTIONS

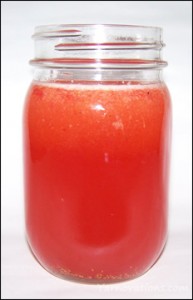 Strawberry Lemonade Recipe
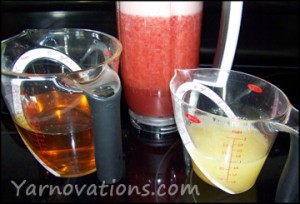 Juice lemons (best if they are room temperature) and strain to remove seeds.
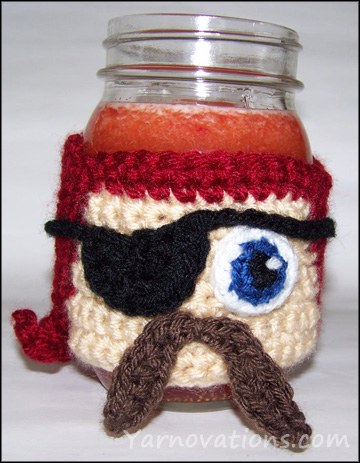


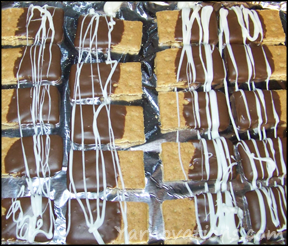 Break graham crackers into pieces (4 pieces per graham) and lay out on a cookie sheet.
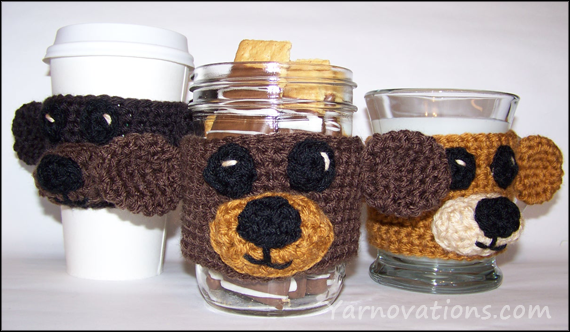
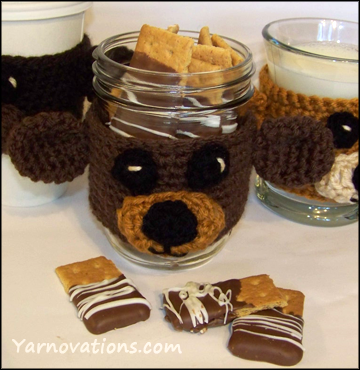
 This crochet bear cozy makes a great gift. Fill a mason jar with snacks and trickets and you’ve got a beary special gift. Here are a few fun greetings for special occasions:
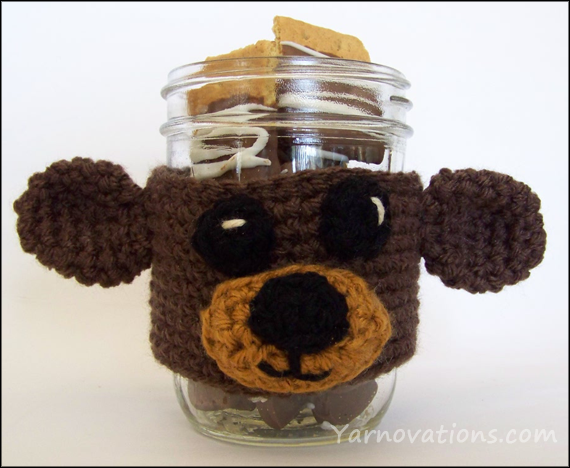
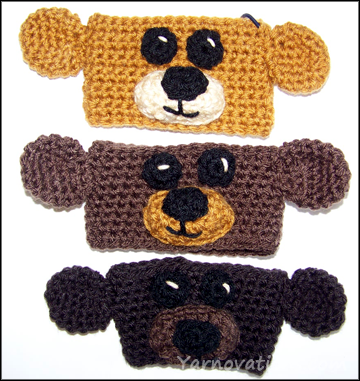 EAR INSTRUCTIONS (Make 2)
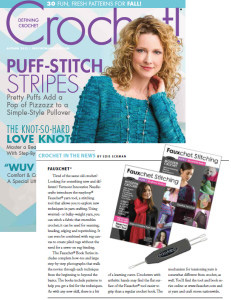
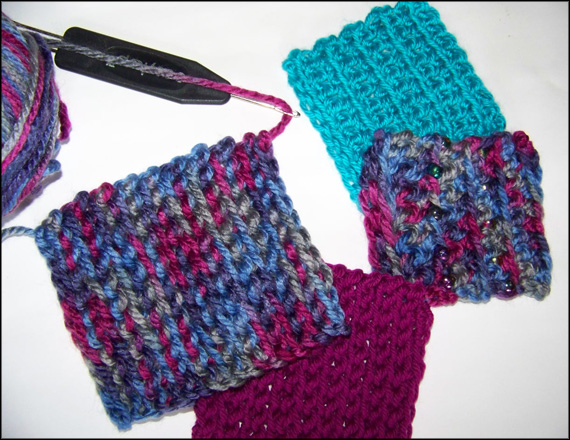
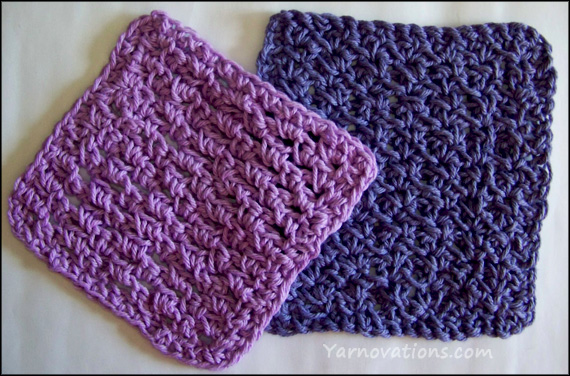
 With a bit of practice, you’ll create “muscle memory”, which is a fancy way of saying your hands will learn to move smoothly and consistently as it makes each stitch. Don’t rush the process. We recommend that you make a couple of swatches before starting your first pattern. One of our first projects was a trivet. Another was a market bag.