Caterpillar Pencil Case in Little Looms

We’ve designed an adorable caterpillar pencil case for Little Looms Magazine. Isn’t it sweet!

We love this little pin loom woven creature. It’s the little finishing details that make it so cute. And those are really easy to make because they are just bits of felt fabric glued to the assembled project. But, wow, do they give this insect so much charm.

The caterpillar pencil case measures approximately 9 1/2″ x 3″ x 3″. Keep reading to learn more about the pin loom weaving caterpillar pencil case.

Caterpillar Pencil Case in Little Looms

The Caterpillar Pencil Case made it’s debut in the Little Looms Fall 2022 issue. You can get the pattern by purchasing the digital issue of the magazine or becoming an all access member to Little Looms. Learn more at Little Looms website.

More about the Pin Loom Weaving Caterpillar Pencil Case

The caterpillar pencil case uses only 2 pin looms; a 4″ square and 2″x4″ rectangle. If you’ve needed an excuse to buy the 2″x4″ pin loom, than this is it! The materials list for this project are pretty minimal. Here’s what you’ll need to make the pin loom caterpillar pencil case:

  • Pin Loom Square: 4″
  • Pin Loom Rectangle: 2” x 4”
  • Needles: 6″ weaving needle, tapestry needle, sewing needle
  • YARNS: Lion Brand Yarns Vanna’s Choice (Acrylic, 170 yd/3.5 oz)
  • #180 Cranberry, 20 yd
  • #172 Kelly Green, 20 yd
  • #171 Fern, 30 yd
  • Zipper: green 8”
  • Washable marker
  • Fabric Glue
  • Straight Pins
  • Green Thread
  • Optional: fabric and thread for lining
  • Optional: Sewing machine

Caterpillar Pencil Case is Great for New Crafters

There are just a few techniques used to make the pencil case. If you’re new to crafting, than this is a great project to learn new skills.

First, the caterpillar body / the main portion of the bag, is made with a technique called pin loom weaving. The fabric is woven in plain weave which is the most basic form of weaving on a pin loom. You weave under one thread and over one thread across.

Second, there are embroidered French knots on the body to represent spots. Those are another great beginner friendly embroidery technique.

Third, is sewing a zipper into the project. This can be done by hand sewing a running stitch or back stitch. Both are sewing stitches everyone should have in their knowledge banks.

Fourth, and completely optional, is a lining. This can be hand sewn as well, but most people will pull out a sewing machine for this portion. Lining is added to the bag prior to attaching the zipper.

A lining is recommended because woven fabric has holes and it’s easy for additional holes and larger ones to be poked into it.

Crochet Towel Topper and Dishcloth Set

Dishcloth+ Series: April’s Dress Towel Topper and Dishcloth Crochet Pattern

Crochet Dishcloth and Towel Topper-Pattern

Dress up your kitchen with this beautiful crocheted dress towel topper and coordinating dishcloth. This pattern was created out of love and necessity. I love to crochet, and I hate picking my dishtowels up off the floor. With two toddlers in the home, picking the towel up from the floor was happening way too frequently! My solution, crochet a beautiful accessory. Not only would it be lovely to look at, I wouldn’t have to pick the towel up off the floor every time I wanted to dry my hands.

The dishcloth and towel topper work up quickly with a lovely woven stitch (sometimes called the linen stitch). Less dense than a straight single crochet, the woven stitch is a little more flexible and has more drape. The fancy scalloped edge gives it a dash of elegance.

Towel Topper Dressy Design

Crochet Towel Topper and Dishie

The towel topper does require a bit of hand sewing as the crocheted portion is crocheted on two halves of the towel. The back half is placed over an oven handle or other handle and tucked into the waistband securing it in place. This design requires a fair amount of tugging by little hands to pull it down, making it a dream. (It will need to be buttoned in place for more persistent tuggers like my children!)

Pictured, the dishcloth and kitchen towel are crocheted in Fibra Natura Good Earth distributed by Universal Yarn. This cotton linen blend is perfect for going from sink to washing machine and back again.

PDF Instant Download Available Now

https://www.etsy.com/listing/290325495/dressy-crochet-towel-topper-andThe Dishcloth+ Series: Woven Stitch Dishcloth and Crochet Towel Topper Crochet Pattern is now available in our Etsy Shop.

Available Now on Etsy.

Buy Now on Etsy

Deborah Goes Solo

Deborah is Taking the Reins 

Deborah Takes the Reins

Change takes many forms and has been active in the lives of my sister and me. The biggest change for Yarnovations is that Deborah will be running the business solo. I, Dana, started working for Interweave (F+W Media), which I love, and can no longer continue with Yarnovations.

What that means for you, our crochet buddies, is that you can still expect quirky and fun designs from Yarnovations, but most likely you’ll see them with less frequency. And, they will all be designed by Deborah.

The Dishcloth+ Series is still on schedule. So be looking for that each month. I’ve gotten a sneak peek at designs coming up in the next couple of months…they are way fun. As for other designs…time will tell.

Dana Bincer Assistant Editor - Crochet at FW MediaThough I won’t be seeing you here, I do look forward to interacting with you on behalf of Interweave Crochet and Love of Crochet. I occasionally pop in on the Crochetme.com blog and ravelry group. Join me there for fun crochet related content and crochet-alongs!

Although this is goodbye from me at Yarnovations, I know I’m leaving you in fabulous hands. And I’m happy to say, “I’ll see you around”, cause I’m still working the crochet scene…just mixing it up with a new crew.

NatCroMo 2016 – Crochetville Tour

National Crochet Month – Crochetville Blog Tour 2016

All Aboard NatCroMo Crochetville Blog Tour

If you’ve hopped on the train for the Crochetville.com blog tour, Welcome! We’re glad you’ve stopped by for a visit. There will be giveaways and interviews with yarn experts all month long…so be sure to visit Crochetville for the latest deets.

As part of the Crochetville tour, we shared a bit about our travel experiences. We haven’t traveled a ton, but I (Dana) enjoyed visiting Deborah when she was a school teacher in China and was sad I couldn’t visit her when she was teaching in Bolivia. And alas, we didn’t become crochet addicts until after Deborah returned to the states so missed the opportunity to buy fibers from international vendors. A few of our designs have been inspired by our travels. Check out the Bamboo Blanket and Chinese New Year cup cozy for a couple examples.

Dishcloth+ Series: Corner to Corner Dishcloth and Placemat Crochet Pattern

http://www.yarnovations.com/shop/dishcloth-corner-to-corner-dishie-and-placemat/

To celebrate National Crochet Month, we’re sharing a free crochet pattern for a beautiful dishcloth and placemat. This is the 3rd in our 12 part Dishie+ Series sponsored by Universal Yarn with Fibra Natural Good Earth yarn.

Corner to Corner DishclothCorner to corner is an uber fun crochet technique where you create little blocks of double crochet starting in one corner of your project working in rows on the diagonal. Wow, that sounds more complex than it really is. Trust us, it’s a lot of fun.

Step-by-Step Photo Tutorial for Corner to Corner Crochet

This free dishcloth crochet pattern includes a step-by-step photo tutorial on the corner to corner technique and also includes a free pattern for a crocheted placemat. It’s National Crochet month, after all. If you haven’t tried this technique…then dive on in. And if you have tried this technique…then enjoy!

These practical home items would be great as gifts, too.

Available in the Store

It’s FREE in the store. Get your crochet pattern for Corner to Corner Dishcloth and Placemat in the store.

If you’re a fan of dishies, check out the other fun dishclothes in the series as well:


.

2016 Crochetville Blog Tour Coming Soon

The 2016 Crochetville Blog Tour is Coming Soon

Crochet_Express_General_Ticket_2a_FB

Hey, crocheters! Did you hear? Yarnovations is part of this year’s #natcromo Crochet Express blog tour at Crochetville. The blog tour coincides with National Crochet Month…and runs the entire month of March.

Yarnovations sneak peekWe will continue our Dishie+ Series with a free pattern for dishcloth and placemat which will premier during the #natcromo CrochetExpress blog tour.  A special thanks to Universal Yarn for sponsoring the Dishie+ series.

93 designers to be featured in @Crochetville’s #natcromo Crochet Express blog tour. And there will be daily giveaways!

Follow @Crochetville’s #natcromo Crochet Express blog tour to learn more about 1) Crochet Designers 2) LYS 3) Yarn companies

All aboard: http://crochetville.com/all-aboard-the-crochet-express-blog-tour/

Blueberry Dishcloth and Heartfelt Towel

Dishcloth+ Series: February’s Blueberry Dishcloth and Heartfelt Towel Crochet Pattern

Dish Cloth and Dish Towel Crochet Pattern

For Valentine’s month we’ve created a beautiful heart embossed kitchen towel using the “Uneven Berry” stitch (Stitch #27 from the Crochet Stitch Dictionary). It’s a simple stitch that creates a beautiful puff perfect for creating raised designs.

Towel Draped

The dishcloth is the perfect project to master the stitch. And it’s super practical. The bumpy side is great for scrubbing stuck-on grim and the smooth side works great for smooth cleaning like glasses and cups.

Pictured, the dishcloth and kitchen towel are crocheted in Fibra Natura Good Earth distributed by Universal Yarn. This cotton linen blend is perfect for going from sink to washing machine and back again.

PDF Instant Download Available Now

The Blueberry Dishcloth and Heartfelt Towel Crochet Pattern is available now in our Etsy Shop.

Available now on Etsy.

Buy Now on Etsy

January Snow – Dishcloth Crochet Pattern

January Snow – Dischloth and Table Runner Crochet Pattern

Our first in a twelve part dishcloth+ series, January Snow is a dishcloth and table runner made in a soft Crystal color with a delicate shell pattern that reminds us of fresh falling snow.

Table Runnie and Dishcloth Crochet Pattern

Shell Dishcloth Crochet Pattern

This beautiful pattern is easy to do and remember, and works up quickly. This delicate looking design is durable and functional. Lovely enough to grace your home or to give as gifts.

The table runner will add class and beauty instantly. The lovely shell pattern is surrounded by double crochets drawing the eye to its decorative center and border. With a few minor adjustments, it would make a lovely place mat as well!

Dishcloth: 10.25 inches square

Table Runner: 11.5 x 33.5 inches

Dishcloth + Table Runner Available on Etsy

January Snow dishcloth and table runner is available now in our Etsy store.

Available now on Etsy.

We are using FibraNatura Good Earth for the Dishcloth+ Series which is sponsored by Universal Yarn.

Happy New Year 2016

Wishing You a Crochet Filled 2016

January brings feelings of new beginnings and thoughtful resolutions though my (Dana) new year feels like it started in October with an fabulous new job (Interweave Crochet – #fwcommunity) working for an awesome boss (Marcy Smith) in a new city (Fort Collins) as a single woman (goodbye troubled marriage).

So now that the new beginnings are established…I’m left with resolutions. This year I’m going to look at resolutions differently. I’m going to focus on the things I enjoy and resolve to do more of them. It’s a matter of perspective, really. I’m not going to worry so much about what I should do, but look at behaviors that are good for me and that I enjoy and do more of those.

So, for 2016, here’s to

  • more crochet
  • more mountain biking
  • more working hard
  • more relaxing with a good book
  • more heartfelt time with friends and family

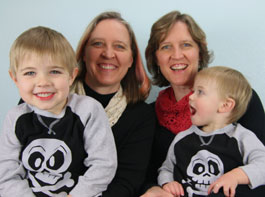
As for mountain biking…pictures of my twin sister really inspire me to want to get out and ride…and incoporate crochet alongside it!

Crochet and Mountain Biking...who knew they worked so well together! Here's Deborah yarn bombing a friends bike rack.

Crochet and Mountain Biking…who knew they worked so well together! Here’s Deborah yarn bombing a friends bike rack.

Deborah really is my inspiration...and apparently the guys stop and take notice, too!

Deborah really is my mountain biking inspiration…and apparently the guys stop and take notice, too!

For 2016, we plan for Yarnovations to be more of the same. Deborah and I will bring you fun and quirky designs of crocheted projects that we are inspired to make on the spur of the moment or have planned way in advance.

We are currently working on a dishie series. We will publish a dishcloth and other kitchen/household item once a month using FibraNatura Good Earth. This series, sponsored by Universal Yarn, is a great way to learn new techniques on smaller projects. It’s going to be a lot of fun.

Happy New Year from one hooked crocheter to another.

Merry Handmade Christmas 2015

We hope you all had a holly jolly Christmas. This year I, Dana, crocheted a few gifts…I felted a purse for my mom, made some lovely catnip filled mice toys for my sister and sister-in-law (well, for their cats anyway), and I crocheted a skull purse for my twin sister. For the latter two crocheted gifts I followed patterns created by fellow designers on the free membership site Ravelry.

Crocheted Skull Granny Purse

This flat bag used nearly every inch of one skein of Lion Brand Vanna’s Glamour. I lined it and added a zipper. The handle is attached with a couple of buttons so the strap length is adjustable. The front and back panel are the same.

If you love skulls, there are a ton of great patterns on ravelry. I modified the Crochet Skull Scarf pattern by Karin Kaufmann. She modified a pattern from the Crochet Skull Shawl / Doskallesjal by Kungen Och Majkis.

My sister originally requested that I make the shawl…but I really wasn’t up to such a large project. A purse is something she can use year around. So I think my modified gift is a win/win.


My First Pumpkin Patch Pattern

4 in 1 Pattern: Crochet, Knit, Sewing, Pin Loom Weaving

These aren’t the first pumpkins we’ve ever made. But maybe they are yours. And what better way to celebrate fall, harvest and Halloween than to make miniature squash? 

If you or someone you know are learning to knit, crochet, sew or pin loom weave, then these are the perfect projects. Each pumpkin is made from a rectangle that’s joined to create a cylinder which is shaped into a stunning miniature pumpkin.

These are fun and quick little projects and great stash busters. We used worsted weight (4) acrylic yarn for the knit, crochet and pin loom pumpkins. They would look equally adorable in most any yarn type. The fabric pumpkin was made with a 5″ x 10″ piece of material.

Each miniature pumpkin measures about 3 1/2″ wide by 3 1/2″ tall including stem (or there abouts).

Printer Friendly Version on Etsy

The printer friendly My First Pumpkin Patch Pattern is available in our Etsy Shop and includes a TON of extra helpful information and photos for beginner crafters.

Available now on Etsy.

Buy the pattern on etsy

My First Pumpkin Pattern Information

Below we’ll share with you a lot of information. You may be tempted to skip right over that and go right to the pattern…but take a quick second to review. I’m positive it will be helpful.

Supplies List for Beginner Pumpkin Pattern

The supplies you need are really minimal which makes this a great first project for new crocheters and knitters.

ALL PUMPKINS

  • Stuffing
  • Yarn Needle for sewing
  • Tree Branch 2″ long
  • Scissors
  • Pencil (optional for making curly q’s)
  • Spray Starch (optional for making curly q’s)

CROCHET PUMPKIN

  • Yarn: Worsted Weight (4)
  • Crochet Hook: H/8/5.00mm or size recommended on yarn label

KNIT PUMPKIN

  • Yarn: Worsted Weight (4)
  • Knitting Needles: 5.00mm or size recommended on yarn label

PIN LOOM WEAVING PUMPKIN

  • Yarn: Worsted Weight (4)
  • Pin Loom: 4” Square
  • Weaving Needle: 5”

SEWING PUMPKIN

  • Fabric: 10” x 5”
  • Thread & Needle
  • Sewing Machine (optional)

Share the Love

Share the Love, Pin one of these photos to Pinterest.

knit, crochet, sew, pin loom weave a pumpkin

Printable Version Packed Full of Photos

There’s just too much information to put on the blog. For just a couple bucks, you can print the step-by-step tutorial from Etsy. Here’s what’s included in the My First Pumpkin Patch Tutorial on Etsy:

We love bringing you fun and festive designs. Consider purchasing this or other patterns as a way to help us keep you in stitches.

Get the Pumpkin Patch Pattern on Etsy.

Buy the pattern on etsy

How to Read a Knit or Crochet Pattern

Patterns can get rather long, because pattern writers want to be clear and concise. But sometimes using more words rather than less can make reading a pattern more challenging. So, abbreviations are used. A lot of information can be given in a small amount of space. Here are the abbreviations you’ll see in the patterns below.

Crochet Pattern Abbreviations

  • blo = back loop only
  • ch = chain
  • sc = single crochet

Knit Pattern Abbreviations

  • k = knit
  • kfb = knit front and back (for Curly Q only)
  • p = purl

Pattern Notes

  • You will crochet or knit a rectangle then join the first and last rows. Then cinch the sides to create your pumpkin shape.

My First Crochet Pumpkin Pattern

With Orange or color desired

Ch 16

Row 1: Sc in 2nd ch from hook and each ch across. (15)

Rows 2-34: Ch 1, turn. Work in blo: sc across.

Finish off, cut yarn and leave a long tail for sewing.

Fold project in half so Row 34 is aligned with the foundation chain. Join with whip st through the back loop of row 34 and both loops of the foundation chain, repeat across to form a cylinder.

With an 8” length of orange yarn, sew a running stitch through the ends of Rows 1-34 on one end of the pumpkin and cinch tight. Tie a knot and weave in ends. This creates the bottom.

These are just a few of the photos you’ll find in the Step-by-Step Pumpkin Patch Tutorial in our Etsy Shop.

Stuff pumpkin lightly.

With 20″ length of orange yarn, sew a running stitch through the other ends of Rows 1-34 and cinch tight (insert a twig before closing). Tie a knot. Do not cut yarn. This creates the top.

The pumpkin may look like a round ball. To squish it into more of a pumpkin shape, use the tail from cinching and run the needle down the center of the pumpkin near the stem to the center of the bottom of the pumpkin. Pull tightly. This should force the center of the pumpkin to shorten. Insert the needle a few millimeters away, and pass the needle back up from the bottom to the top in the middle near the stem. You may need to do this a couple of times near the stem. Weave in ends.

More Halloween Patterns

Before you begin stitching your pumpkins, we want to invite you to check out these fun Halloween patterns to crochet and pin loom weave. Stitch costumes, treat bags, cup cozies and more.

Halloween Patterns on our Etsy Shop.

Buy the pattern on etsy

Crochet Curly Q Pattern

Green (Make 2)

Ch 13
Row 1: 2 Sc in 2nd ch from hook and 2 sc in each ch across. (Working 2 sts in each ch will cause the ch to curl.) Finish off, cut yarn leaving a tail for sewing (24). You may need to twist the cord a little to help the stitches all line up and curl correctly.

Sew to top of pumpkin near stem. Weave in ends.

My First Knit Pumpkin Pattern

With Orange or color desired

Cast on 20

Rows 1, 3 & 4: K across, turn. (20)

Row 2: P across, turn.

Repeat Rows 1‐4 until piece measures 9 inches (approx 17 repeats).

Bind Off

Fold project in half so last row is aligned with the cast on row. Join with whip st across.

Using an 8” strand of orange yarn, sew a running stitch through the ends of the Rows 1-68 and cinch tight. Tie a knot and weave in ends. This creates the bottom.

Stuff pumpkin lightly.

These are just a few of the photos you’ll see in the Step-by-Step Pumpkin Patch Pattern in our Etsy Shop.
With a 20″ length of orange yarn, sew a running stitch through the other ends of Rows 1-68 and cinch tight (insert a twig before closing). Tie a knot but do not cut yarn. This creates the top.

The pumpkin may look like a round ball. To squish it into more of a pumpkin shape, use the tail from cinching and run the needle down the center of the pumpkin near the stem to the center of the bottom of the pumpkin. Pull tightly. This should force the center of the pumpkin to shorten. Insert the needle a few millimeters away, and pass the needle back up from the bottom to the top in the middle. You may need to do this a couple of times near the stem. Weave in ends.

Ready for Christmas?

More holiday fun awaits. Crochet, pin loom and sew fun items for Christmas, too. We have ornaments, pillows, home decor, gift bags and more.

Check out these Christmas Patterns in our Etsy Shop.

Buy the pattern on etsy

Knit Curly Q Pattern

Green (Make 2)
Cast on 16
Row 1: K across, turn. (16)
Row 2: Kfb of each st across. (32)
Bind Off
Sew to top of pumpkin near stem. Weave in ends.

My First Sewing Pumpkin Pattern

Cut fabric on the bias 5” tall x 10” wide.

Fold fabric in half with right sides together so it’s 5” x 5”. Sew the side opposite the fold with a straight stitch (on sewing machine) or running stitch (hand sewing).

With needle and thread and fabric still folded in half, hand sew a running stitch along one of the open ends through both layers. Cut thread leaving a long tail at beginning and end. Repeat about 1/8” from the first sewn line so you have two parallel lines of running stitch.

Pull the tails to cinch closed. Knot the thread. This is the bottom of the pumpkin.

Turn work right side out. Stuff pumpkin lightly.

These are just a few photos you find in the My First Pumpkin Patch Pattern on our Etsy Shop.

As before, sew running stitches around the unfolded fabric on the other opening sewing through one layer. Pull the strands adding a stem before cinching closed completely.

With needle and thread (and additional strands as needed), create ribs along sides of Pumpkin. Knot thread to bottom of pumpkin. Run thread outside the pumpkin from center bottom to center top then pass needle down through center of pumpkin back to bottom. Pull to desired tightness to create a rib. Do this where fabric is joined to help hide the join. Then repeat several times around to create additional ribs.

Beginner Friendly Sewing Patterns

beginner friendly sewing patterns

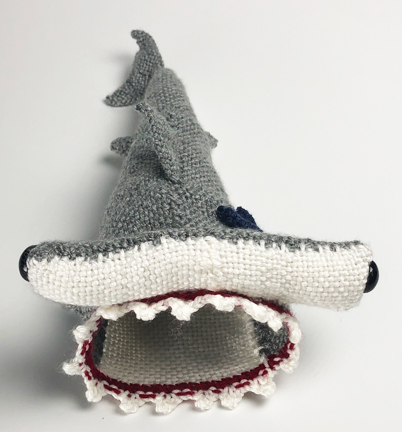
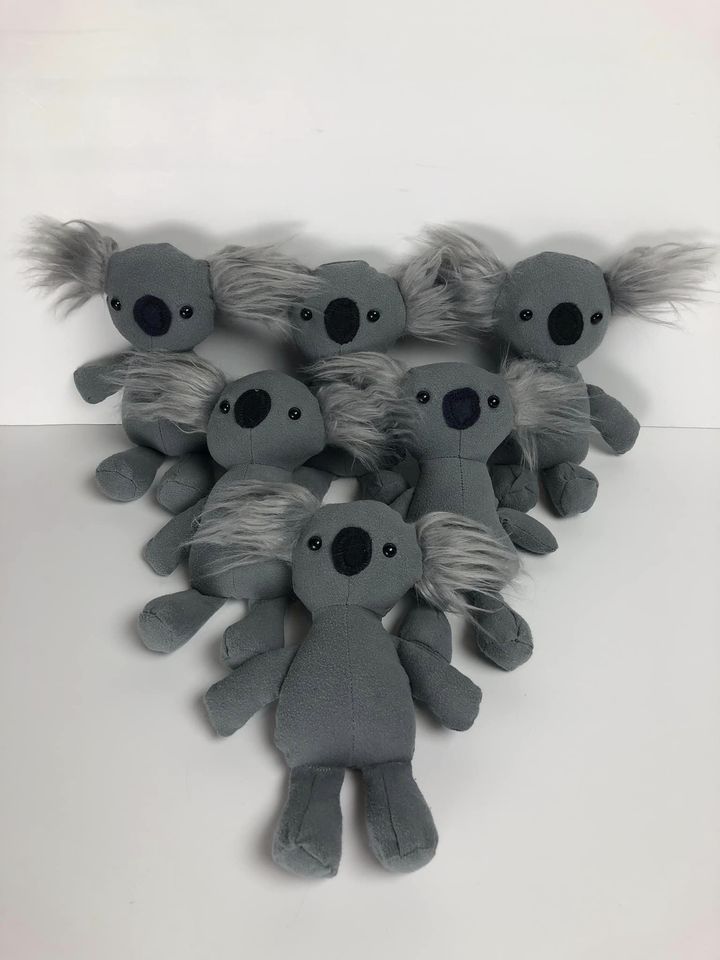
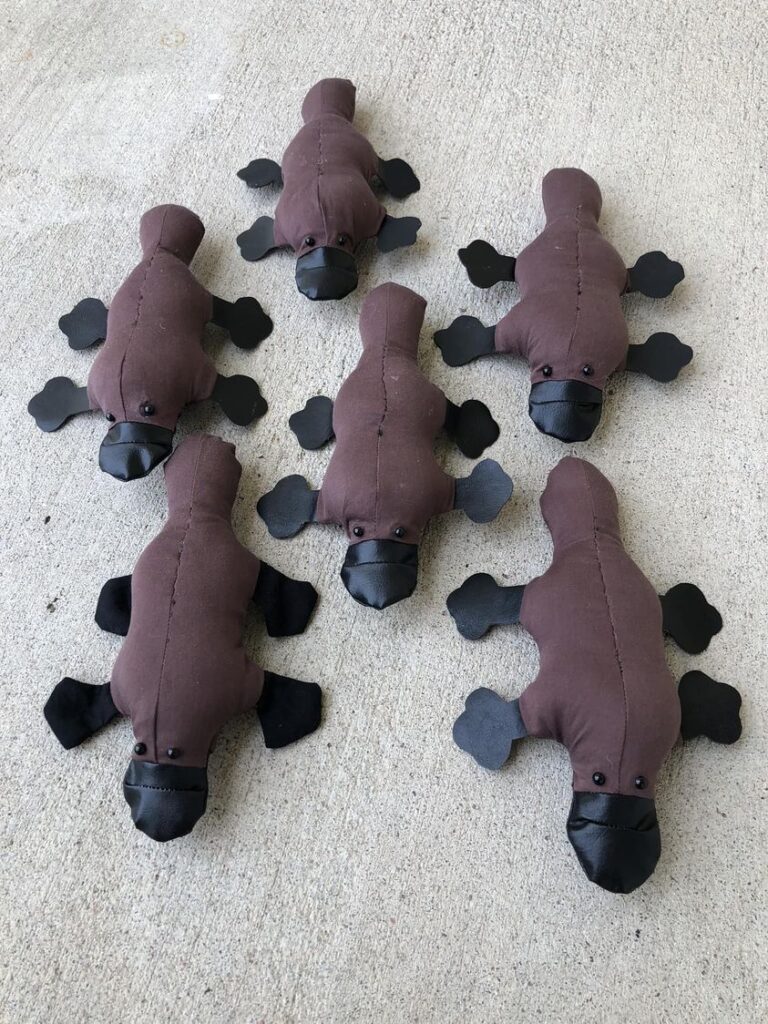
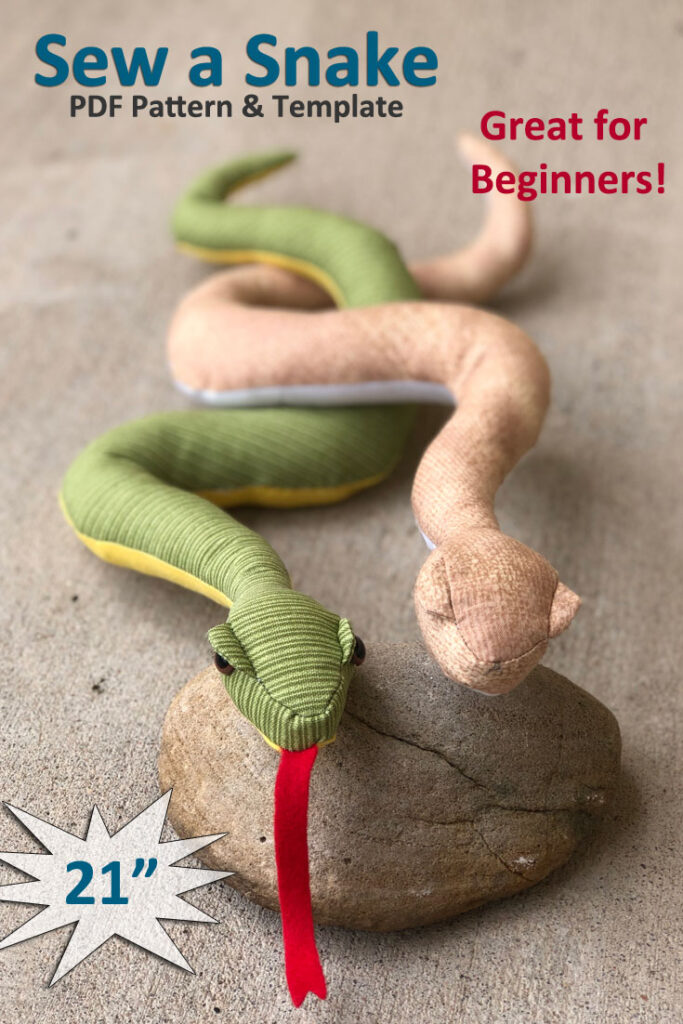
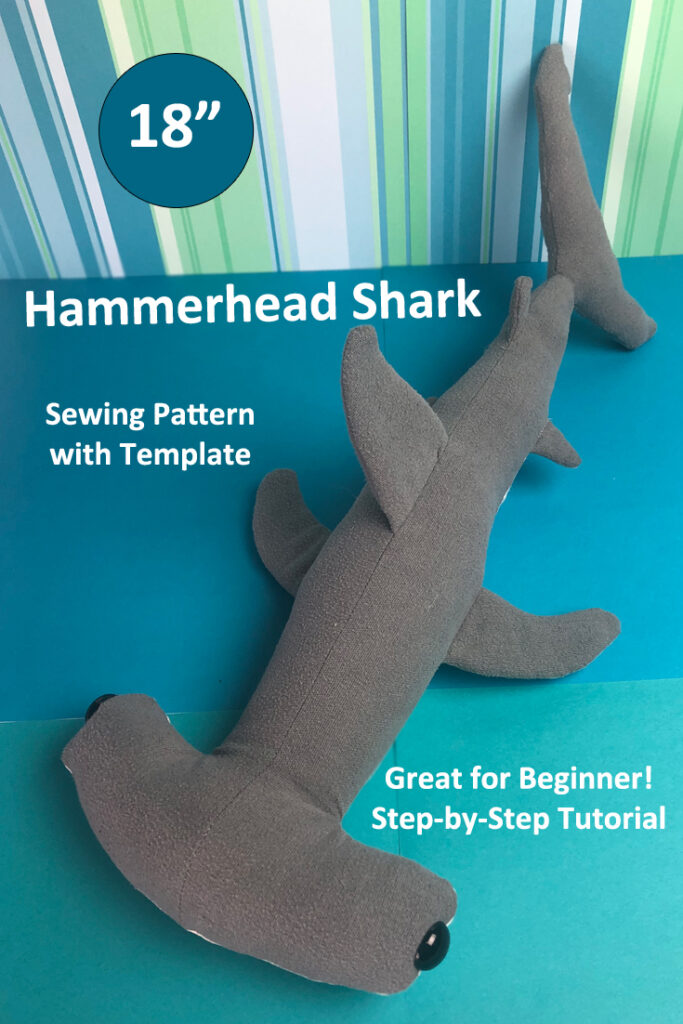
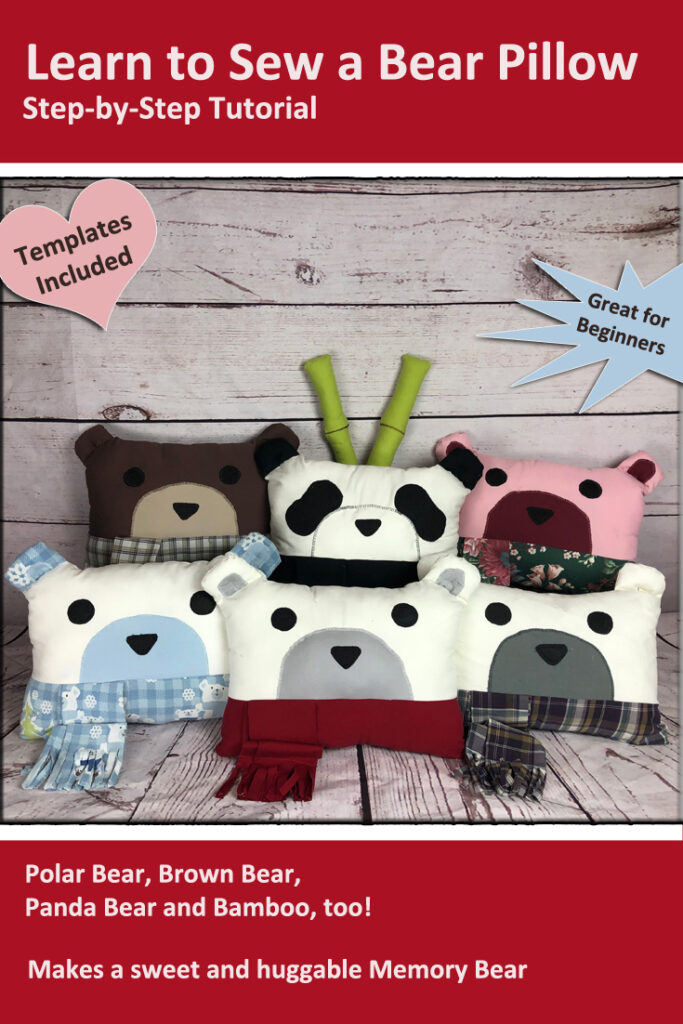
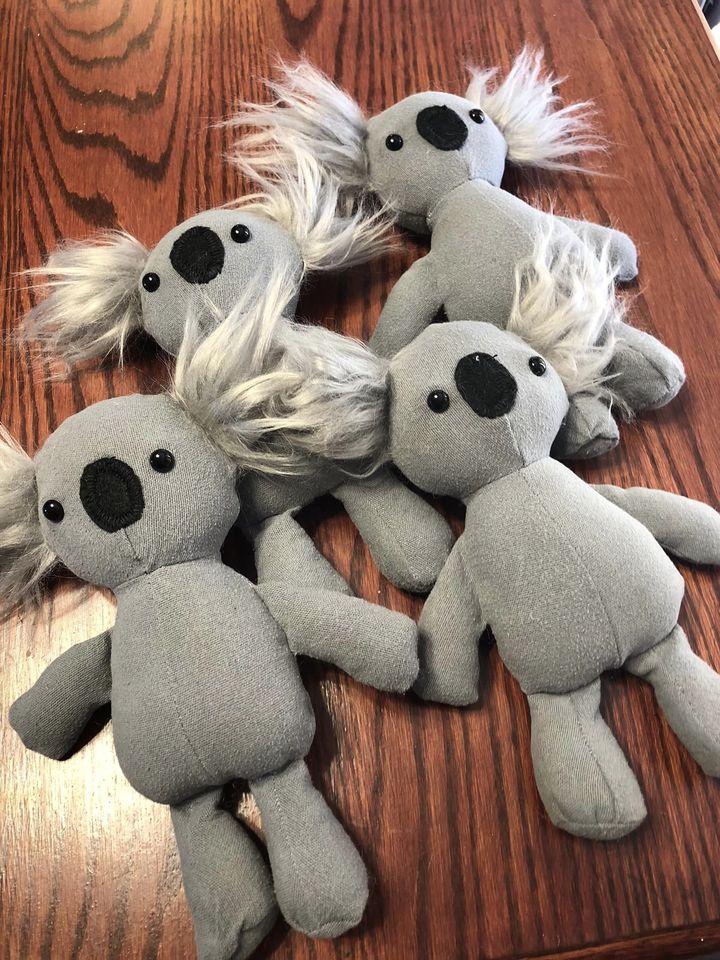
If you are new to sewing, here are some really fun step-by-step sewing patterns with traceable templates! You read that right. All of these patterns are step-by-step tutorials with pictures. The bear pillows make great memory bears…they are so cute and huggable. If you want something with a bit of attitude, the snake and hammerhead are sure to intimidate.

Check out the beginner friendly sewing patterns in our Etsy Shop.

Buy the pattern on etsy

No Sew Curly Q

With Green yarn

  1. Wrap a pencil with yarn leaving a tail on both ends for attaching to the pumpkin later.
  2. Spray liberally with spray starch so the yarn is soaked through. Turn pencil to spray both sides. Allow to dry completely.
  3. Remove from pencil. Cut in half.
  4. Use a yarn needle to sew to pumpkin near stem. Weave in ends.

My First Pin Loom Pumpkin Pattern

Orange

  1. Plain weave (3) 4″ squares.
  2. Lay them out to be 1 square tall by 3 squares wide. Join with whip stitch.
  3. Join the 4” ends together with whip stitches so you have a ring that’s 1 square tall x 3 squares around.
  4. Cut a strand of yarn to 8″ length. Sew a running stitch through each of the loops along one end making sure to go through all the loops on all three squares. Cinch closed. Tie a knot and weave in ends. This is the bottom of the pumpkin.
  5. Stuff pumpkin lightly.
  6. Repeat step 4 on the top with a strand of yarn that’s 24” long, cinch tightly (insert a twig before closing). Do not cut yarn.
  7. Using tails from step 6 and additional strands of yarn as needed, create ribs along sides of Pumpkin. Run yarn outside the pumpkin from center bottom to center top then pass needle down through center of pumpkin back to bottom. Pull to desired tightness to create a rib. Do this where each pin loom square is joined to help hide the joins. Then repeat in between each join to create additional ribs.

These are just a few of the photos you see in the My First Pumpkin Patch Pattern in our Etsy Shop.
Gnomes to Pin Loom Weave

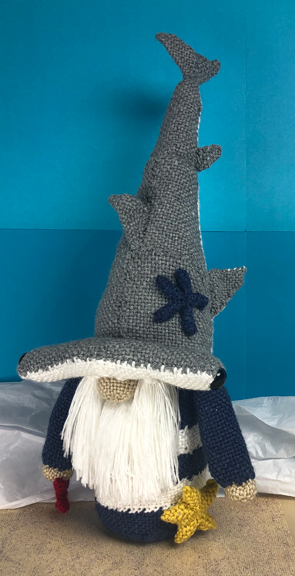
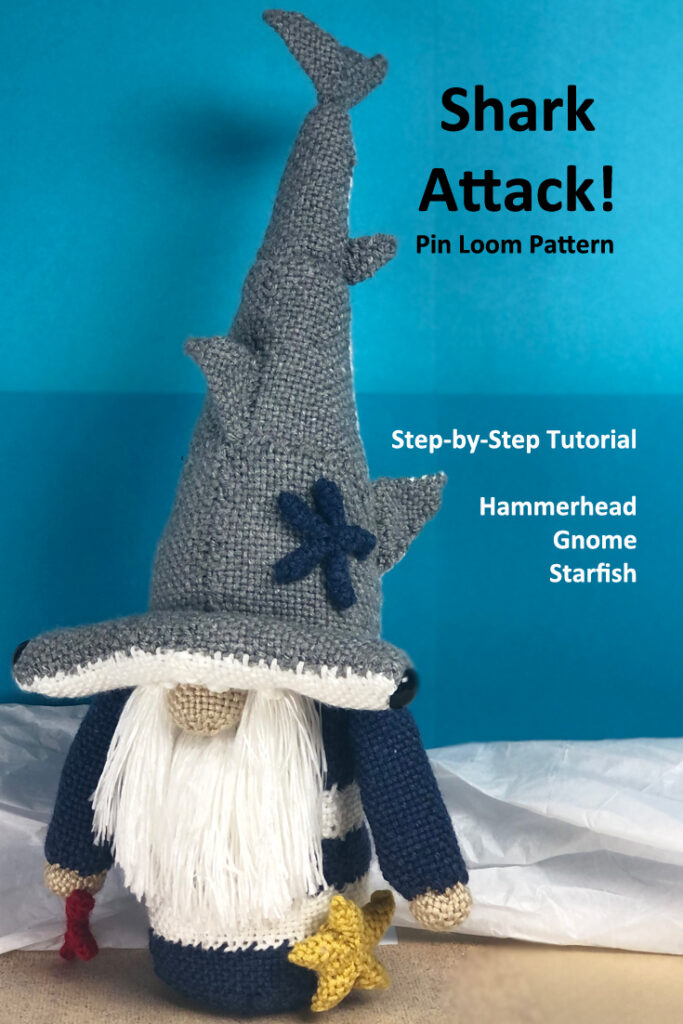
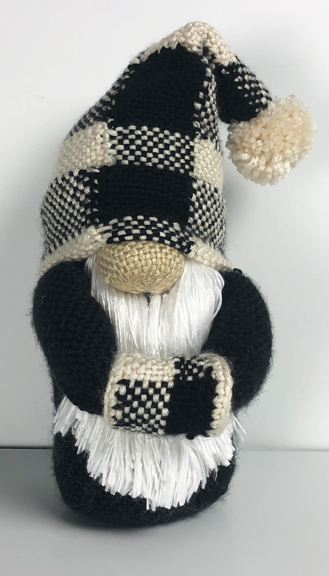
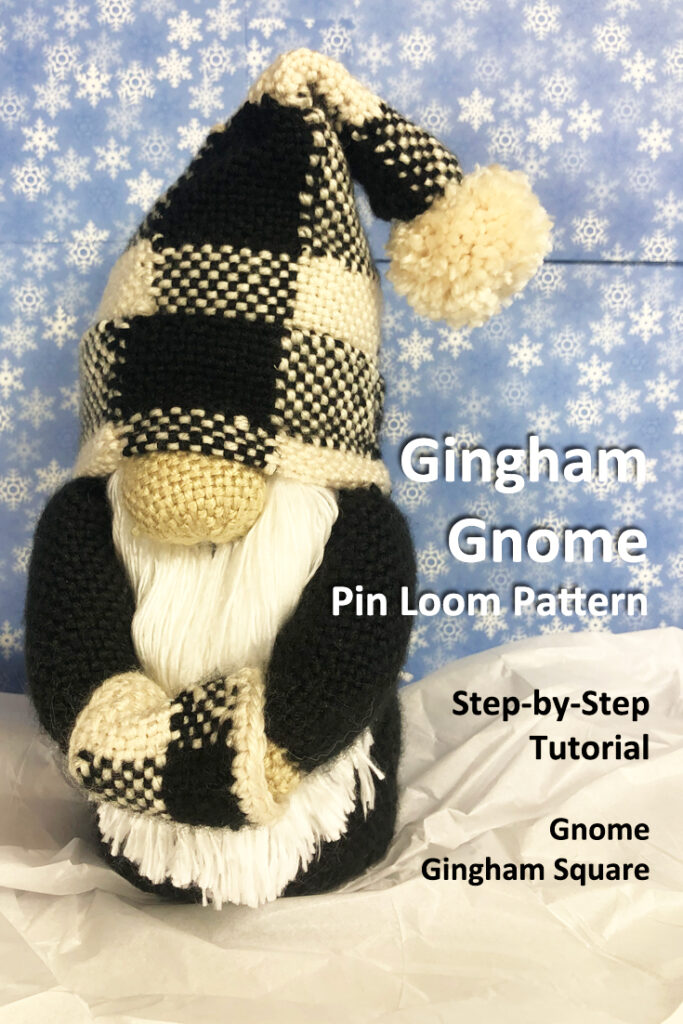
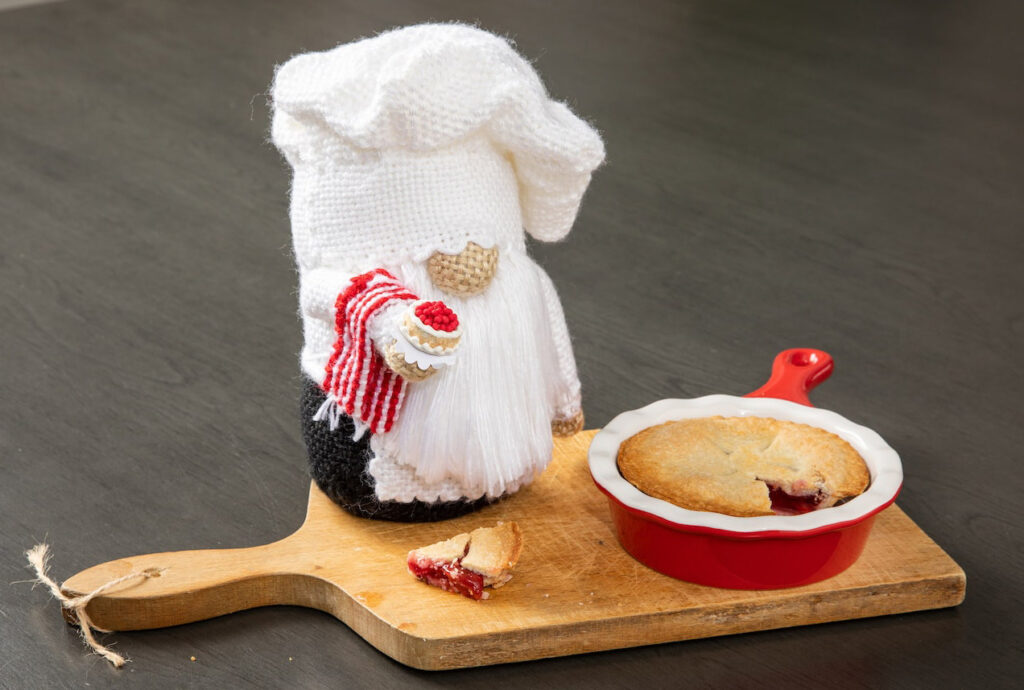
Gnomes for every occasion…pin loom them all! These are ALL step-by-step tutorials with pictures and written instruction. These are great for fans of football, sharks, Halloween, and the Nutcracker! More are coming so be sure to visit the Etsy Shop.

Learn more about Pin Loom Gnomes on our Etsy Shop.
Buy the pattern on etsy

Pin Loom Curly Q

Follow directions above for No Sew Curly Q.

Get the Pumpkin Patch Pattern on Etsy

Get the print friendly version of the 4 in 1 Pumpkin Patch Pattern on our Etsy Shop. It encourages us to keep producing fun and festive patterns for crochet, knit, sewing and pin loom weaving.
My First Pumpkin Patch Pattern on Etsy.

Buy the pattern on etsy