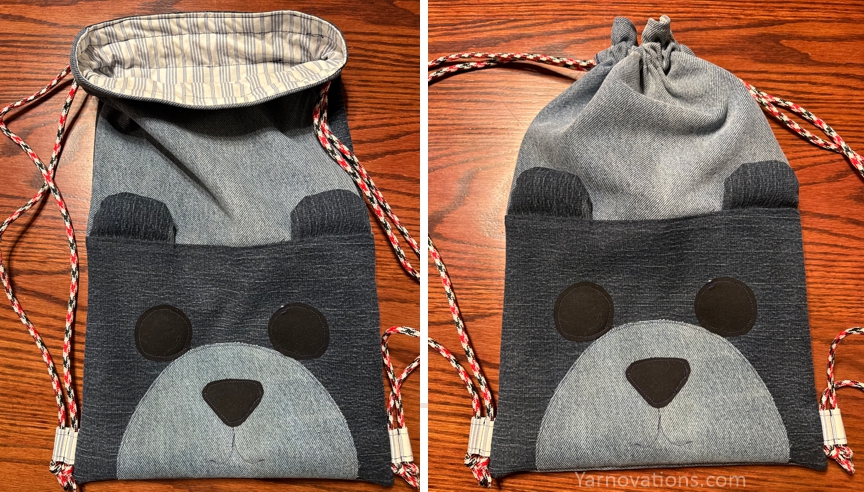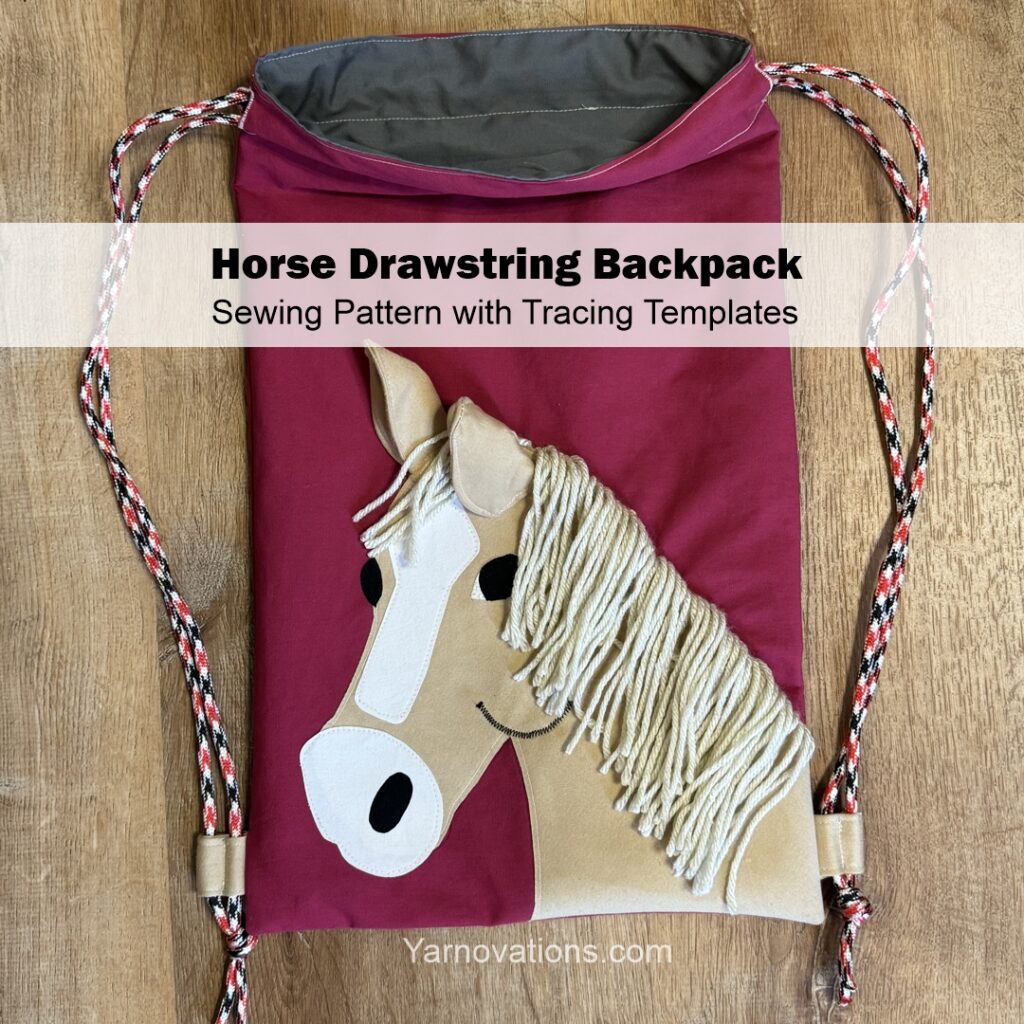
This horse drawstring backpack sewing pattern is great for beginners and fun for sewists of all abilities. The reason it’s so great is because it has step-by-step written instructions and a TON of photos. If you’re new to sewing, there are lots of fun techniques in this backpack sewing pattern.
What you’ll learn with this sewing pattern:
- How to make a drawstring bag.
- How to reinforce the drawstring pocket opening.
- How to use a tracing template.
- How to sew an applique (sew on top of the bag).
- 2 options for securing a drawstring: grommet or sewn tab.
Horse Drawstring Backpack Sewing Pattern on Etsy
The Horse Drawstring Backpack sewing pattern is available as a PDF on Etsy.
Available now on Etsy.

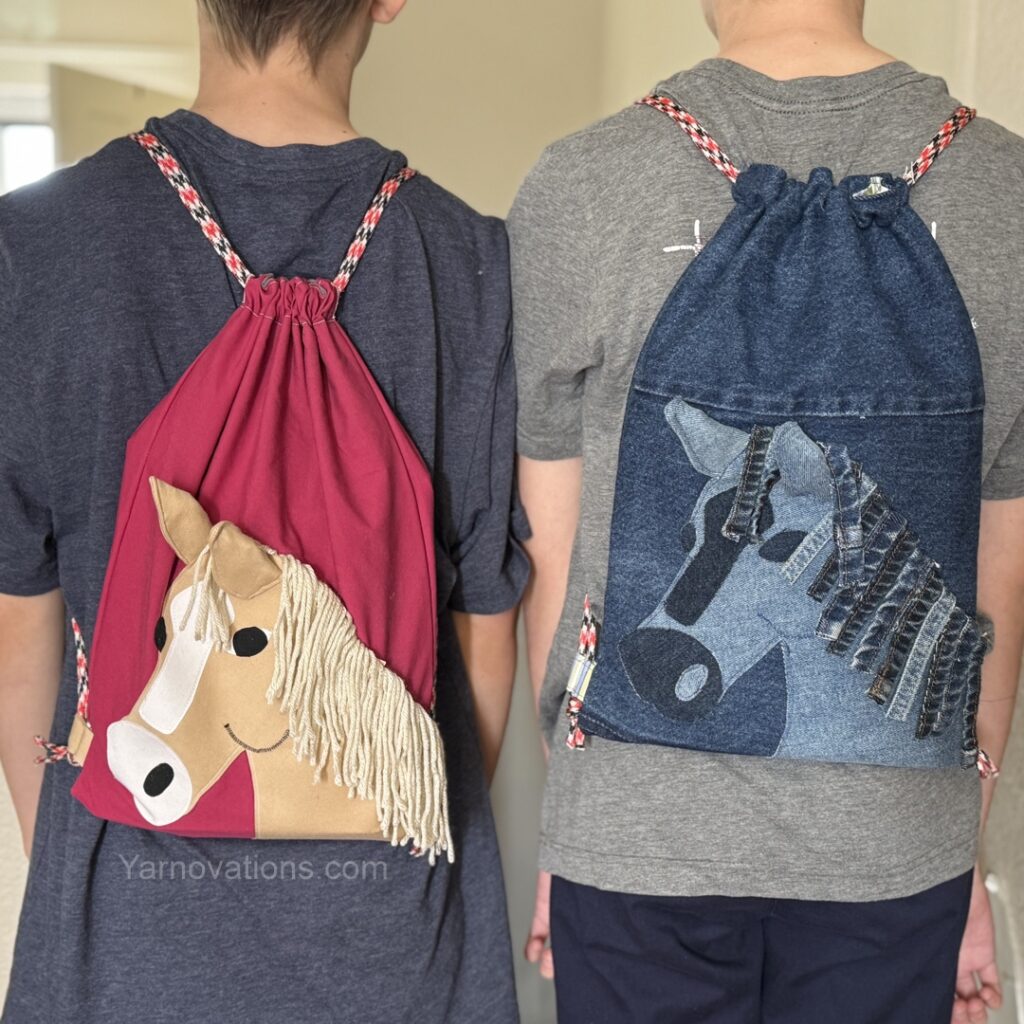
Upcycle Fabric to Sew Horse Drawstring Backpack
Another awesome feature of this bronco bag is that it looks great with upcycled materials! The pink bag with tan pony was made from upcycled bed linens sourced at a second hand store. The bookbag on the right was made with old denim jeans. If you’re new to upcycling denim, let me share a secret. The inside/wrong side of jeans is a different color than the outside/right side. So, one pair of jeans gives you 2 different colors if you use the wrong side as a second color.
Materials Needed to Sew the Horse Drawstring Backpack
The materials needed to make your own horse drawstring backpack are pretty minimal. We recommend a sewing machine. We used 2 stitches for this project: straight stitch and zigzag. Other supplies include:
- Cotton or Denim Fabric
- Wonder-Under Interfacing (heavy-duty)
- Drawstring: 0.375-0.5” diameter rope (polypropylene, nylon, or cotton)
- Thread: matching or coordinating
- Eyelets: (2) Large ¼” (optional)
- Straight Pins or Sewing Clips
- Felt: brown
- Yarn: beige or mane color
- Scissors, pinking shears (optional)
- Pencil or Washable Marker
- Iron
- Glue
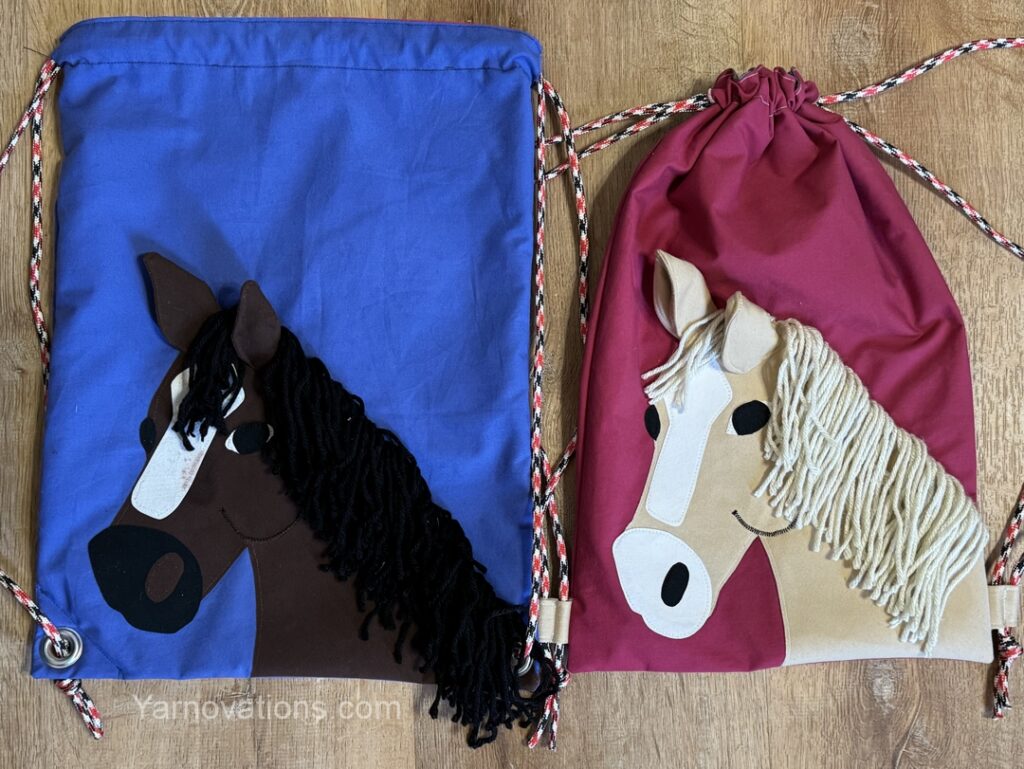
Securing Rope to Horse Drawstring Backpack
The sewing pattern for the Horse Drawstring Backpack has instructions for securing the drawstring 2 different ways. When you look at the picture above, you will see the drawstring secured to the bottom of the bag by either a grommet or a cloth tab.
If you love the look of a grommet or eyelet, we’ve included instructions for that option. If you don’t have and don’t want to buy grommets, the sewing pattern shows you how to make the cloth tab. Both are easy to make/install and both look great.
The Horse Backpack Sewing Pattern on Etsy
Buy your copy of the Horse Drawstring Sewing Pattern on Etsy.
Available now on Etsy.
Personalize the Horse Drawstring Backpack
What to personize this horse drawstring backpack a little bit? Here are some fun ideas:
- Embroider the child’s name on the bag.
- Embroider a horse’s name on the bag.
- Sew a horn on the forehead and make a unicorn (horn pattern not included).
- Use team colors of your favorite sports team.
Happy Sewing!