Scrubby Dishcloths

Pros and Cons of Knit, Crocheted and Woven Dishcloths using Scrubby Yarn.

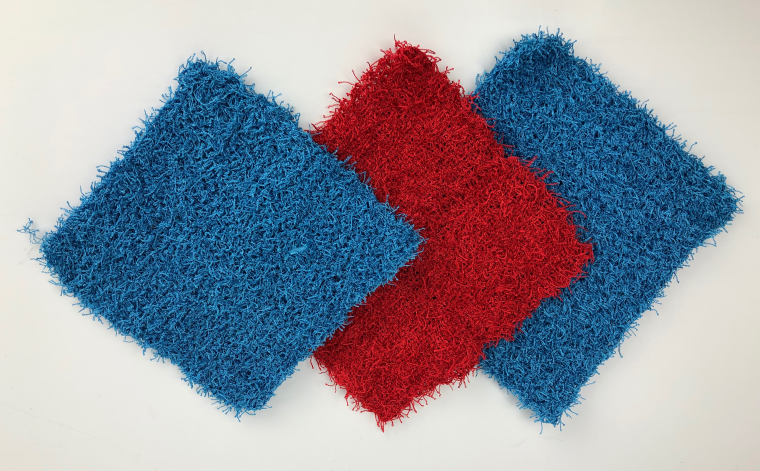
Though I enjoy using any of the scrubby dishcloths, there are definitely some pros and cons to each type. Let’s take a look at each one separately.

Knit

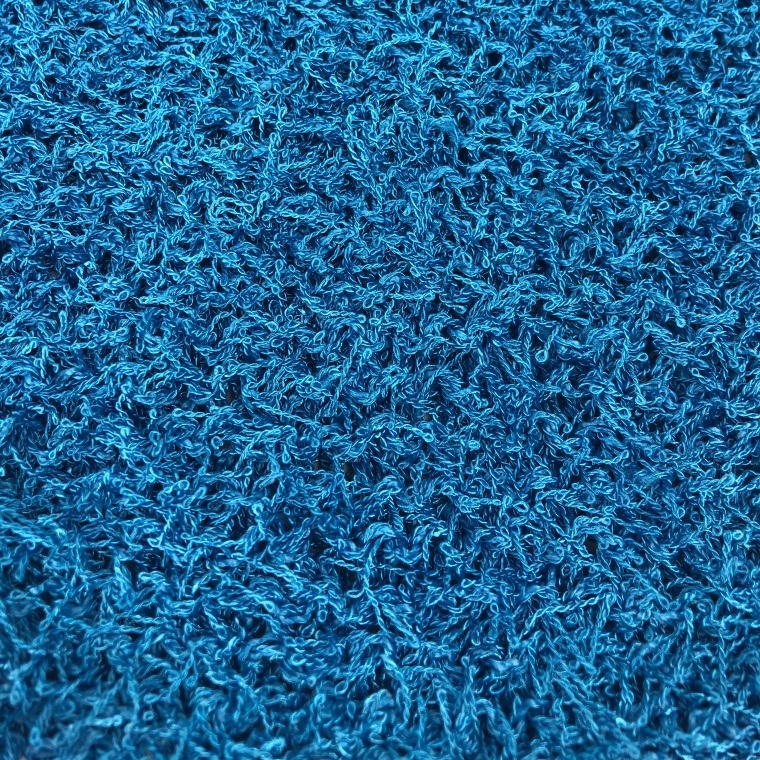
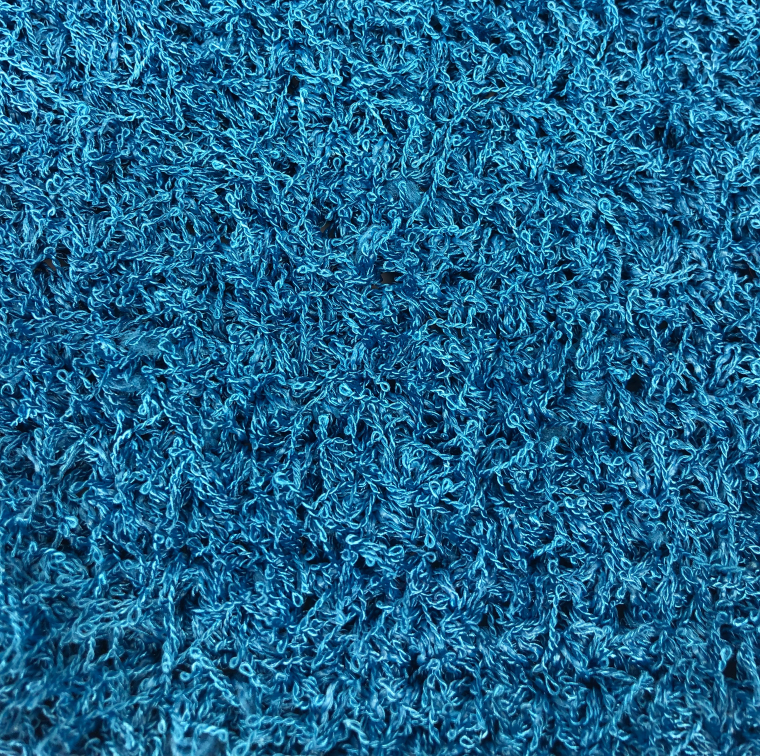
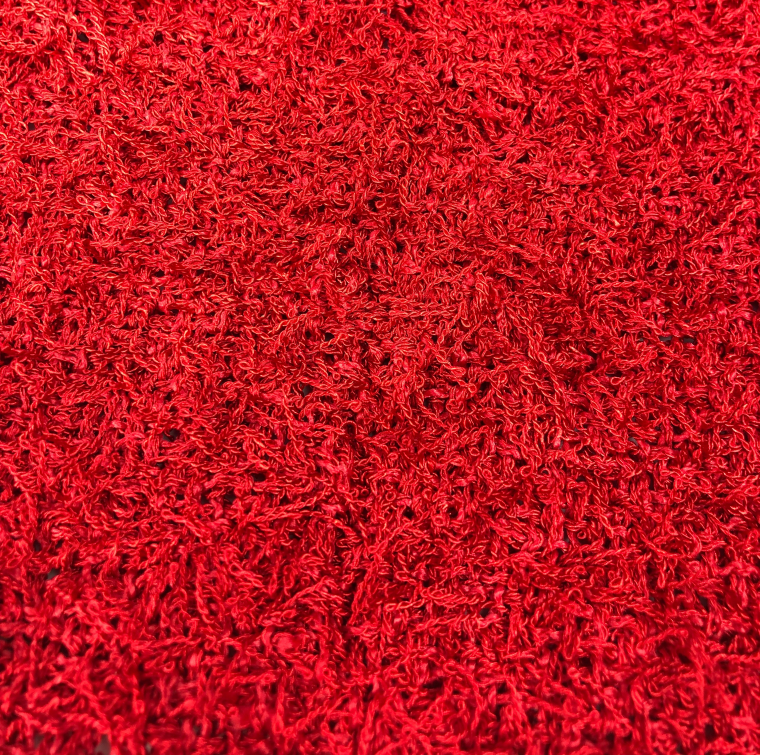
The Knit dishcloth was the easiest one to make. It was easiest on which to find the stitches. I made mine 25 stitches wide using the garter stitch with size H needles. I did not count the rows, so I’m really not sure how many there are, and it’s nearly impossible to count! It has the nicest drape and is stretchy. It is fairly thin and fits nicely in glasses and pots.

Crochet

The crocheted one was the fastest to work up. I also worked it 25 stitches across and the number of rows needed to make it a square using an H hook. It was very difficult to find the stitches, so I had to count my stitches every row. It was surprisingly not too difficult to pull out stitches if I missed a loop. It is the thickest dishcloth and has a moderate amount of drape. It feels bulky in comparison, but feels very sturdy for washing.

Pin Loom Woven

The pin loom woven dishcloth was the most difficult to make. I sewed four 4″ squares together. I wove the squares on the Zoom Loom, a 3-pin arrangement with 3 warp layers. The weaving needle often caught in the middle of a warp strand and was very difficult to pull through. I tried exaggerating the weaving motion, but that only helped a little. It was also very difficult to sew the squares together as it was hard to see the loops on the edges. The sewing needle often went through the strands and were difficult to pull through. It is the thinnest dishcloth and most static. It does not stretch. Because it is the thinnest, it fits into cups and bottles the easiest. And despite the frustrations to weave, it is fun to use.

*It might be easier to weave a 2-warp square, as there will be fewer layers around which to maneuver, though I’ve not tried this. Some weavers have found it much easier to warp the loom in cotton, and only weave with the Scrubby yarn. That would most certainly take away almost all of the difficulties I mentioned before. Continuous weaving would also be much easier, like on the Turtle Loom or other continuous weaving looms. Speaking of which, now I want to see how a hexagonal dishcloth works up!

All of the dishcloths were made using Red Heart Scrubby yarn. The woven one used the least amount of yarn and will make 11 squares, enough for 2.75 dischloths. The knit dishcloth used slightly more yarn and will easily make two dishcloths. The crocheted dishcloth used the most yarn, but you should still get two scrubbies of 25 stitches wide using an H hook.

Crochet Stars!

Seeing (Crocheted) Stars!

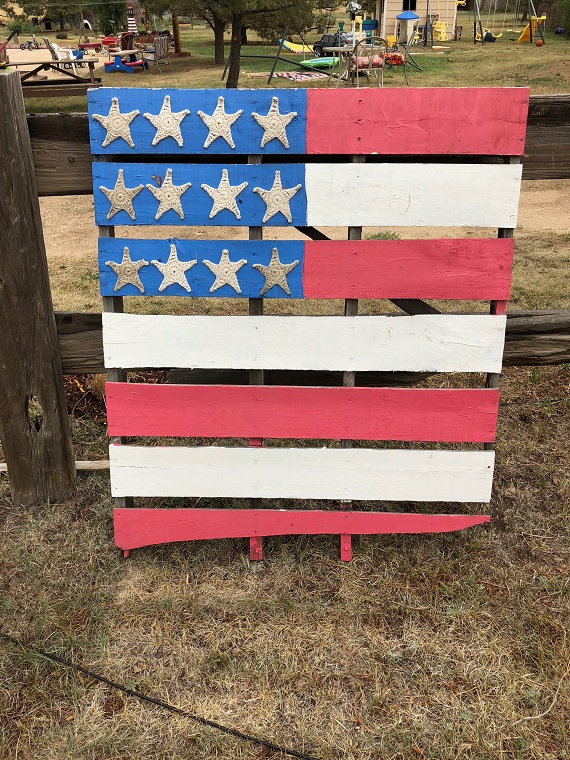
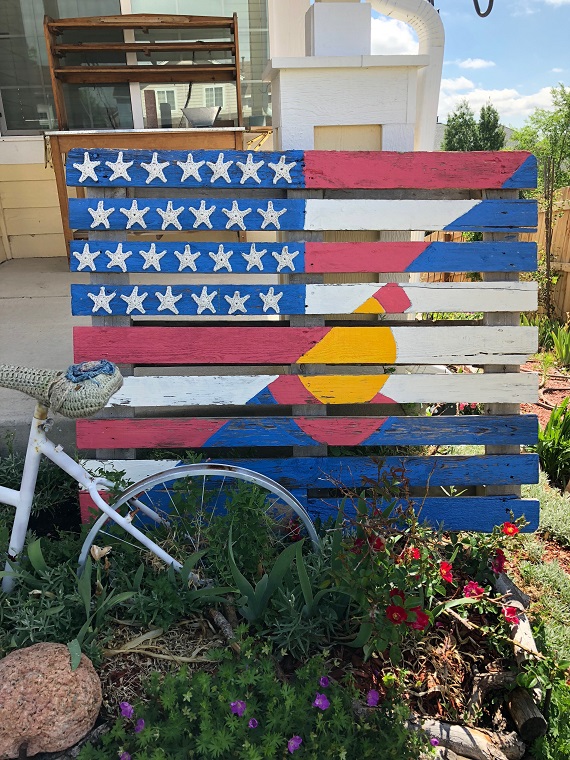
You are a star! And now your projects can light up like them too, with these quick, fun and beautiful crocheted stars. They are so fun to make, you will want to put them everywhere! They are great for greeting cards, wall hangings, pallet art, and so much more! Add sparkle to your stars by using glittery or sequined yarn.

I’ve written the instructions for multiple sizes, so you can add stars to any project. No yarn size or hook size is listed as you should use the yarn and hook size that most fits the size project you are making. For the smallest stars, I recommend using crochet thread and size 2 hooks. Otherwise, I use size 3 or 4 yarn with a C-E hook. Medium stars are great for size 4 yarn with size F-J hooks. The large star looks great in size 4-6 yarn using hooks sized G and up. The size of yarn and hook really will depend on the project you are making.

These are 5 pointed stars, though you can make more points if desired. Because the stars are individual points, (as opposed to connected points), the points tend to curl. Pin and spray starch them to lay flat, unless you are sewing, gluing or stapling them to a project!

The large star uses a special linked stitch so there is not a big gap between the center circle and the bottom of the point. Linking the point is not necessary. I only linked it on projects where I didn’t want what appeared to be a hole.

Special Abbreviation

Linked double treble crochet (Ldtrc): YO 3 times, insert hook in stitch indicated, YO and pull through, YO and pull through 2 loops on hook, skip a stitch on Rnd 2, insert hook in next st of Rnd 2, YO and pull through and pull through 2 loops on hook, YO and pull through 2 loops on hook, YO and pull through 2 loops on hook.

SMALL STAR

Ch 2 or use magic circle/magic ring
Rnd 1: Work 10 sc in second ch from hook or in magic ring. Join with a sl st. (10)
Rnd 2: Make 5 points as follows: *Ch 4, work in back bump of ch sts, sc in second ch from hook, hdc in next ch, dc in next ch, skip a st on Rnd 1, sl st in next st* (on point made), repeat 4 more times. Fasten off. Cut yarn leaving a tail if sewing on a project.


MEDIUM STAR

Ch 2 or use magic circle/magic ring
Rnd 1: Work 7 sc in second ch from hook or in magic ring. Join with a sl st. (7)
Rnd 2: Work 3 sc in first st, work 2 sc in each st around. (15)
Rnd 3: Make 5 points as follows: *Ch 5, work in the back bump of the ch sts, sc in second ch from hook, hdc in next ch, dc in next ch, trc in next ch, skip two sts on Rnd 2, sl st in next st* (one point made), repeat four more times. Fasten off. Cut yarn leaving a tail if sewing on a project.


LARGE STAR

Ch 4, join with a sl st.
Rnd 1: Ch 1, 10 dc in ring. Join with a sl st. (10)
Rnd 2: Ch 1, 2 dc in each st around. Join with a sl st. (20)
Rnd 3: Make 5 points as follows: *Ch 7, work in the back bump of the ch sts, sl st in second ch from hook, sc in next, hdc in next, dc in next, trc in next, ldtrc in last st, skip a st on Rnd 2, sl st* (one point made), repeat four more times. Fasten off. Cut yarn leaving a tail if sewing it on a project.

Dishcloth and Plant Holder Pattern

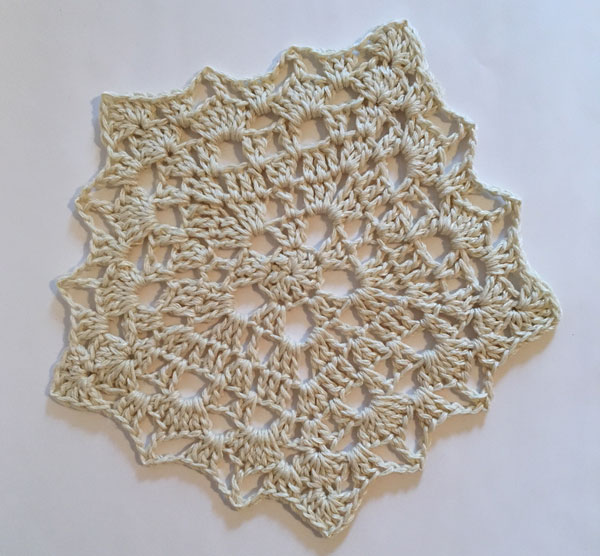
Who says dishcloths have to be square? This month’s dishie pattern is a beautiful pentagonal cloth made from FibraNatura Good Earth distributed by Universal Yarns. Though I stopped with an 8″ dishcloth, it could be made in any size. It’s the perfect dishcloth for washing and scrubbing as well as gift giving.

This lovely dishcloth would also be great as a doily or as a hot pad.

thumbnail_star-dishie

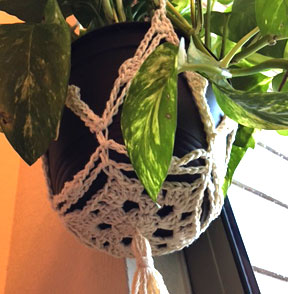
I fell in love with this design so much, I decided to turn it into a plant holder! The plant holder starts with a pentagonal base, with the side supports crocheted around that. Because of the design, it can hold various sized pots a little smaller or larger than 1.46 quarts.

thumbnail_holding-plant

Plants make a house so homey. Plant some ivy or perhaps some spices. Turn your kitchen into a living space!

Finished Measurements:

  • Dishcloth: 8″
  • Plant Holder: 26 x 4 1/2″, holds a 1.46 qt pot

PDF Instant Download Now Available

The Dishcloth+ Series: Pentagonal Dishcloth and Plant Holder is now available in our Etsy Store.

Available Now on Etsy.

Buy Now on Etsy

Christmas Pin Loom Project Set

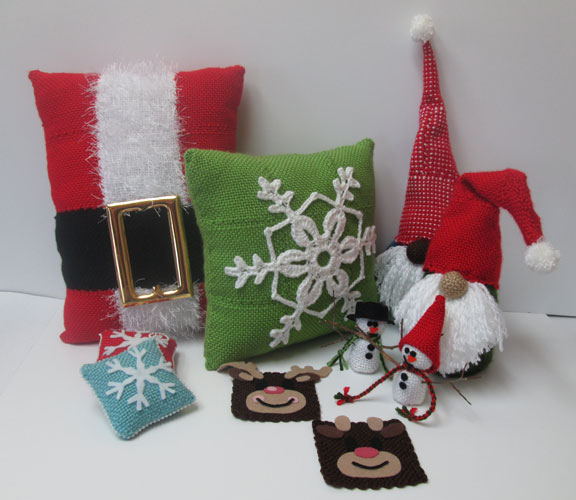
Pin Loom your Christmas decorations and gifts this year! All with only a 4″ square pin loom.

christmas-pin-loom-group1

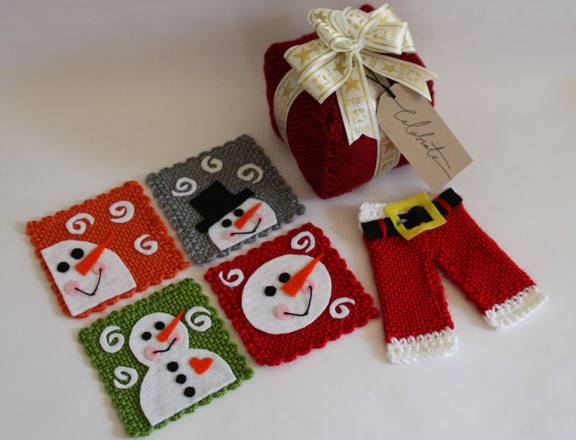
These festive woven projects have you and your friends’ names written all over them. Who doesn’t love a gnome? Add a little snowman to your indoor collection. Decorate with a beautiful wreath and garden flag. Relax on these lovely pillows. It truly is amazing what you can create with squares with a little shaping and sewing.

  • thumbnail_christmas-pin-loom-group2

Each project is made with 4″ squares done in plain weave. (The pattern does NOT include how to plain weave.) Projects range from 1 to 38 squares, making them quick and easy to make.

The pattern includes:

  • Gnome
  • Pillow with Crochet Snowflake
  • Santa’s Belly Pillow
  • Santa’s Belly Wall Hanging
  • Snowflake Ornament
  • Bethlehem Garden Flag
  • Holly & Berry Wreath
  • Reindeer Squares
  • Snowman Squares
  • Santa’s Pants
  • Christmas Present
  • Miniature Snowmen
  • Step-by-step photos
  • Step-by-Step written instructions
  • Templates for the felt pieces

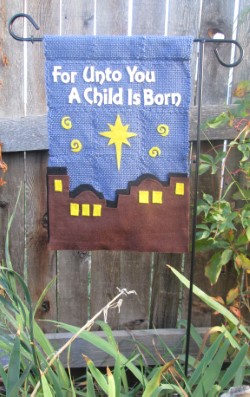
thumbnail_bethlehem-flag

Pattern also includes instructions on how to turn some of these things into magnets, little gift bags, greeting cards, and more.

Projects shown here are made with Red Heart Soft yarn. Not only is it soft, it also has a nice sheen. This is a great yarn for pin looming.

PDF Instant Download Available Now

The pattern and templates for the Christmas Pin Loom Projects are now available in our Etsy Shop.

Available on Etsy.

Buy Now on Etsy

Pork Chop Pig Crochet Pattern

Hunting for Bacon?

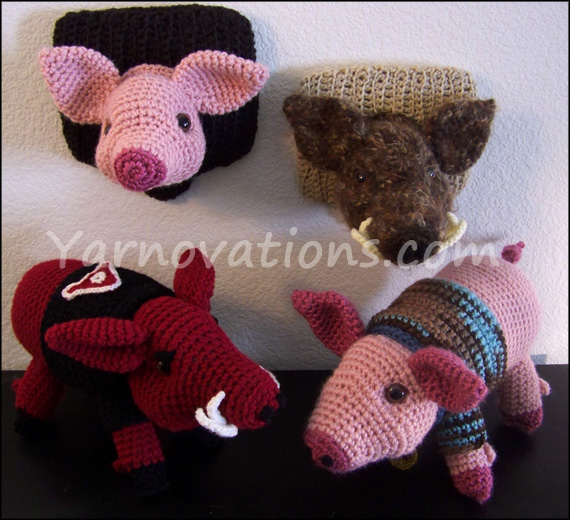
Whether you need more bacon in your life or want to go on a boar hunt, this crochet pattern is PETA approved!

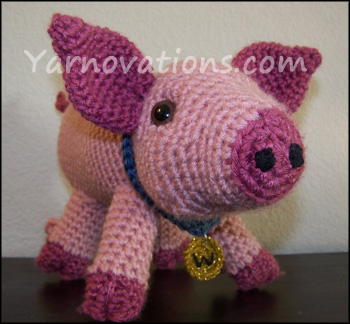
pig with collar

This pig can be accessorized with a sweater and a medal. He can be Wilbur from Charlotte’s Web, or a trophy piece for the hunters out there. We even made it in red for the Razorback fans!

I made several of the mounted pig heads for my students after we read Animal Farm. They loved them!

Pig Crochet PatternBe sure to download the free accessories pattern for the fun variations.
Pork Chop Pattern on Etsy

Pork Chop crochet pattern.

Pork Chop accessories pack (sweater, medal, Razorback).

Tips and Tricks: Faux Fur

Working with Faux Fur Yarn

There is no doubt that a little faux fur yarn can add a lot of pizazz to a hand crafted project. And with a little practice, one can learn to crochet or knit with it a little easier.

Tip #1: Crocht Double Stranded

It is nearly impossible to see the stitches when crocheting with faux fur. The furry strands nearly completely hide the stitches. That’s great on a finished product, but not so great when you have to work in those stitches. The problem is not as pronounced when knitting since the stitches are on the needle. If stitches have to be picked up, it will be difficult to find them.

Solution: Crochet with two strands at once, one faux fur and one non-furry yarn. It makes each stitch thicker and a little easier to see. If the non-furry strand is the same color (or nearly the same) as the fur, it almost disappears. The thicker stitches may still be difficult to see, but it is also possible to feel the stitches as you work.

A Furry Sitting

Crocheting with Vanna’s Choice and Fun Fur yarn made finding the stitches in this panda set much easier to find.

Panda Pattern Set available on Etsy.

Tip #2: Count every row.

Counting the number of stitches at the end of every row or round is generally a good idea, but it is almost critical when using faux fur. It is very easy to drop a stitch or lose  track of a stitch because it can be difficult to see. You might even add a stitch because it’s not always easy to tell if a stitch has been worked in already.

Tiger Striped Scarves Crochet Pattern

Keeping track of the number of stitches per row is crucial to keeping a neat edge in projects like the tiger striped scarves.

Tiger Striped Scarves pattern on Etsy.

Tip #3: There is a Right Side and a Wrong Side.

The little furry strands often get trapped within the stitches as they are worked. When working back and forth in rows, both sides will generally be equally furry. When working in the round, the inside tends to be furrier. For a furrier look, turn the project inside out when appropriate so that the furrier side is out.

A hat can often be turned inside out after it’s finished. Some items may need to be turned inside out before they are sewn together. Just note how furry the sides are before completing the project.

Monkey Hanging in Palm Tree with Banana

The parts of the monkey are turned inside out to keep the furrier side on the outside. A little faux fur on the tree makes the palm tree look more authentic too.

Palm Tree and Monkey pattern set available on etsy.

Tip #4: Not all faux fur is equal.

Faux fur comes in varying lengths. The furry strands can be short or long, coarse or smooth. The type of fur can significantly impact the look and feel of the finished product. Projects with the longer strands of fur tend to look fuller and are softer than the shorter stranded fur. The size and nature of the project may determine which fur to use. Generally speaking, the longer stranded fur costs a little more.

Houndstooth Trio

 La Furla from Trendsetter Yarns is long and soft making this houdstooth trio very luxurious.

Houndstooth Trio pattern set available on Etsy.

Tip #5: Notice yardage.

Some faux furs come in small skeins. Generally speaking that means more skeins of fur yarn will be needed than non-furry yarn. Projects with smaller stitches will use more faux fur than larger stitches. For instance, a project  crocheted using single crochet will use more than the same project done in double crochet. Because the faux fur hides stitches anyway, you might want to change the stitch to a taller stitch to save on yarn. The project will get done faster and still look good.

Halloween Trick or Treat Bags

One skein of faux fur will work for small projects like the trick or treat bags.

Trick or Treat Bags pattern set available on Etsy.

Behind the Scenes: Granny Heart Clutch

Would you rather keep your hooks and supplies in a plastic sandwich baggie, or in a crocheted granny heart clutch?

For the longest time I used a zippered plastic bag. It was actually quite convenient. It could be rolled up and put in my crochet bag or sit beside me as I worked. But I had to use the gallon size bag and it seemed slightly bulky.

A Owl Bean Bag Deb Blanket

After making a few heart granny squares for the Granny’s Tree of Love afghan for the Owl Set (pictured above), I decided to try to make a little clutch. I decided to make a bright and colorful one first. Lion Brand’s Vanna’s Choice has many lovely colors and made a delightful clutch. I lined it so I could keep my hooks and supplies in it.

Owl Bean Bag pattern on Etsy.

Owl Crochet Set pattern on Etsy.

Granny’s Tree of Love Blanket Photo Tutorial pattern on Etsy.

This clutch appeared in Love of Crochet magazine. The editor suggest monochromatic colors and this grey and black version was created (pictured below in Knit Picks Shine).

Perfect purse for crochet hooks

I put a couple of magnetic clasps on it to keep my items safe inside. It has quickly become one of my favorite projects. It is beautiful and practical.

Learn more about the Heart Centered Granny Square Clutch.

Heart Granny Clutch pattern on Etsy.

Crochet Abbreviations

Crochet Abbreviations

Sample Abbreviations ChartReading a pattern full of abbreviations can feel a bit overwhelming. It can also be very entertaining. Some girlfriends asked me to teach them how to crochet and I started by having them look through a magazine to show them how diverse the craft is. They started to phonetically read the patterns and we all laughed at how strange it sounded.

It’s easier than you might think to read a pattern. Patterns try to abbreviate wherever possible to keep the instructions short and compact so that the instructions aren’t a bazillion pages long (yes, I exaggerate a bit). If you know the basic stitches (chain, slip stitch, single, half double, double crochet), then reading a pattern will be easier.

Abbreviating Crochet Terminology

Crochet language is abbreviated a couple different ways.

  • The first letter of each word is used. 
    For example: “sc” is the first two letters of “single crochet”
  • The first few letters of a single word are used.
    For example: “beg” is the first three letters of the word “beginning”
    For example: “inc” is the first three letters for the word “increase”
  • There are some instances of compound abbreviations…but again, they use the principles mentioned above.
    For example: “sc2tog” means single crochet 2 stitches together.

Though abbreviations have been standardized, no two designers write the same. It’s up to each designer to choose how much instruction to give and how much to condense. I’ve seen patterns that are nothing more than numbers that look like ratios (i.e. 1:7, 2:14, 3:21). My sister and I tend to write more, not less. We write step-by-step instructions so that you can duplicate our process, using common abbreviations so that our patterns are too lengthy.

Many patterns will also have an abbreviations list. Refer back to that when you get stuck with an abbreviations. Deborah and I include an abbreviations list in all our patterns.

For a list of commonly used abbreviatons, visit our Crochet Abbreviations page.

US vs. UK Terminology

Just when you think you have the language of crochet all figured out…you run into one big snag: US and UK Terminology is not the same! They may sounds the same…but they’re not.

A single crochet in US is called a double crochet in the UK.

Here is a conversion chart for US vs. UK Terminology:

US UK Abbreviations Chart

Deborah and I write all our patterns in US terminology.

Problems Reading a Pattern

If you are having problems reading a pattern, you have a few options:

  1. Ask for help from a knowledgeable crocheter.
    This could be a friend, relative or someone from a yarn shop or crochet group.
  2. Find a different pattern for the same thing.
    It could be that the writing style of the designer doesn’t work for you. See if someone else has a pattern that is easier to understand.
  3. Educate yourself on YouTube.
    You may need help with a specific stitch like the crocodile stitch. Watching videos to learn crochet stitches will make it easier to read your specific pattern.
  4. Ask the designer.
    If you are struggling with a particular spot in a pattern, you may want to touch base with the designer. There could be a problem with the pattern or with the way the instructions were written.

The best way to learn is by doing. Find a pattern for something you want to crochet and give it a try. If you need patterns, we recommend browsing through Ravelry.com.

Fair Isle vs. Intarsia

Fair Isle vs. Instarsia

Many knitting patterns involve color changes while most crochet patterns do not. Why is that? Having changed colors in knitted and crocheted projects I will say that it’s not because it’s easier to do when knitting. I actually found it easier to change colors while crocheting. There are two ways to change colors when knitting or crocheting, Fair Isle and intarsia. I have used both methods and the method I use depends on the project being made.

Fair Isle

Fair Isle, also called “stranded colorwork”, has several characteristics.

  1. It’s usually done in the round, like hats and sweaters.

    Flame Hats and Mittens

    Flame Hats and Mittens

  2. It traditionally uses only two colors per round. Other rounds may use two different colors, but each round uses two.
  3. The yarn is not cut but is crocheted over or dropped (to the back/wrong side)and picked up when needed. This leaves a strand of yarn on the back. For mittens, it is easy to snag the strands on the inside with a finger when putting the mittens on.
  4. The Flame Hat and Mittens are great for learning Fair Isle as the color work is only along the brim of the hat or the fingers of the mittens.

Mittens

Pictured left is a pair of mittens from our Flame Beanies and Mittens Set. The mitten on the right shows the wrong / inside of the mitten. Strands of yarn are carried along the inside until it is needed again.

As mentioned above, these are crocheted in the round. The beanies have a similar stranded look inside.

Flame Beanie and Mittens pattern available on Etsy.

Intarsia

Intarsia has several of its own characteristics.

  1. It’s usually done in rows on flat pieces.

    Panda Set

    Panda Set

  2. A ball or bobbin of yarn is used for each color section and is dropped and left dangling until is it picked up and used on the way back.
  3. The yarn is always dropped to the project’s wrong side. Because it is worked in rows, sometimes it is dropped to the back and sometimes it’s dropped to the front.
  4. The Bamboo Blanket has only two color sections, black and white, making it a great beginner piece for Intarsia work. That means there are only two skeins or balls to keep track of when crocheting. The bamboo stalks are crocheted separately and sewn on.

Panda Set pattern available on Etsy.

Both Fair Isle and Intarsia use charts/graphs instead of written out instructions. Generally one box in the graph equals one stitch. Graphed work looks best in single crochet though half double crochet can work, depending  on the graph. Keep in mind, stitches in crochet do not line up one on top of another like knitting does. When trying to make vertical lines and things like letters, they will end up looking a little wavy. The stitches will line up a little more when working in rows. A vertical line will tend to lean right when working in the round.

There are just a few other tips for creating a successful piece of color work.

  1. When changing colors, you should use the new color for the last YO that is pulled through the loops on the hook.
  2. Tension can be a problem. If part of the project changes colors and part of it does not, sometimes one section is tighter than another. Be aware that you may need to relax during the color changing section.
  3. It is also easy to make a tighter section if there are long sections where a color isn’t used in Fair Isle. Crocheting over the unused yarn every 2-3 stitches helps keep the tension relaxed. Imagine trying to put on a hat that has no give because the strands are too tight.

My first projects were hats and scarves. They were small enough to practice on and I could pull them out and try again if something wasn’t quite right. With a little practice, it is possible to get into a rhythm with dropping and picking up the different colors. There is no reason Intarsia and Fair Isle can’t be just as popular in crochet as it is in knitting.

For a fun Fair Isle project, try the Flame Hats and Mittens.

Flame Hats and Mittens available on Etsy.

For a fun Intarsia project, try the Bamboo Blanket.

Panda Set available on Etsy.

Behind the Scenes: Designing a Houndstooth Pattern

Behind the Scenes: Designing a Houndstooth Crochet Pattern

How is it my husband knew what houndstooth was and I did not? A friend of mine said she was going to try to come up with a crocheted houndstooth pattern.  I had seen this pattern many times before but never knew what it was called. Trying to come up with a pattern intrigued me and I, too, made several attempts at getting an approximate pattern.

Lion Brand Fun Fur

Lion Brand Fun Fur

First I had to decide if I wanted a small houndstooth pattern or a large one. There are several lovely small patterns available online often using an alternating pattern of single crochet and double crochet. I wanted to come up with a larger pattern, one that really incorporated the diagonal lines of the houndstooth. However, the diagonal spike stitch patterns I came up with seemed jumbled and messy. I finally decided to use a spike stitch that went straight down. The effect was quite lovely.

Trendsetter La Furla

Trendsetter La Furla

I first proposed the houndstooth trio to a crochet magazine with Lion Brand’s Fun Fur. Paired with Vanna’s Choice yarn it made a lovely set. The magazine’s editor suggested I redo the set in Trendsetter’s Merino wool and La Furla. These are quite luxurious yarns. They are both incredibly soft and warm. The La Furla is thicker and softer than Fun Fur. They are stylish and functional for even the coldest of weather. Lion Brand has since come out with an equally soft and thicker fur like called Romance. Both yarn brands make for a beautiful houndstooth set.

So, just how did my husband know what houndstooth was? From football, of course. College football coach Paul Bryant was often seen at games wearing a houndstooth hat!

Learn more about the Houndstooth Trio in the shop.

Houndstooth Trio available on Etsy.