Miniature Pumpkins Revsied

Way back in 2015 we created a pattern for miniature crochet and knit pumpkins. We dubbed them “My First Pumpkin“. Since that time, we’ve added pin loom weaving and sewing to our crafting routine. Therefore, we’ve revised the pattern to include those as well.

Yep, this is a 4 in 1 pattern: crochet, knit, sewing, pin loom weaving.
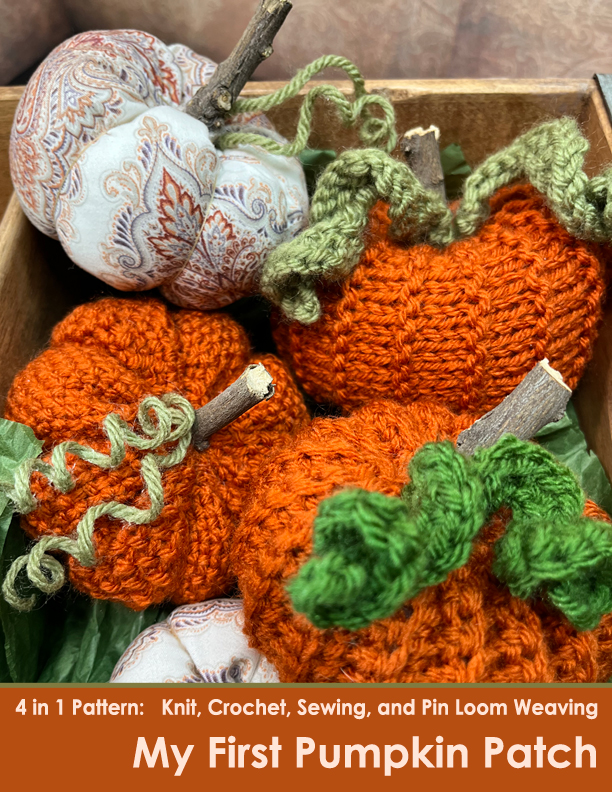
pumpkin pattern for knit, crochet, sewing and pin loom weaving

Aren’t they gorgeous? I really can’t decide which is my favorite. I love the distinct look of each pumpkin…and they were all truly a joy to create.

And…drum roll please…there is a step-by-step tutorial available as well! Yep, there are pictures and written instructions for all four crafts: sewing, knit, crochet, and pin loom weaving.

Check out the updated and revised My First Pumpkin Pattern blog. Make one or all four or an entire pumpkin patch! These are fun to decorate your home and work place. They are also fun gifts because they are quick to make and so darn cute.

The blog has a free version of all 4 mini pumpkins. The printer friendly version has a TON of photos and lots and lots of tips; it’s available on our Etsy shop.

Head over to our blog to learn more: My First Pumpkin Patch.
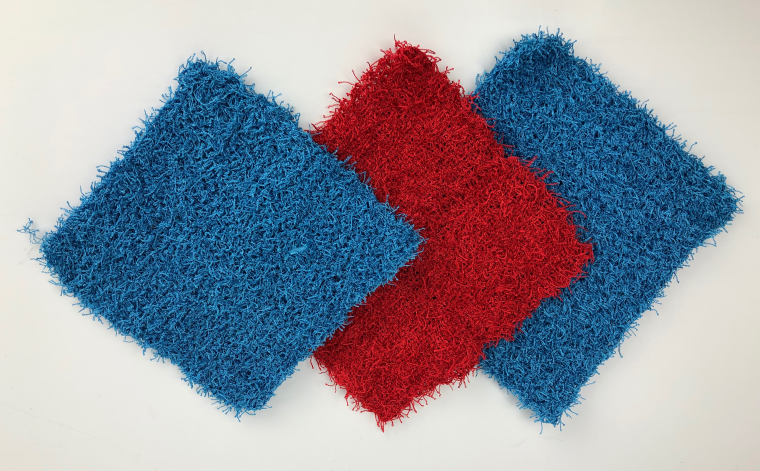
Scrubby Dishcloths

Pros and Cons of Knit, Crocheted and Woven Dishcloths using Scrubby Yarn.

Though I enjoy using any of the scrubby dishcloths, there are definitely some pros and cons to each type. Let’s take a look at each one separately.

Knit

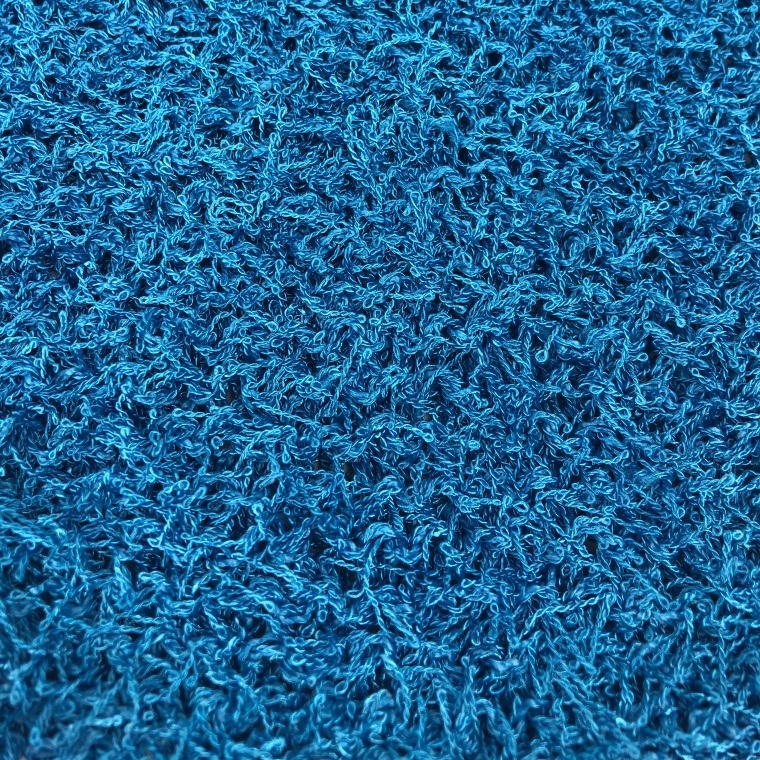
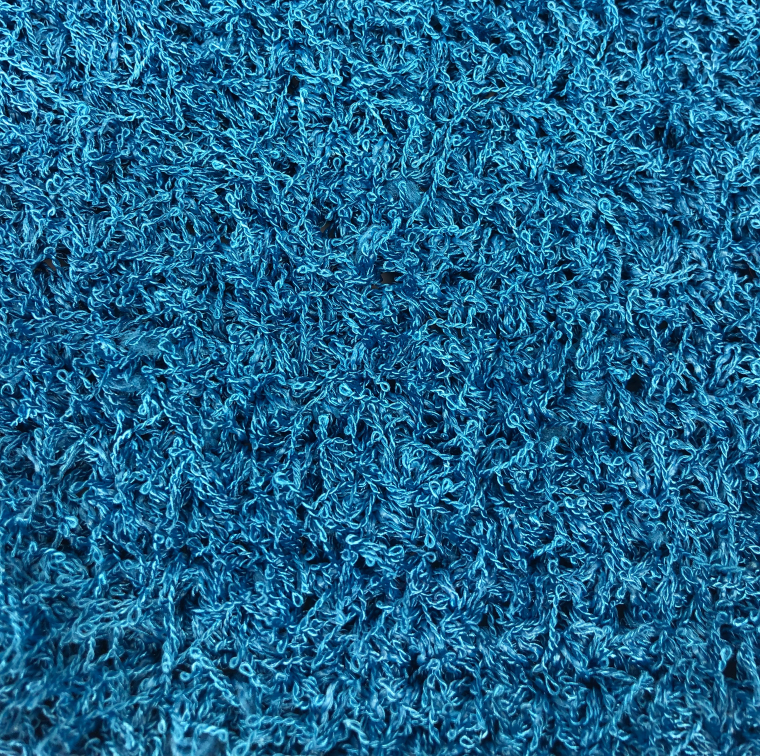
The Knit dishcloth was the easiest one to make. It was easiest on which to find the stitches. I made mine 25 stitches wide using the garter stitch with size H needles. I did not count the rows, so I’m really not sure how many there are, and it’s nearly impossible to count! It has the nicest drape and is stretchy. It is fairly thin and fits nicely in glasses and pots.

Crochet

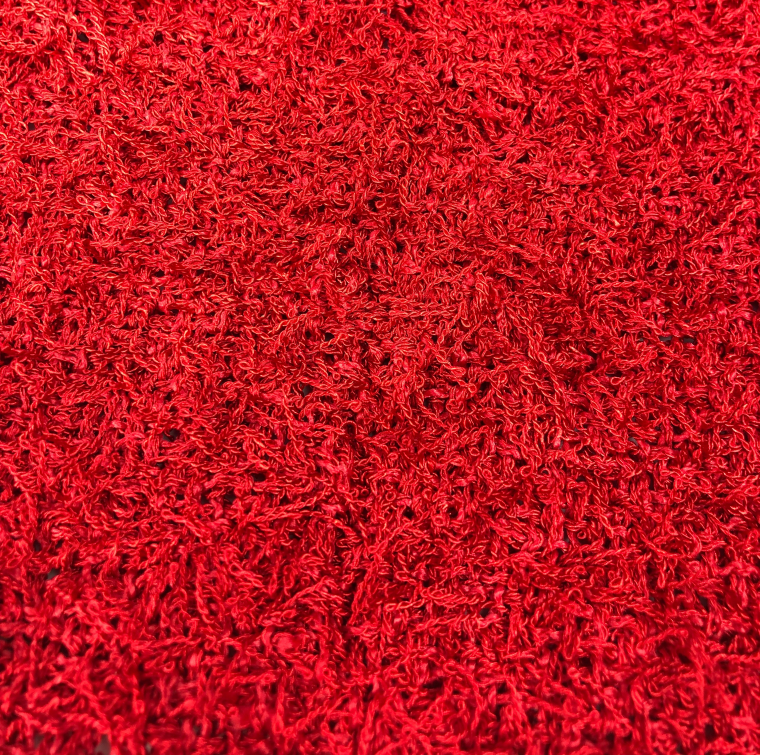
The crocheted one was the fastest to work up. I also worked it 25 stitches across and the number of rows needed to make it a square using an H hook. It was very difficult to find the stitches, so I had to count my stitches every row. It was surprisingly not too difficult to pull out stitches if I missed a loop. It is the thickest dishcloth and has a moderate amount of drape. It feels bulky in comparison, but feels very sturdy for washing.

Pin Loom Woven

The pin loom woven dishcloth was the most difficult to make. I sewed four 4″ squares together. I wove the squares on the Zoom Loom, a 3-pin arrangement with 3 warp layers. The weaving needle often caught in the middle of a warp strand and was very difficult to pull through. I tried exaggerating the weaving motion, but that only helped a little. It was also very difficult to sew the squares together as it was hard to see the loops on the edges. The sewing needle often went through the strands and were difficult to pull through. It is the thinnest dishcloth and most static. It does not stretch. Because it is the thinnest, it fits into cups and bottles the easiest. And despite the frustrations to weave, it is fun to use.

*It might be easier to weave a 2-warp square, as there will be fewer layers around which to maneuver, though I’ve not tried this. Some weavers have found it much easier to warp the loom in cotton, and only weave with the Scrubby yarn. That would most certainly take away almost all of the difficulties I mentioned before. Continuous weaving would also be much easier, like on the Turtle Loom or other continuous weaving looms. Speaking of which, now I want to see how a hexagonal dishcloth works up!

All of the dishcloths were made using Red Heart Scrubby yarn. The woven one used the least amount of yarn and will make 11 squares, enough for 2.75 dischloths. The knit dishcloth used slightly more yarn and will easily make two dishcloths. The crocheted dishcloth used the most yarn, but you should still get two scrubbies of 25 stitches wide using an H hook.

Tips and Tricks: Faux Fur

Working with Faux Fur Yarn

There is no doubt that a little faux fur yarn can add a lot of pizazz to a hand crafted project. And with a little practice, one can learn to crochet or knit with it a little easier.

Tip #1: Crocht Double Stranded

It is nearly impossible to see the stitches when crocheting with faux fur. The furry strands nearly completely hide the stitches. That’s great on a finished product, but not so great when you have to work in those stitches. The problem is not as pronounced when knitting since the stitches are on the needle. If stitches have to be picked up, it will be difficult to find them.

Solution: Crochet with two strands at once, one faux fur and one non-furry yarn. It makes each stitch thicker and a little easier to see. If the non-furry strand is the same color (or nearly the same) as the fur, it almost disappears. The thicker stitches may still be difficult to see, but it is also possible to feel the stitches as you work.

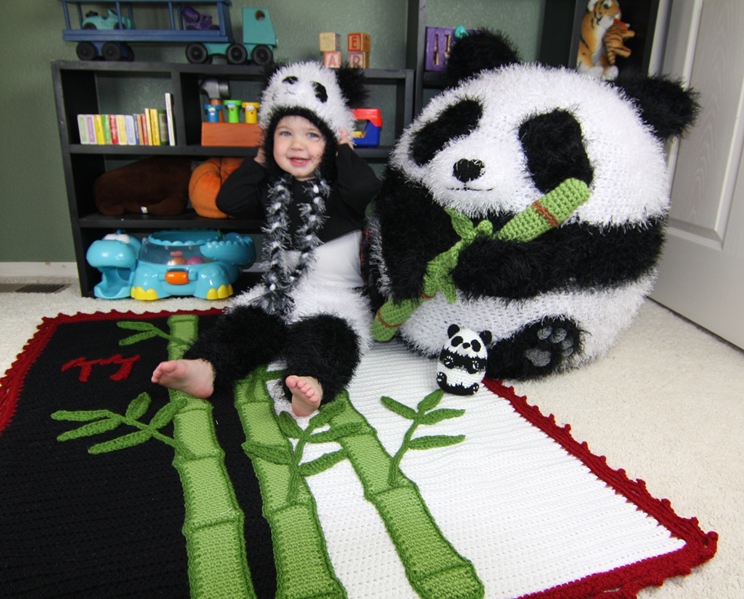
A Furry Sitting

Crocheting with Vanna’s Choice and Fun Fur yarn made finding the stitches in this panda set much easier to find.

Panda Pattern Set available on Etsy.

Tip #2: Count every row.

Counting the number of stitches at the end of every row or round is generally a good idea, but it is almost critical when using faux fur. It is very easy to drop a stitch or lose  track of a stitch because it can be difficult to see. You might even add a stitch because it’s not always easy to tell if a stitch has been worked in already.

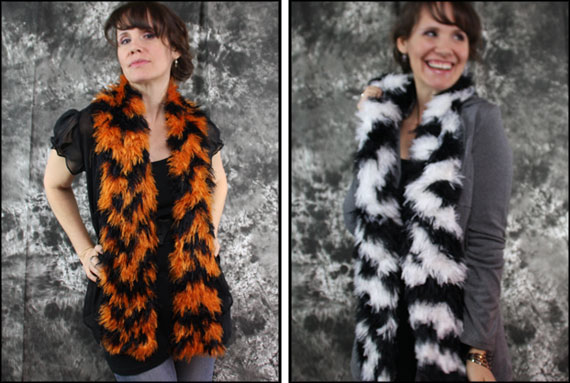
Tiger Striped Scarves Crochet Pattern

Keeping track of the number of stitches per row is crucial to keeping a neat edge in projects like the tiger striped scarves.

Tiger Striped Scarves pattern on Etsy.

Tip #3: There is a Right Side and a Wrong Side.

The little furry strands often get trapped within the stitches as they are worked. When working back and forth in rows, both sides will generally be equally furry. When working in the round, the inside tends to be furrier. For a furrier look, turn the project inside out when appropriate so that the furrier side is out.

A hat can often be turned inside out after it’s finished. Some items may need to be turned inside out before they are sewn together. Just note how furry the sides are before completing the project.

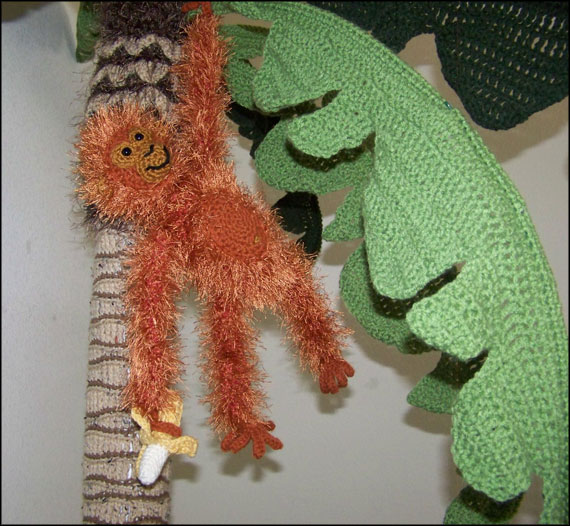
Monkey Hanging in Palm Tree with Banana

The parts of the monkey are turned inside out to keep the furrier side on the outside. A little faux fur on the tree makes the palm tree look more authentic too.

Palm Tree and Monkey pattern set available on etsy.

Tip #4: Not all faux fur is equal.

Faux fur comes in varying lengths. The furry strands can be short or long, coarse or smooth. The type of fur can significantly impact the look and feel of the finished product. Projects with the longer strands of fur tend to look fuller and are softer than the shorter stranded fur. The size and nature of the project may determine which fur to use. Generally speaking, the longer stranded fur costs a little more.

Houndstooth Trio

 La Furla from Trendsetter Yarns is long and soft making this houdstooth trio very luxurious.

Houndstooth Trio pattern set available on Etsy.

Tip #5: Notice yardage.

Some faux furs come in small skeins. Generally speaking that means more skeins of fur yarn will be needed than non-furry yarn. Projects with smaller stitches will use more faux fur than larger stitches. For instance, a project  crocheted using single crochet will use more than the same project done in double crochet. Because the faux fur hides stitches anyway, you might want to change the stitch to a taller stitch to save on yarn. The project will get done faster and still look good.

Halloween Trick or Treat Bags

One skein of faux fur will work for small projects like the trick or treat bags.

Trick or Treat Bags pattern set available on Etsy.

Colorful Heart in Grandma’s Favorite Dishcloth

Ever since I charted the Heart in Grandma’s Favorite Dishcloth knitting pattern, I’ve wanted to knit it in color. I love the stockinette heart in the middle of the garter stitch…but what would a change of color do?

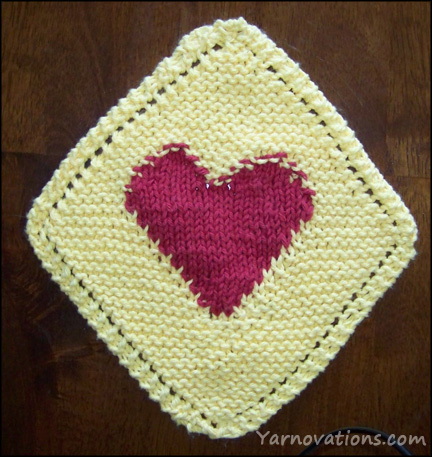
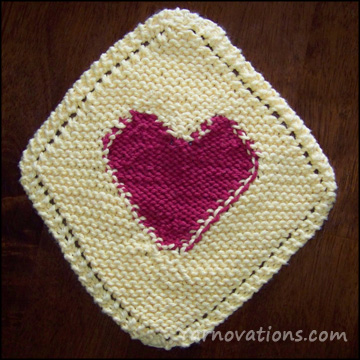
The Front of Grandma’s Favorite Dishie

Colorful Heart in Grandma's Favorite Dishcloth knitting pattern

I’m thrilled with my first ever attempt to knit with a color change.

But I had two challenge:

  1. I had to learn how to pick up a new color without leaving a hole.
  2. Since there is no “back” to this project, that meant I couldn’t carry my color. Yep, there were 5 mini balls of yarn for this project! Way too many for a first timer.

This gave me a new appreciation for any and all knitting projects that use more than one color. And an even greater appreciation for knit groups! I’m definitely going to hit one up next time I start this project!

The Back of Grandma’s Favorite Dishie

back of dishie

So…since I didn’t carry the color…what does the back look like? Here ya go…a sneak peak.

Yeah, not very pretty. But you know what? I’m still gonna use it. Or is this one of those projects only a mother could love…so I should send it to my mom???

If you’ve got some knitting advice, I’m all ears. Leave me a comment below.

Get your free Heart in Grandma’s Favorite Dishcloth knitting pattern.


Knitted Dishcloth Patterns

Knitted Dishcloth Patterns

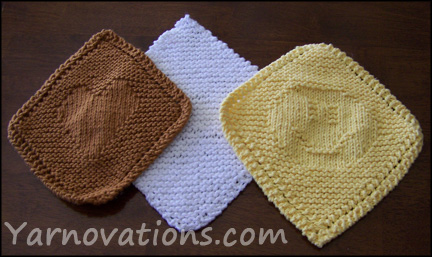
Surprise! We are happy to share some knitted dishcloth patterns with you. I know, a departure from our usual offerings. These are simple projects that are perfect for the beginner knitter….like us! This is the first knitting project we’ve put together for this blog!

Free Knit Dishies

The back story: When my teenage neighbors taught me (Dana) to knit, the first project they showed me was Grandmother’s Favorite dishcloth. Later, after getting the hang of how to knit and purl, I wanted to spruce up the dishcloths a bit. So, I sought out other patterns and even charted my own (the smiley face is my own creation)! So, here you go.

Knitted Dishcloth Patterns –Details About The Dishies

The knitted dishcloth patterns are free and come with three designs. Along with written directions, there are charts are for the dishcloths with patterns in their centers.

Skill Level: Easy

Materials: Cotton Yarn

Here’s what’s included:

simple knit dishie1. Simple Knit Dishie

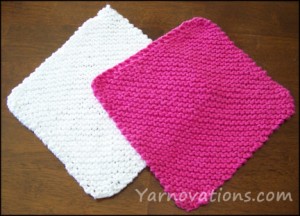
Perfect for the beginner. Pick up a beautiful variegated yarn and work up this simple knit dishie. It is knit on the diagonal using an increase and decrease and knit stitch.

A special thanks to my sister-in-law for sharing this with us. Thanks, Mary!

Measures 7 ½” square


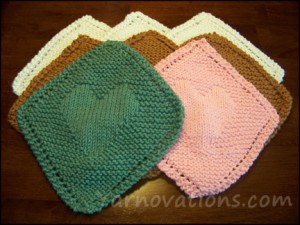
2. Heart in Grandmother’s Favorite Knit Dishie

heart dishieShare the love with a purled heart in Grandmother’s favorite dishie. People are impressed with this extra little touch. It takes a little extra time, but it’s chalk full of love and it shows.

The yarn over border also looks stunning when paired with the purled heart.

It looks best in solid yarns. It is knit on the diagonal using increase, decrease, knit and purl.

Measures 7” square


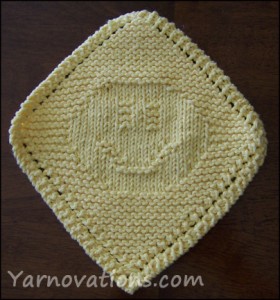
3. Smile on Grandmother’s Favorite Knit Dishie

smile dishieSpread cheer one dishie at a time with a fun twist on Grandmother’s Favorite. Kids will find dish duty more fun with this friendly dishie. Wait…so will adults!

It looks best in solid colored yarns. It is knit on the diagonal using increase, decrease, knit and purl.

Measures 7” square

Knitted Dishcloth Patterns – FREE Patterns

All three knitted dishcloth patterns are available in the store and on the Free Knitting Patterns page.

FREE Patterns

Feel free to print and share the patterns with friends and family.

Making these as gifts? Consider what color scheme your recipients would like. What color is their kitchen, for example. Or consider their personality. Would they prefer a white dishcloth so they can bleach it?

These fun and practical dishies will look beautiful and clean up nicely in any kitchen.