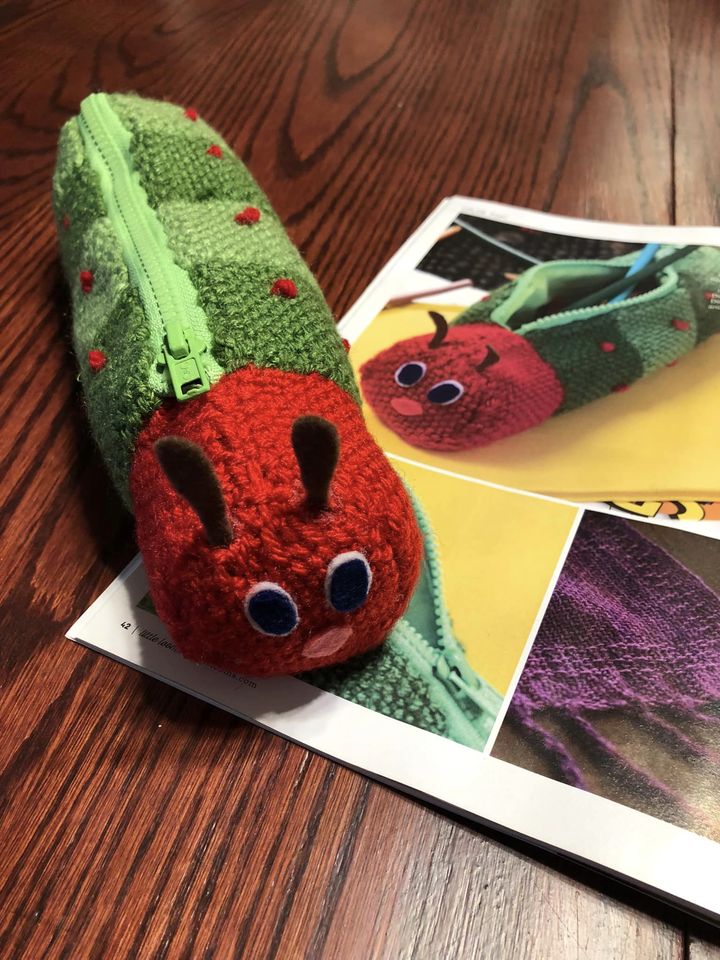
We’ve designed an adorable caterpillar pencil case for Little Looms Magazine. Isn’t it sweet!
We love this little pin loom woven creature. It’s the little finishing details that make it so cute. And those are really easy to make because they are just bits of felt fabric glued to the assembled project. But, wow, do they give this insect so much charm.
The caterpillar pencil case measures approximately 9 1/2″ x 3″ x 3″. Keep reading to learn more about the pin loom weaving caterpillar pencil case.

Caterpillar Pencil Case in Little Looms
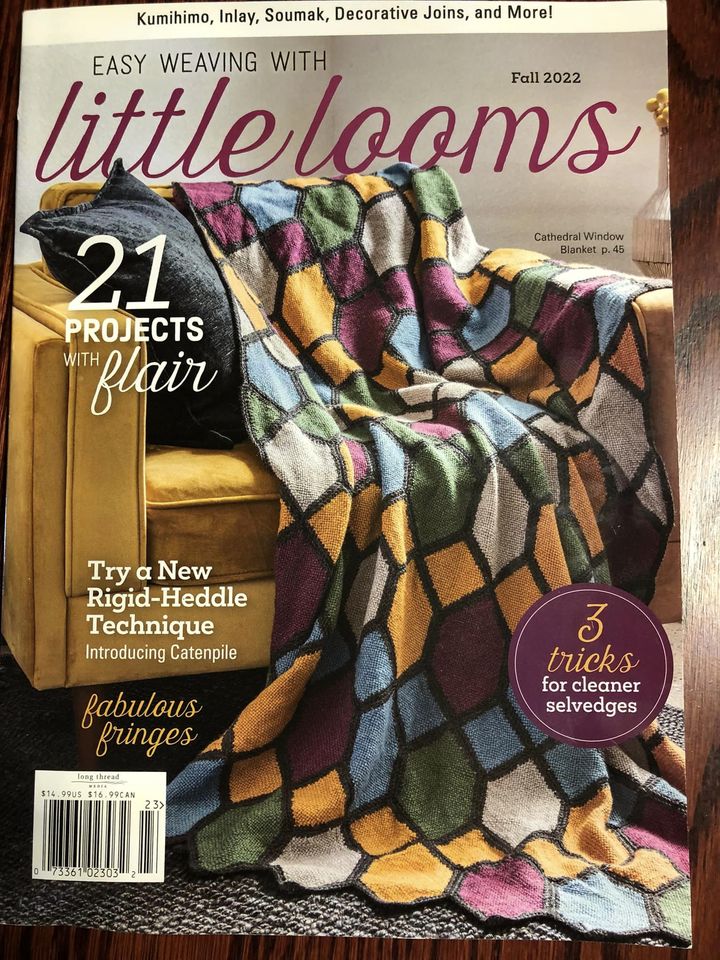
The Caterpillar Pencil Case made it’s debut in the Little Looms Fall 2022 issue. You can get the pattern by purchasing the digital issue of the magazine or becoming an all access member to Little Looms. Learn more at Little Looms website.

More about the Pin Loom Weaving Caterpillar Pencil Case
The caterpillar pencil case uses only 2 pin looms; a 4″ square and 2″x4″ rectangle. If you’ve needed an excuse to buy the 2″x4″ pin loom, than this is it! The materials list for this project are pretty minimal. Here’s what you’ll need to make the pin loom caterpillar pencil case:
- Pin Loom Square: 4″
- Pin Loom Rectangle: 2” x 4”
- Needles: 6″ weaving needle, tapestry needle, sewing needle
- YARNS: Lion Brand Yarns Vanna’s Choice (Acrylic, 170 yd/3.5 oz)
- #180 Cranberry, 20 yd
- #172 Kelly Green, 20 yd
- #171 Fern, 30 yd
- Zipper: green 8”
- Washable marker
- Fabric Glue
- Straight Pins
- Green Thread
- Optional: fabric and thread for lining
- Optional: Sewing machine
Caterpillar Pencil Case is Great for New Crafters
There are just a few techniques used to make the pencil case. If you’re new to crafting, than this is a great project to learn new skills.
First, the caterpillar body / the main portion of the bag, is made with a technique called pin loom weaving. The fabric is woven in plain weave which is the most basic form of weaving on a pin loom. You weave under one thread and over one thread across.
Second, there are embroidered French knots on the body to represent spots. Those are another great beginner friendly embroidery technique.
Third, is sewing a zipper into the project. This can be done by hand sewing a running stitch or back stitch. Both are sewing stitches everyone should have in their knowledge banks.
Fourth, and completely optional, is a lining. This can be hand sewn as well, but most people will pull out a sewing machine for this portion. Lining is added to the bag prior to attaching the zipper.
A lining is recommended because woven fabric has holes and it’s easy for additional holes and larger ones to be poked into it.

