Crochet Football Newborn Outfit & Team Hats for the Whole Family – Crochet Pattern
Hey football fans! Newborns score big with this newborn football outfit. This PDF ebook also includes hats for the whole family…so everyone can get into the game!
The Football Set crochet pattern ebook is now available in the store.
Football Set pattern available on Etsy.
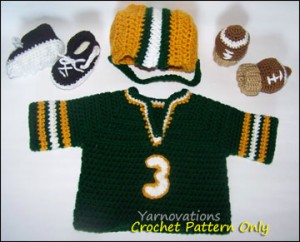
Pattern includes:
- Newborn Helmet
- Newborn Football Mitts
- Newborn Cleats Booties
- Newborn Jersey Sweater
- 5 Beanie Hat Sizes – 3 mos to adult men
- 3 Jersey Sweater Sizes – newborn to 24 mos
- Number Appliques: 1, 2, 3
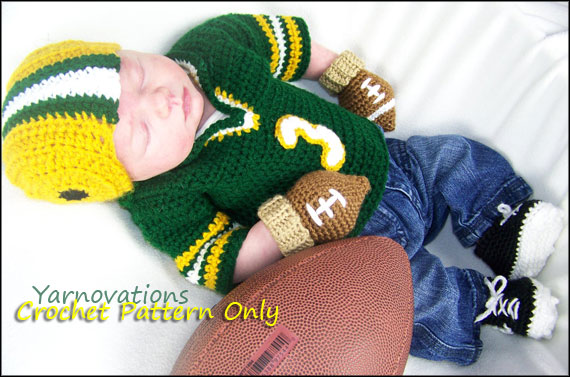
 Newborn Football Outfit
With a newborn in the family, we couldn’t resist crocheting a newborn photo prop to celebrate football season. And you know how it is…once we made some mitts, we couldn’t resist making some booties. Then we thought…if the little guy is really going to get into the game, he needs a helmet and jersey, too!
So, the newborn football outfit is born. But we couldn’t even stop there. We wanted to get the whole family involved.
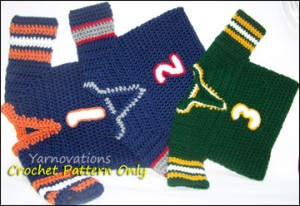
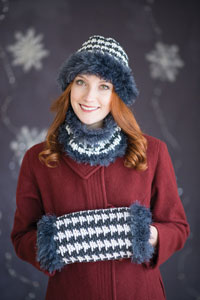
 Football Beanies – Hats for the Whole Family
Football is a fall and winter sport…and for lots of teams, you need a hat when you go to the game.
The pattern includes striped beanie hats for ages 3 mos to adult men.
Mix and match the colors to match your favorite teams.
And there’s more.
 Football Jersey – Sweater for Newborn to 24 mos.
We’ve included instructions for making the jersey (sweaters for babies) newborn to 24 mos. Crochet the number of your favorite player or the birth order of the child wearing the sweater.
We’ve included instructions for the numbers 1, 2 and 3.
Football Set – Available Now in the Store
The Football Set is now available in the store as a PDF.
Football Set pattern available on Etsy.
The pattern includes written instructions, lots of photos, checkboxes to mark your progress, supplies list and more.

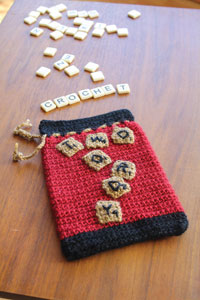


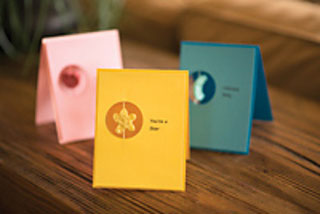
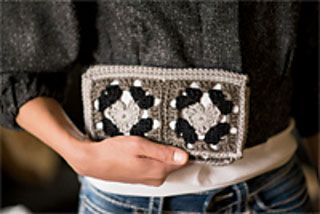
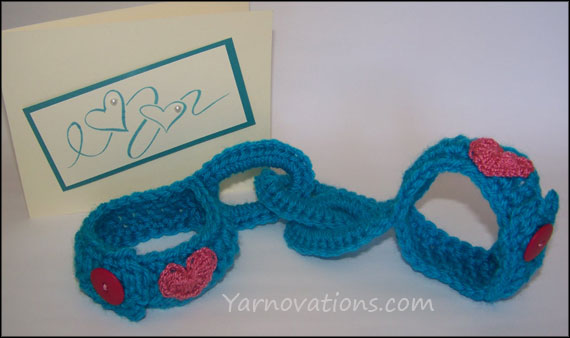
 I needed a gift for a friend who loves everything Victorian. So I created this Victorian Lace gift card holder for her, which she raved over, then promptly started using for her business cards.
