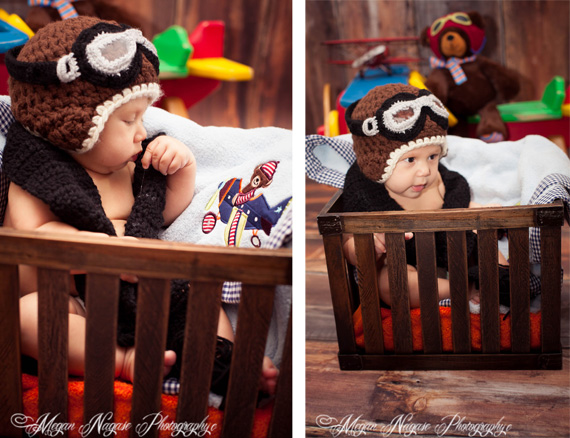
Baby Pilot
A new baby pilot…so sweet and adorable. Little ones like this fly straight into your heart with this hat, scarf and goggle set.

Cami Hickman-Adams crocheted this fun baby pilot set for photographer Megan Nagase. Cami modified the Bomber Hat Set a bit but kept the overall look and feel of the piece. Nice work Cami!
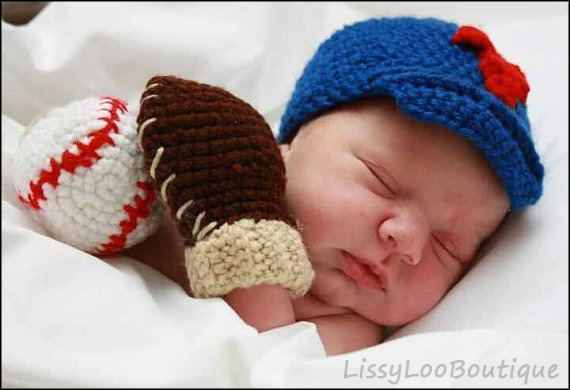
Baby Pilot Set Available For Purchase
Crocheted Set
Cami crochetes finished pieces at Cami’s Creative Commodities. Contact her on Facebook for your own baby pilot hat and google set!
Crochet Pattern Only
Buy the Aviator Set pattern in our store and crochet the set yourself. This sent includes 6 hat sizes, 3 adjustable goggles and 3 scarves. The whole family can take to the skies in this set.
Aviator Set pattern also available on Etsy.
Here are more fun photos of this adorable baby pilot.
Photography Information
A special thank you to Megan Nagase for sharing these lovely photo. Megan is located in Frisco, Texas and works in the Dalls/Fort Worth area. She specializes in children and boudoir photography. You can learn more about her work at Nagase Photography.
 Happy Chinese New Year
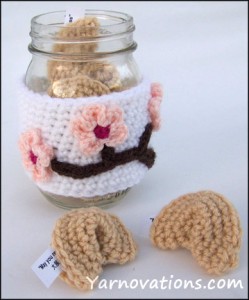 Jar Cozy Instructions :
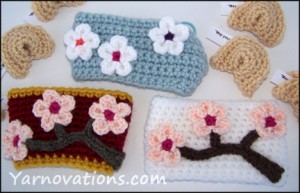 Branch Instructions:
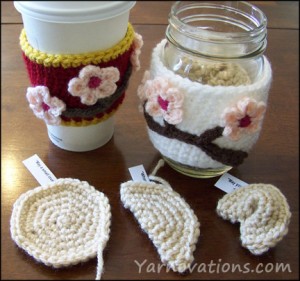 We’re mixing our cultures with this jar cozy. The traditional Chinese New Years gift would be a red envelope of money (i.e. $8 for luck…or increments of $8).
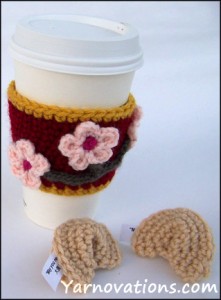 Beige
Beige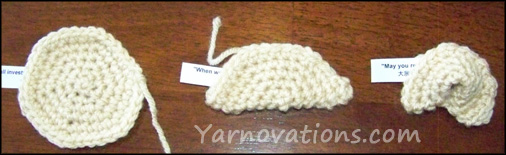


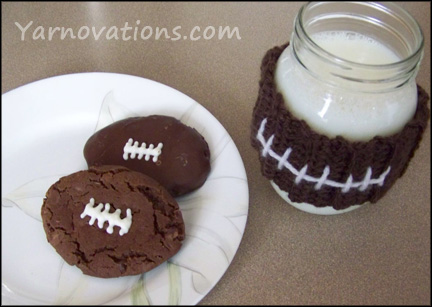
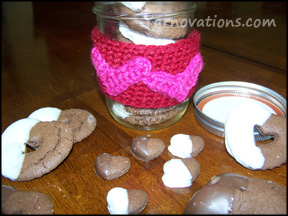

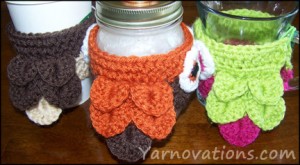
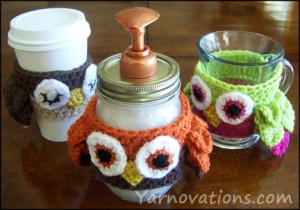 It’s a hoot making this mason jar soap dispenser with crochet owl cozy! This woodland creature makes washing hands fun. Those great big eyes won’t miss a thing.
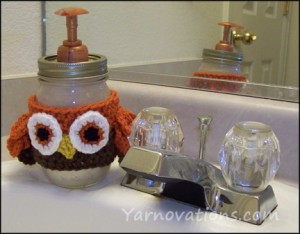 We’re taking the easy way out…and creating a mason jar soap dispenser from an existing soap dispenser. Its best if you select your yarn colors first…then you can bring them to the store to help select a dispenser pump in a color that will coordinate well.
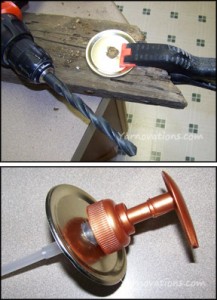 DIRECTIONS:

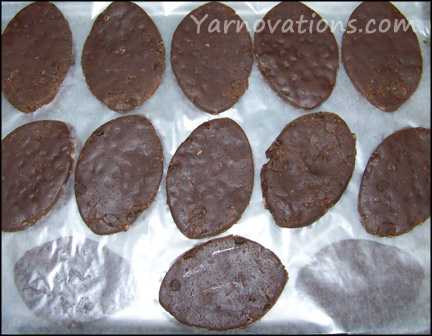
 1. Preheat oven to 350°.
 7. Pour 1/4 cup of caramel and milk mixture into each jar.
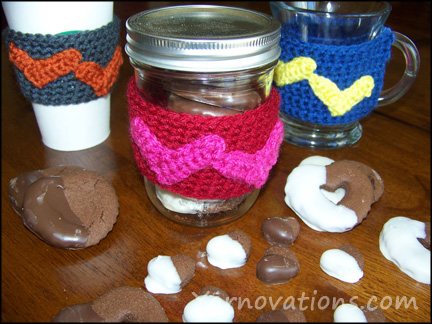
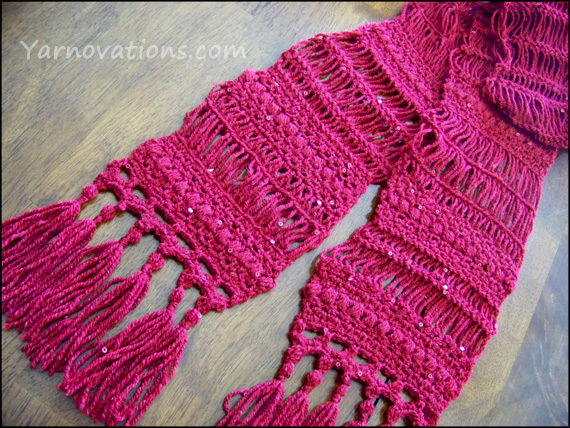
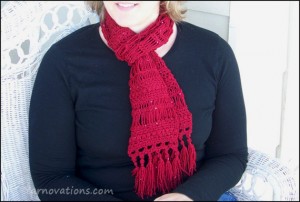
 Raspberry
 We’ve cooked up this Tuxedo Chocolate Covered Almonds recipe with coordinating Tuxedo Jar Cozy…’cause it’s party time!
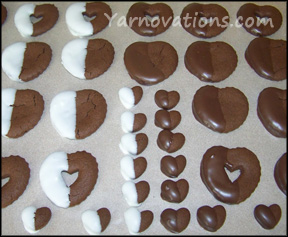
 Melt 4 oz of Chocolate Almond Bark in microwave (stirring every 30 seconds). Holding the Vanilla coated almond at the widest end, dip the side edge of the almond into the Chocolate Almond Bark, turn and dip the other side edge. Scrape excess off back. Lay on parchment paper to cool and harden.
 Lightly squeeze bag as you create bow tie following the arrows. Stop squeezing at the bottom of the right most arrow. As you pull up and away from the almond, move the bag toward the start of the bow tie (top left).
 Black
Black
