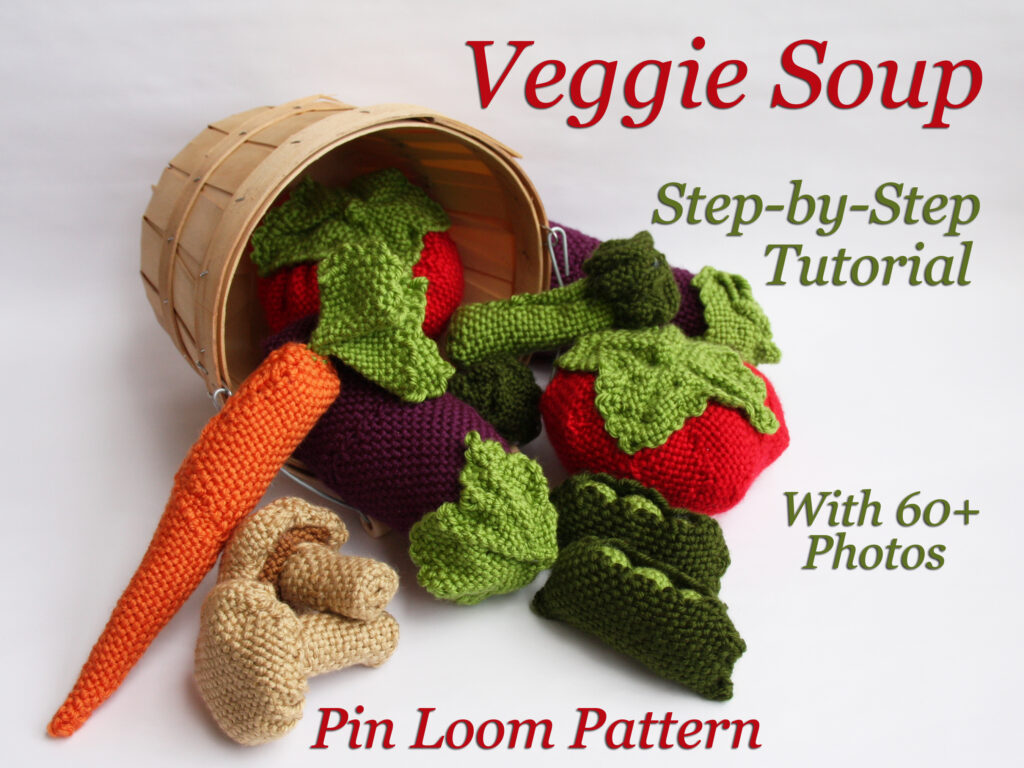
Veggie Soup Pin Loom Tutorial

Pin loom woven fruits and vegetables.
Weave delicious looking fruits and vegetables with 4″ pin loom squares

Veggie Soup Step-by-Step Tutorial

Carrots, tomatoes and mushrooms, oh my! This photo tutorial has 60+ photos and will show you how to fold, roll, tuck and sew 4″ pin loom woven squares into these deliciously fun shapes. It’s surprisingly easy!

Yes, you need only one pin loom…the 4″ square. All of the fruits and veggies were made with one loom.

Instant PDF Download Available Now

This Veggie Soup Pattern is available as a PDF digital download at Etsy.com.

Available now on our Etsy Shop.

Buy Now on Etsy

The veggies first appeared in Little Looms 2018, a publication of Long Thread Media. We have shared rights to the pattern and it’s now available as an instant download in our Etsy Shop.

Step-by-Step Guide Includes:

  • Eggplant
  • Peas in a Pod
  • Mushroom
  • Carrot
  • Tomato
  • Broccoli
  • 60+ beautiful color photos
  • 18 well organized pages
  • Easy to follow written instructions
  • Materials list
  • Directions to make 6 fruits and vegetables including: Broccoli Florets, Carrots, Eggplant, Mushrooms, Peas in a Pod and Tomatoes.
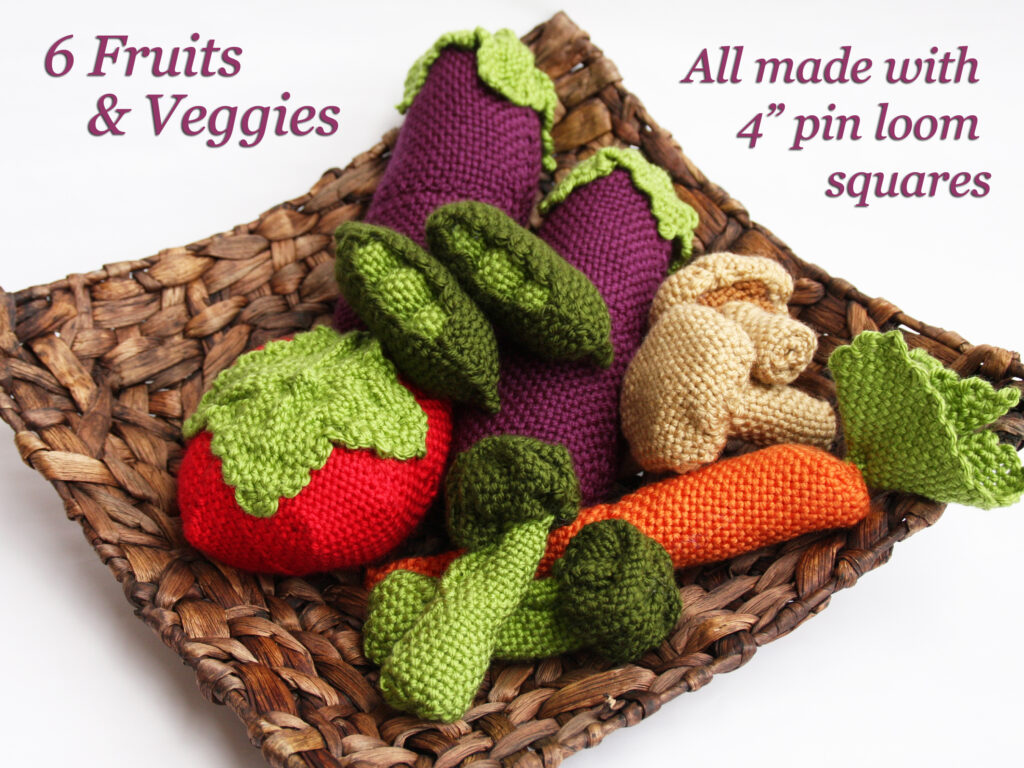
Cornucopia of fruits and vegetables make from 4" pin loom squares
Make your own cornucopia of pin loom fruits and vegetables.

Pattern Available at Etsy

Get instant access to the Veggie Soup Pin Loom Pattern by purchasing it from our Etsy shop.

Available now on Etsy

Buy Now on Etsy

Flower Blanket Weave Along and Pattern

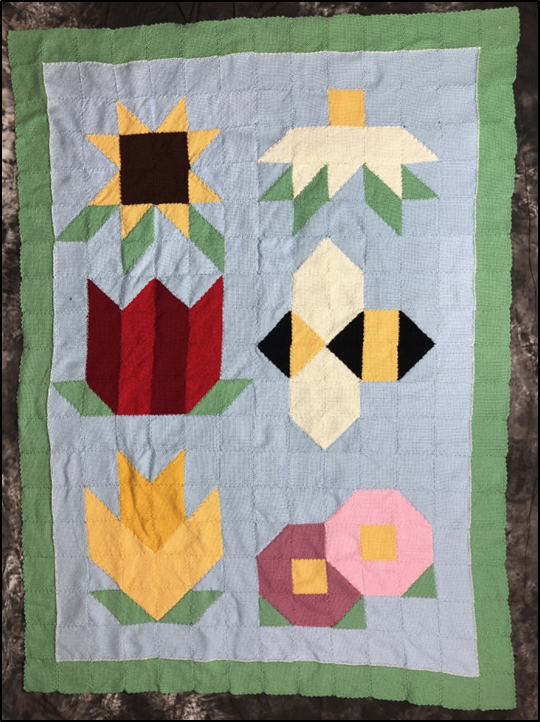
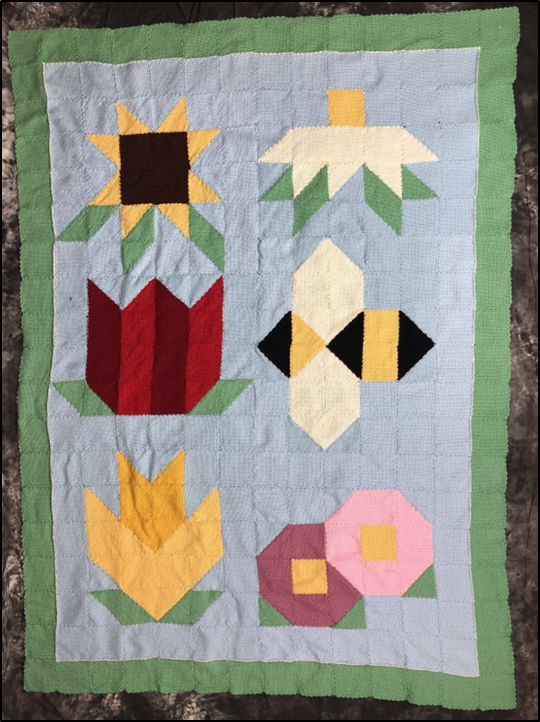
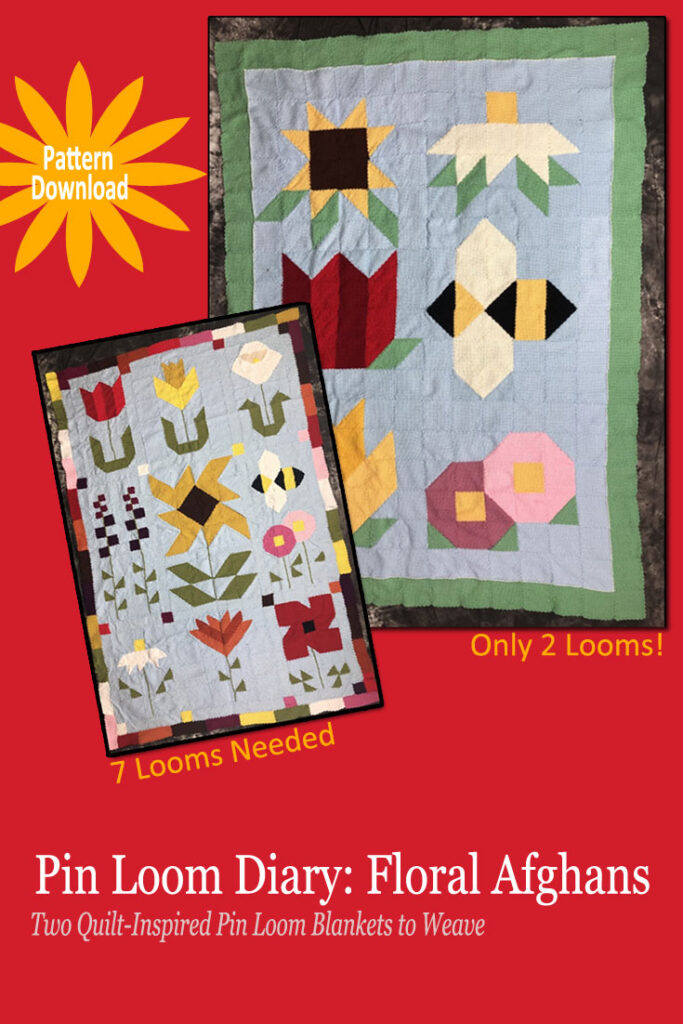
If you love flowers and you love to pin loom weave, you’ll love this weave along! We’re making a floral lapghan. It has five iconic flowers and an adorable bee. Flowers in the pin loom blanket include sunflower, tulip, daffodil, daisy, and zinnias.

The flowers are all woven with the same background so they join together seamlessly. You can create a border in any color, we chose to use the green of the leaves which creates a sense of boundary but also allows the flowers to really take all the attention.

What You’ll Need

  • Floral Afghans Pattern (Buy this bonus bundle or join the facebook group mentioned below).
  • Pin Looms: 4″ square and 4″ triangle
  • Yarn: Caron Simply Soft or medium worsted weight (4) yarn

This is a beginner friendly project because all the shapes are woven in plain weave. And only two pin looms are needed: the 4″ square and 4″ triangle. The floral afghan measures approximately 56″x76″. This blanket was woven with Caron Simply Soft which is a worsted weight yarn. You can use any worsted weight yarn but note that Caron Simply Soft is a little bit thinner than some which makes it a great choice for beginners.

How the Weave Along Works

We’ll weave one motif each month for six months, then assemble the final blanket in the seventh.

Where to join the Weave Along

We share the free pattern with chart in the Pin Loom Weaving Support Group on Facebook. If you’re not a member, it’s free to join, too.

The weave along pattern will list materials needed such as yarn and pin loom shapes. It will include a couple charts: one of the flower layout, the other with the number of shapes and how many are needed.

At the beginning of each month we’ll post the pattern to the group. The pattern and chart will be uploaded to the files folder in the Facebook group and will be available at any time. If you join the Facebook group in the future, no worries, the pattern can be found in the files.

When you finish a flower or bee, take a picture and post it to the group and mention the weave along. It’s that simple.

If you’re familiar with Files in Facebook, you know that they are clunky, unorganized and can be a real pain to sort through. We’ve created a full PDF of the Flower Blanket and bundled it with a second flower blanket!

Flowers Pin Loom Blankets Pattern Bundle

If you’re really into flowers, you’ll love this Pin Loom Flower Blanket bundle. It includes the simple weave along blanket and the more detailed flower blanket.

The Pin Loom Flower Afghans Pattern is available in our Etsy Shop.

Buy Now on Etsy

Get your pattern today and weave at your own pace. Then when all the shapes are joined together, you can sit back, relax and enjoy the view.

Want to know more about both blankets in the bundle? Check out the blog post Pin Loom Diary: Floral Afghans for more details.

Pin Loom Diary: Floral Afghans Pattern

Flower Blankets to Pin Loom Weave

First you make one flower, then another. Before you know it, you have a garden of flowers and a little bee, too!

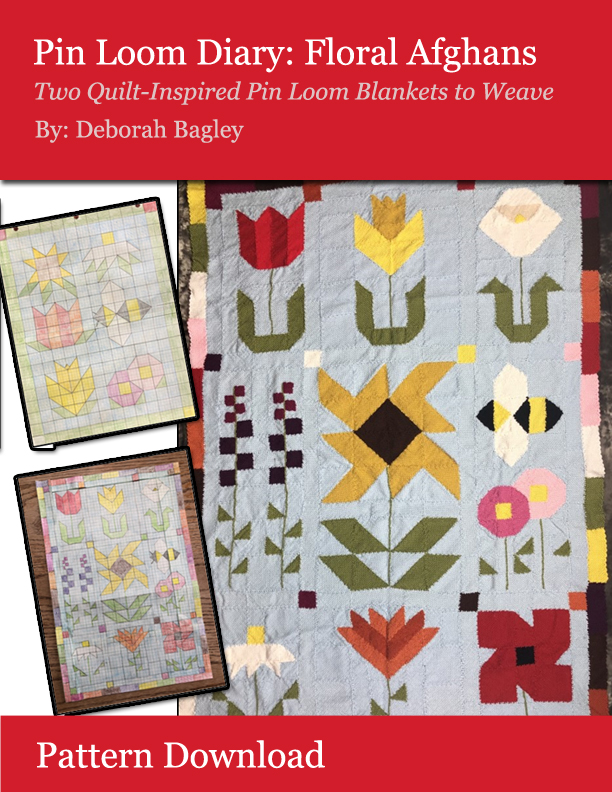
We’ll confess, the first blanket we wove was the detailed one. It has 9 flowers and 1 bee. And it takes 7 pin loom shapes including squares, triangles and rectangles. And we love it. And we wanted every pin loom weaver to make one. But….not all pin loom weavers have 7 pin looms let alone the ones used in this pattern. So, a more simplified version was created. And it uses only 2 looms. Now everyone can weave their own flower garden!

About the Pin Loom Flower Afghan Pattern

This is great for beginners and experienced weavers alike as every shape is woven in plain weave.

There are two blankets in this Pin Loom Diary: Floral Afghans Pattern available in our Etsy Shop. Each has it’s own unique design and appeal.

Blanket A is the simple version with 5 flowers and a bee. The flowers are larger and the border is a solid color. It uses only 2 pin looms. The finished afghan measures approximately 56″x76″.

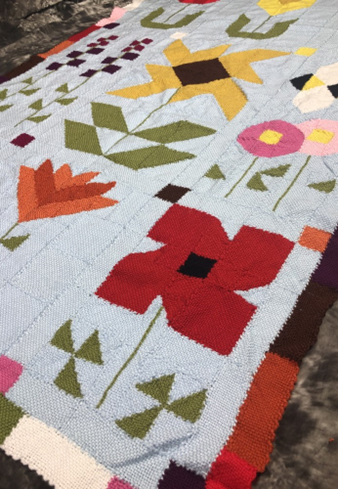
Blanket B is a more detailed version and has 9 flowers with stems and a bee. The flowers are smaller to allow space for leaves and stems. It uses 7 pin looms. The background and border on the detailed blanket is more quilt-like with pops of color sprinkled throughout. The finished afghan measures approximately 48″x72″.

What’s Included in the pattern:

  • 2 Flower Afghan Patterns
  • 16 pages
  • Charts of flowers and bees
  • Table of each shape, color and quantity needed for each motif
  • Table of total number of shapes, color and quantity needed for each blanket
  • Complete materials list
  • Pattern for simple flowers: sunflower, tulip, daffodil, daisy, zinnias
  • Pattern for detailed flowers: tulip, delphinium, daisy, daffodil, sunflower, indian paintbrush, calla lily, zinnia, poppy

PDF Instant Download Available Now

The Floral Afghans Pin Loom Pattern is now available in our Etsy Shop.

Available on Etsy.

Buy Now on Etsy

What You’ll Need:

With Flower Afghans Pin Loom Pattern in hand, here is a list of the other items you’ll need to weave one or both of these floral afghans.

  • Yarn: Caron Simply Soft or any medium worsted weight (4) yarn
  • Blanket A uses 11 colors
  • Blanket B uses 15 colors
  • 6″ needle for weaving and yarn needle for sewing
  • Blanket A Pin Looms: Square 4″ and Triangle 4″
  • Blanket B Pin Looms: Square 4″, 2″, 1″ and Triangle 4″, 2″ and Rectangle 2″x4″ and 2″x6″

These designs can be used for more than just afghans. We’ve made pillows and garden flags, too. What will you make with these flower shapes?

Oh, and be sure to join the Pin Loom Flower Afghan Weave Along in the Pin Loom Support Group on Facebook!

Pin This to Pinterest

Share the love: pin this photo to Pinterest.

Floral Afghans Pattern Now Available

Are you ready to weave your own garden of flowers?

The Pin Loom Diary: Floral Afghans is available as a PDF download in our Etsy Shop.

Available now on Etsy.

Buy Now on Etsy

Sheep Pillow Published in Little Looms

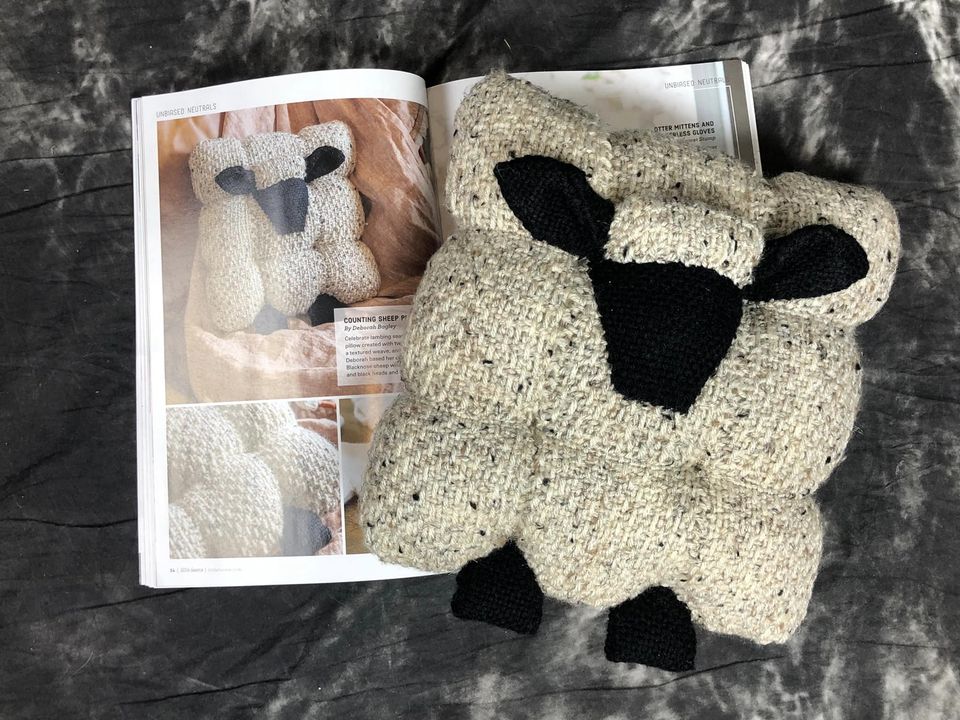
Sheep are neat and so are pillows that look like them! Deborah designed an adorable sheep pillow using yarn and pin loom woven shapes.

We love this pillow because it’s fairly easy to make, yet has lots of little details that make it quite interesting. The 4″ squares give it a puffed / quilted look. The woven texture of each square adds more interest. The fleck in the yarn adds still more depth.

Sheep Pillow Pin Loom Pattern in Little Looms Magazine

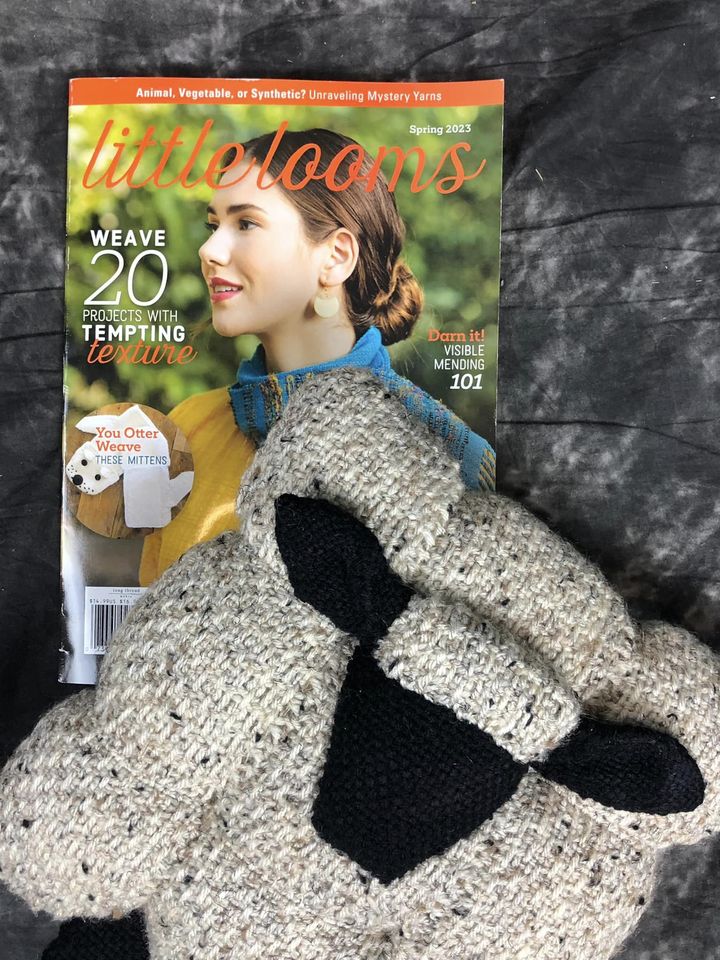
Little Looms Magazine first published this “Counting Sheep” pattern in their Spring 2023 issue. You can access the pattern either by purchasing that single issue or joining their all access subscription service.

About the Pin Loom Sheep Pillow Pattern

The finished size is approximately 10″ x 11″ x 4 1/2″.

There are two weaving structures: plain weave and Loomette Weave #1. Check out our blog post for the Loomette Weave #1 pattern. Here are the supplies needed to make your own Pin Loom Sheep Pillow:

  • Pin Loom Square: 4″
  • Pin Loom Rectangle: 2” x 4”
  • 5” weaving needle
  • Tapestry Needle
  • Yarns: Lion Brand Yarns Vanna’s Choice Heather (92% acrylic/8% rayon; 145 yd/3 oz), #400D Oatmeal, 160 yd.
  • Lion Brand Yarns Vanna’s Choice Solid (100% acrylic, 170 yd/3.5oz), #153 Black, 40 yd.
  • Stuffing
  • Pins

It’s really fun to see how many people find this project so appealing. Even though it’s pin loom woven, we find that fiber enthusiasts of all kids find this little guy irresistible. So do farmers and city folk…and people who like to count sheep before they nod off to sleep.

Wolf Pencil Case Pin Loom Pattern

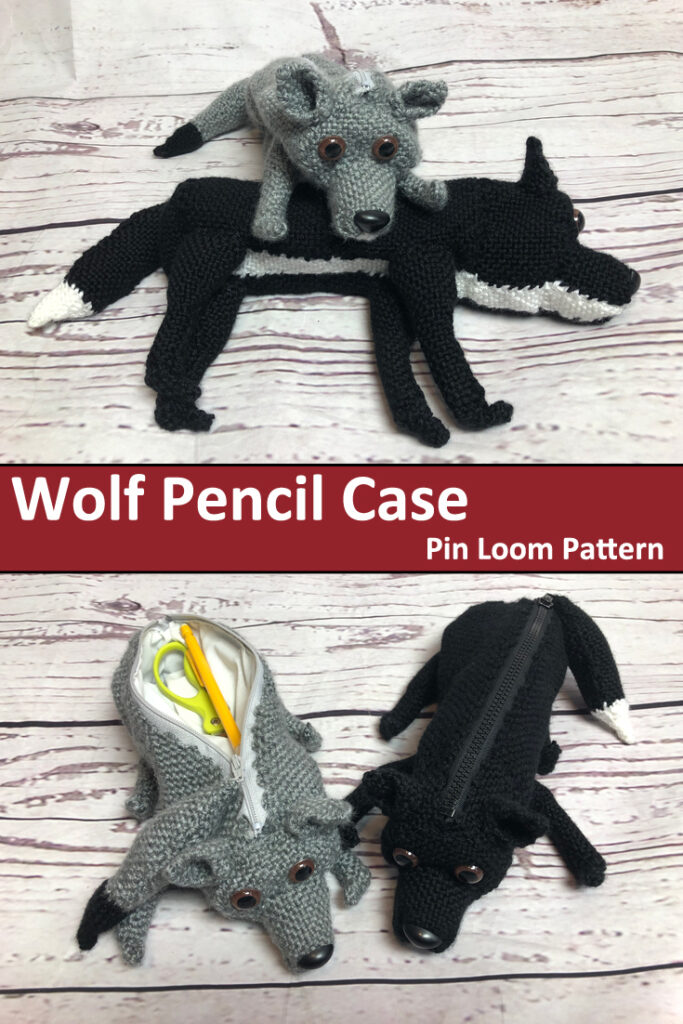
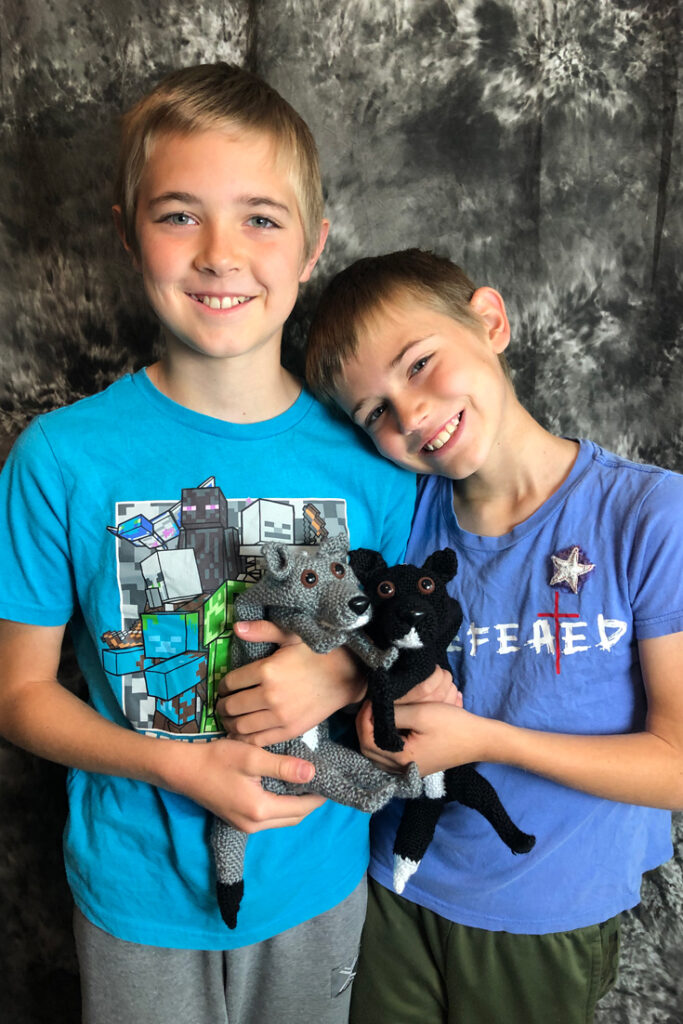
There’s no need to scratch and claw through the junk drawer looking for a pen. Make your own wolf pencil case with yarn and pin looms to store them in. These are great for holding pens, pencils, crochet hooks, mini scissors and more. And since it’s pin loom woven, you can even weave your needle through the outside of the case when you’re not using it.

The wolf pencil case measures approximately 12” long x 7” tall x 4” wide.

Pin These Pictures to Pinterest.

Share the love, pin this image to Pinterest.

Wolf Pencil Case Available on Etsy

The Wolf Pencil Case Pin Loom Pattern is now in our Etsy Shop.

Available now on Etsy.

Buy Now on Etsy

About the Wolf Pencil Case Pin Loom Pattern

This pencil case was a special request from one of the boys…he wanted a coyote. Both wolves and coyotes are a bit dog like, so sure, it’s not a wolf, it’s a coyote!

The pattern is 5 pages which includes step-by-step written instructions. There are 10+ photos that show the pencil case at different points of construction. Instructions are for the grey wolf, though step-by-step photos are often for the black dog. The shape for the black dog and grey wolf are the same.

Here’s what you’ll need to make the Pin Loom Wolf Pencil Case:

  • Pin Loom Square: 1”, 2”, and 4”
  • Pin Loom Rectangles: 2”x4”, 1”x4”
  • Yarn:   Red Heart: Soft – Medium (4), acrylic, 5 oz/256 yds
  •             Grayscale #9931
  •             Black #4614
  •             White #4600
  • Needle:           6” needle for weaving and yarn needle for sewing
  • Safety eyes: (2) 14mm
  • Safety nose: 2cm
  • Zipper: 9” in color of yarn
  • Fabric for lining: approximately 12” x 12”
  • Can – with 2 5/8” diameter for helping sew the ends to the body of the pencil case (optional)
  • Notions: straight pins, needle and thread

Please note that there are not photos to match each step-by-step written instruction. But there are photos throughout the pattern to help provide clarity.

PDF Instant Download Available

Buy the Wolf Pencil Case Pin Loom Pattern in our Etsy Shop.

Available Now on Etsy.

Buy Now on Etsy

The pattern is for your eyes only. We encourage you to give away or sell your finished work as long as you credit yarnovations.com as the designer.

Giraffe Pin Loom Pillow in Little Looms

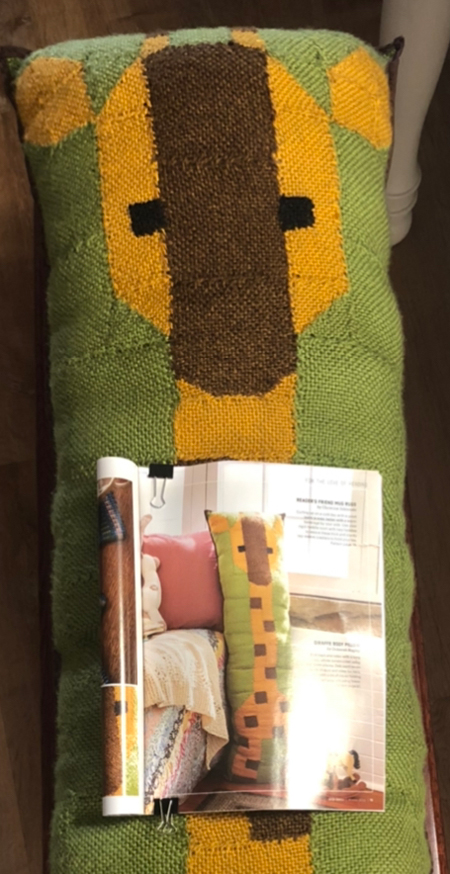
The worlds tallest mammal is now the worlds tallest pin loom pillow. Ok, we just made that up. But it might be true. This giraffe pin loom body pillow measures approximately 16″ wide x 49″ tall. If it’s not the tallest pin loom pillow, we don’t know what is!

Kick back and relax with your very own cozy long-necked friend. This large pin loom body pillow has a quilt-like front and a fabric back, sewn together with a binding edge. There is shaping and layering on the nose portion of the giraffe, otherwise, each woven shape is sewn to the shapes next to it like a puzzle.

Giraffe Pin Loom Pillow available at Little Looms

We designed the Giraffe Pin Loom Pillow for Little Looms magazine and it made it’s debut in the Little Looms Magazine Winter 2022. To get the pattern, you can purchase a digital copy of the magazine or join their all access program. Learn more on the Little Looms website.

About the Giraffe Pin Loom Body Pillow Pattern

As we’ve said, this giraffe pillow is tall, so there are a lot of shapes to weave. It’s kind of like weaving a lapghan only more cuddly. To cut down on the weaving, we’ve attached a fabric back. But you could certainly weave squares for the back as well.

Everything is woven in plain weave.

Here’s what you’ll need to make your own Giraffe Pin Loom Pillow:

  • Pin Loom Squares: 1”, 2”, and 4”
  • Pin Loom Triangles: 2” and 4” right triangles
  • Pin Loom Rectangles: 2” x 4” and 2” x 6”
  • Needle: 7″ weaving needle; tapestry needle; sewing needle
  • Sewing Machine (though you could hand stitch the project)
  • Yarns Lion Brand Heartland (100% acrylic; 251 yd/5 oz), #173 Everglades, 370 yd; #158 Yellowstone, 160 yd; #124 Big Bend, 70 yd; #153 Black Canyon, 1 yd.
  • Fiber-fil
  • 17” x 50” fabric
  • 4 yds brown double fold ¼” bias tape,
  • brown thread

Enjoy!

Caterpillar Pencil Case in Little Looms

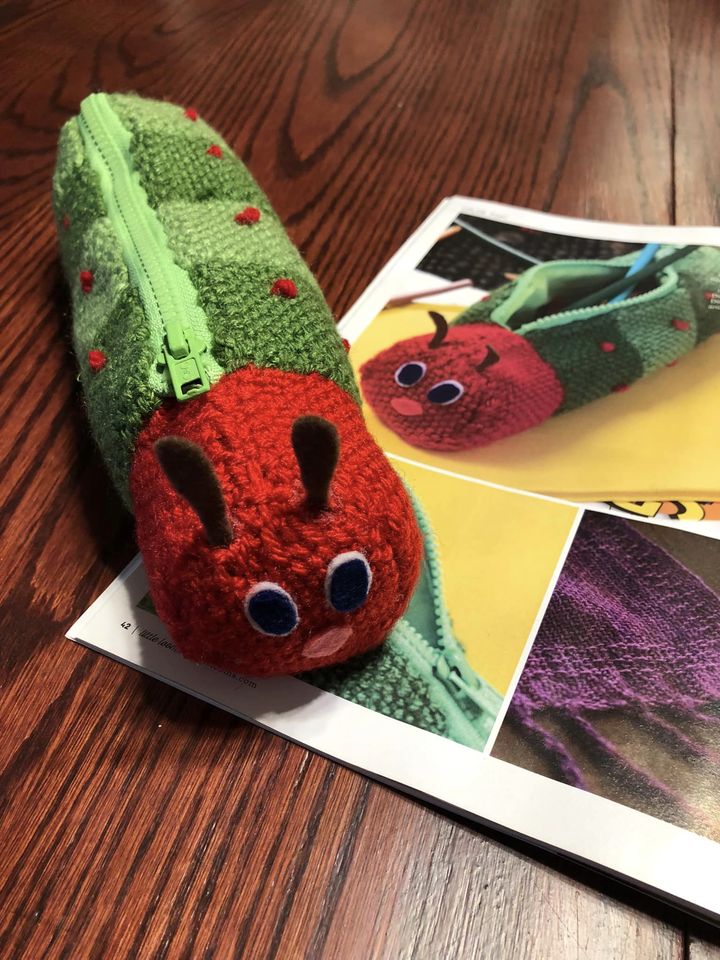
We’ve designed an adorable caterpillar pencil case for Little Looms Magazine. Isn’t it sweet!

We love this little pin loom woven creature. It’s the little finishing details that make it so cute. And those are really easy to make because they are just bits of felt fabric glued to the assembled project. But, wow, do they give this insect so much charm.

The caterpillar pencil case measures approximately 9 1/2″ x 3″ x 3″. Keep reading to learn more about the pin loom weaving caterpillar pencil case.

Caterpillar Pencil Case in Little Looms

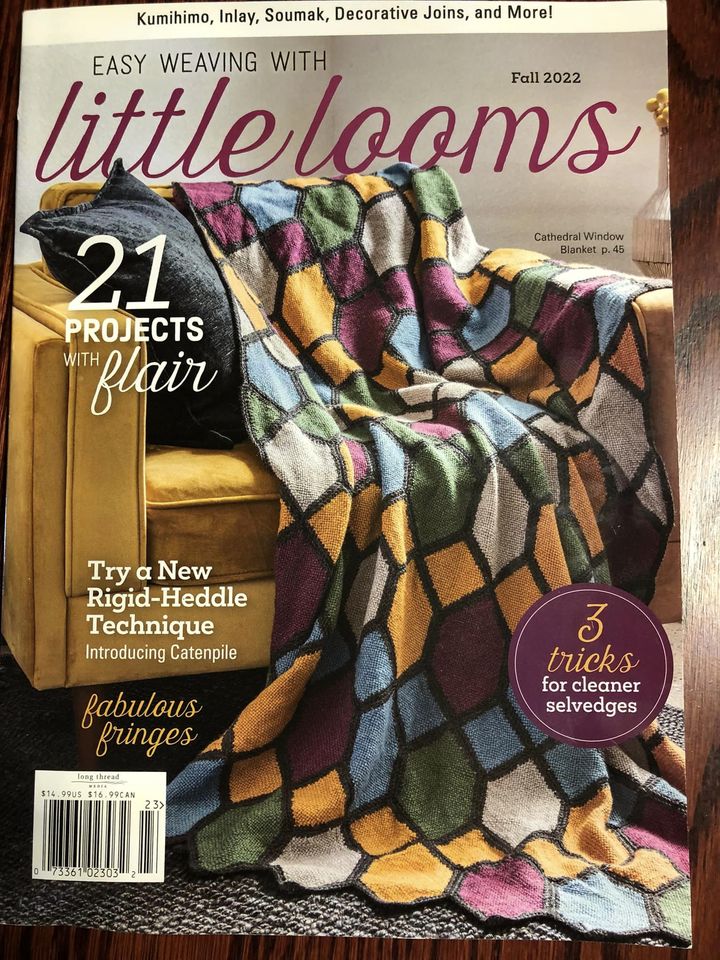
The Caterpillar Pencil Case made it’s debut in the Little Looms Fall 2022 issue. You can get the pattern by purchasing the digital issue of the magazine or becoming an all access member to Little Looms. Learn more at Little Looms website.

More about the Pin Loom Weaving Caterpillar Pencil Case

The caterpillar pencil case uses only 2 pin looms; a 4″ square and 2″x4″ rectangle. If you’ve needed an excuse to buy the 2″x4″ pin loom, than this is it! The materials list for this project are pretty minimal. Here’s what you’ll need to make the pin loom caterpillar pencil case:

  • Pin Loom Square: 4″
  • Pin Loom Rectangle: 2” x 4”
  • Needles: 6″ weaving needle, tapestry needle, sewing needle
  • YARNS: Lion Brand Yarns Vanna’s Choice (Acrylic, 170 yd/3.5 oz)
  • #180 Cranberry, 20 yd
  • #172 Kelly Green, 20 yd
  • #171 Fern, 30 yd
  • Zipper: green 8”
  • Washable marker
  • Fabric Glue
  • Straight Pins
  • Green Thread
  • Optional: fabric and thread for lining
  • Optional: Sewing machine

Caterpillar Pencil Case is Great for New Crafters

There are just a few techniques used to make the pencil case. If you’re new to crafting, than this is a great project to learn new skills.

First, the caterpillar body / the main portion of the bag, is made with a technique called pin loom weaving. The fabric is woven in plain weave which is the most basic form of weaving on a pin loom. You weave under one thread and over one thread across.

Second, there are embroidered French knots on the body to represent spots. Those are another great beginner friendly embroidery technique.

Third, is sewing a zipper into the project. This can be done by hand sewing a running stitch or back stitch. Both are sewing stitches everyone should have in their knowledge banks.

Fourth, and completely optional, is a lining. This can be hand sewn as well, but most people will pull out a sewing machine for this portion. Lining is added to the bag prior to attaching the zipper.

A lining is recommended because woven fabric has holes and it’s easy for additional holes and larger ones to be poked into it.

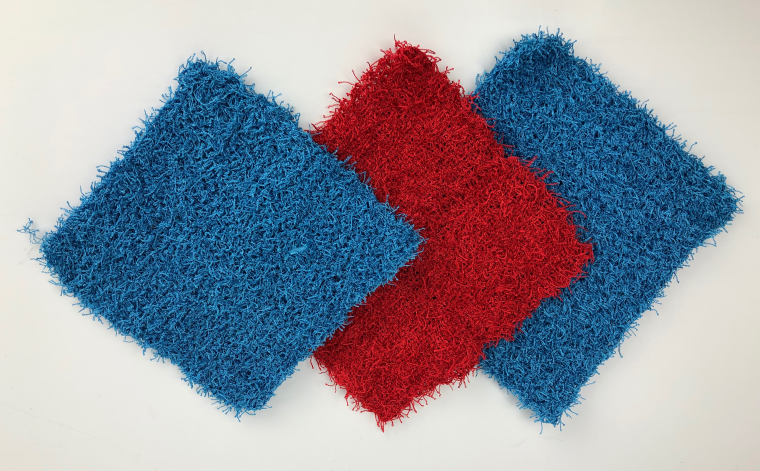
Scrubby Dishcloths

Pros and Cons of Knit, Crocheted and Woven Dishcloths using Scrubby Yarn.

Though I enjoy using any of the scrubby dishcloths, there are definitely some pros and cons to each type. Let’s take a look at each one separately.

Knit

The Knit dishcloth was the easiest one to make. It was easiest on which to find the stitches. I made mine 25 stitches wide using the garter stitch with size H needles. I did not count the rows, so I’m really not sure how many there are, and it’s nearly impossible to count! It has the nicest drape and is stretchy. It is fairly thin and fits nicely in glasses and pots.

Crochet

The crocheted one was the fastest to work up. I also worked it 25 stitches across and the number of rows needed to make it a square using an H hook. It was very difficult to find the stitches, so I had to count my stitches every row. It was surprisingly not too difficult to pull out stitches if I missed a loop. It is the thickest dishcloth and has a moderate amount of drape. It feels bulky in comparison, but feels very sturdy for washing.

Pin Loom Woven

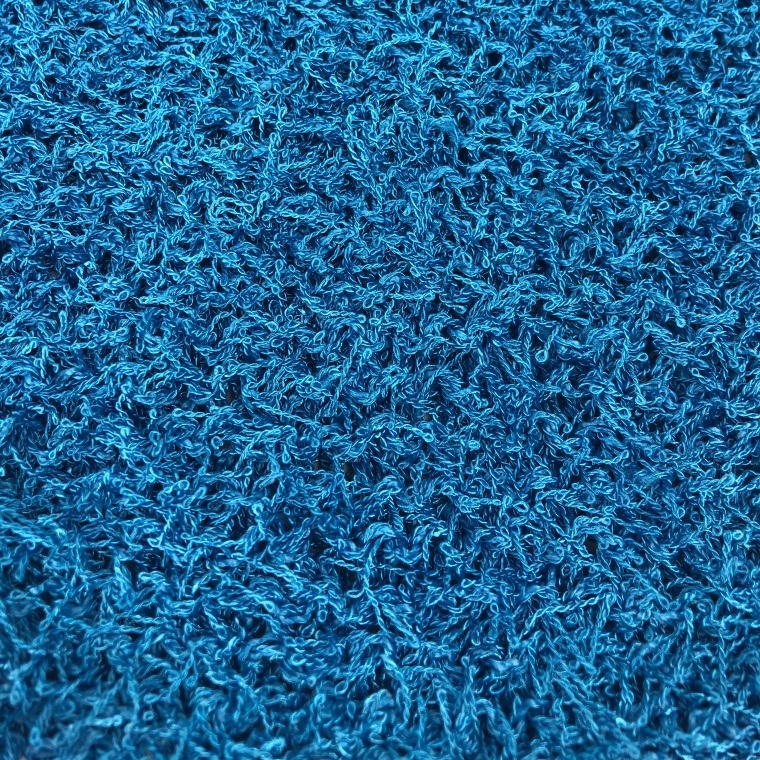
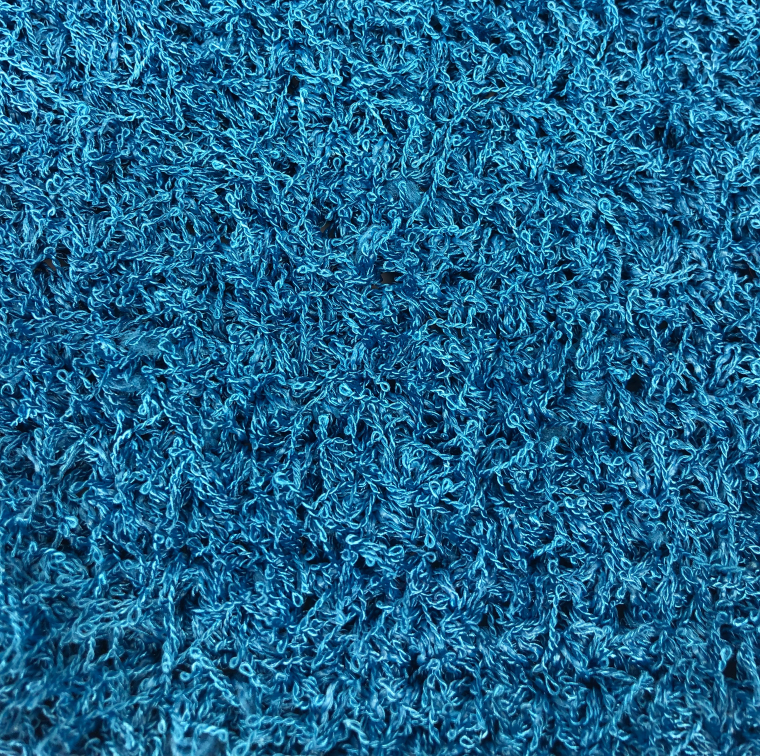
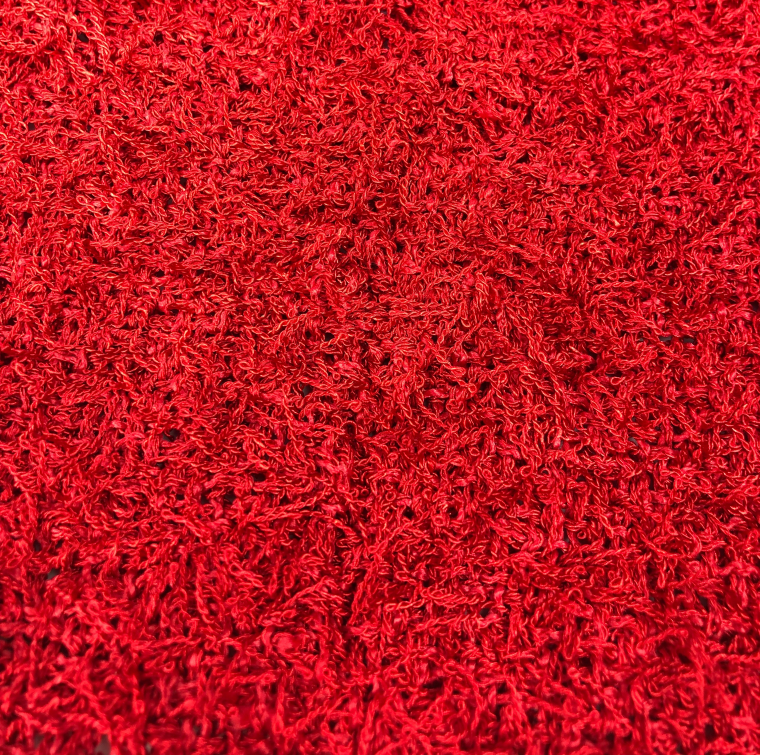
The pin loom woven dishcloth was the most difficult to make. I sewed four 4″ squares together. I wove the squares on the Zoom Loom, a 3-pin arrangement with 3 warp layers. The weaving needle often caught in the middle of a warp strand and was very difficult to pull through. I tried exaggerating the weaving motion, but that only helped a little. It was also very difficult to sew the squares together as it was hard to see the loops on the edges. The sewing needle often went through the strands and were difficult to pull through. It is the thinnest dishcloth and most static. It does not stretch. Because it is the thinnest, it fits into cups and bottles the easiest. And despite the frustrations to weave, it is fun to use.

*It might be easier to weave a 2-warp square, as there will be fewer layers around which to maneuver, though I’ve not tried this. Some weavers have found it much easier to warp the loom in cotton, and only weave with the Scrubby yarn. That would most certainly take away almost all of the difficulties I mentioned before. Continuous weaving would also be much easier, like on the Turtle Loom or other continuous weaving looms. Speaking of which, now I want to see how a hexagonal dishcloth works up!

All of the dishcloths were made using Red Heart Scrubby yarn. The woven one used the least amount of yarn and will make 11 squares, enough for 2.75 dischloths. The knit dishcloth used slightly more yarn and will easily make two dishcloths. The crocheted dishcloth used the most yarn, but you should still get two scrubbies of 25 stitches wide using an H hook.

Little Looms 2017 Patterns

Two New Pin Loom Patterns

Two of my pin loom patterns appear in the 2017 Little Looms magazine by Handwoven. You are going to love them.

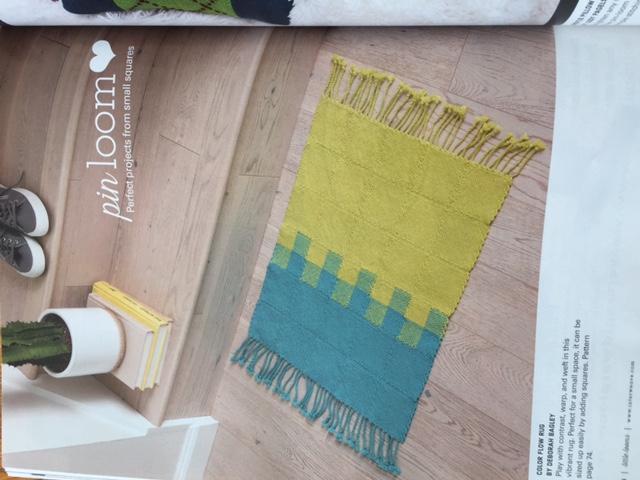
Pin Color Flow Rug

First, the Color Flow Rug. I call it Color Flow because the colors transition nicely due to the quadrant squares between the solid squares. Because you change colors during the warping and weaving process, part of the square is solid, and part of the square is a mixed color. The twisted cord tassels really finish off the rug nicely.

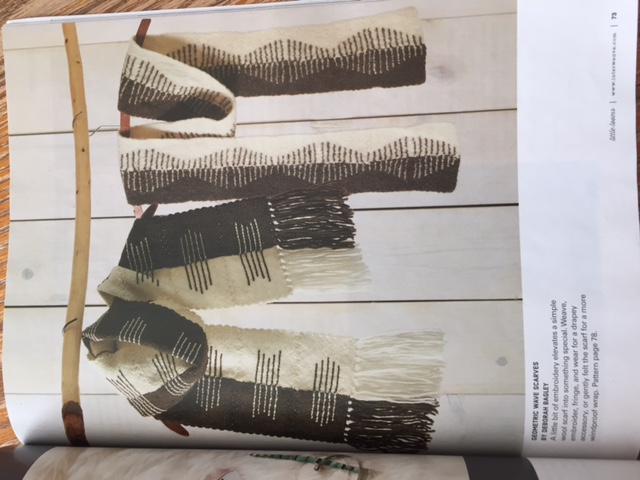
Pin Geo Waves Scarves

Second, the Geometric Waves Scarves. These striking scarves are actually just solid squares sewn with a dark color on one half and a light color on the other. The lines are all embroidered on. If you use wool, it can be felted. Just be sure to make it extra long as it will shrink in the felting process!

Check out these and more great patterns in the 2017 Little Looms magazine.

What are you weaving?

Pin Loom Woven Gift Bags

Weave your own gift bags!


img_3526

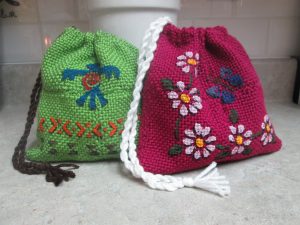
Christmas is four days away and I decided today that I just had to weave 8 little drawstring gift bags for family members! Shouldn’t be too hard with a toddler and preschooler around. Not to mention that there is paint involved. What could go wrong?

I love these bags because they can be personalized to match the recipient and can be made for any season or reason. The color of yarn and stencil do all the work!

What you need:

Yarn

4 inch pin loom (I use the Zoom Loom)

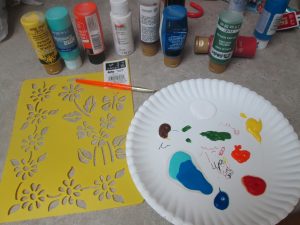
Stencil and paint brush

Paint and some form of paint tray

Scissors, yarn needle

How-to Make a Drawstring Gift Bag

Plain weave 8 four inch squares per gift bag. I sewed the squares together so they were 2 x 4, then folded it in half so it was 2 x 2 with the top open. I always sew on the inside and use the double overcast method. It seems to make the nicest looking join on the front (in my humble opinion) and is sturdy for holding things in the bag.

Next I made a twisted cord. (I started with about 16 feet of yarn, twisted it, folded it in half and let it twist on itself.) Then I turned the bag inside out, folded the top of the bag over the cord, and sewed it to the bag making sure not to sew through the cord. I centered the cord in the bag and tied a knot about eight inches from the bag and trimmed off the rest.

img_3525

I bought several stencils at the store making sure they were small enough to fit on a project 8 inches square. I turned the bag right side out, inserted a piece  of paper in the bag (so the paint wouldn’t soak through to the other side), and painted the desired scene. To give it extra pizzazz, I used a Sharpie marker to add shading.

img_3523


And voila, I was on my way to making the gift bags I needed. Excuse me now, I need to weave more squares for the rest of the gift bags!