Packing yarn is not about going on a trip and deciding what yarn to take with you. Though I’m sure there are some nuances about what to take and how to pack it. This is about how to straighten yarn strands on the loom between weaving passes.
The Problem
When you weave your yarn through the pin loom, the strands above get pushed out of alignment. It just happens. And that’s a problem because you need to weave above that next strand but there’s not much space to work with.
This problem will continue…from the first weave to the last. Let’s take a look at the problem.
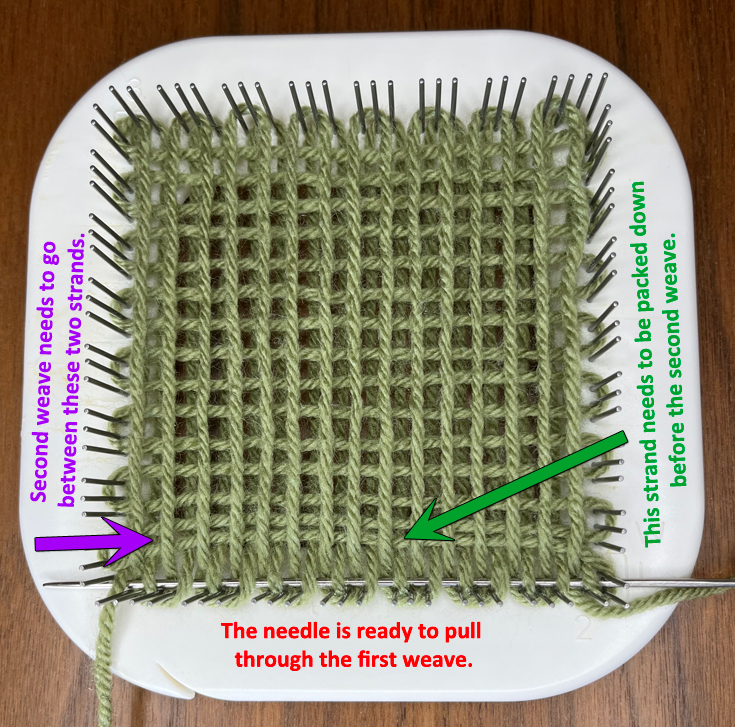
The yarn needle pictured above has been woven through the first row on the pin loom. It is ready to be pulled through. You’ll notice the next horizontal line has risen out of alignment and is very near the third strand. On your next weave, you need to weave your needle between those two strands but there’s not much space.
The Solution
After you draw your needle through your weaving, you’re ready to start packing. Packing means to compress your strands to the bottom of the loom. Packing not only helps align the yarn for your weaving, but it helps create a beautiful fabric by compressing previously woven strands which will make your weaving look more crisp and even.
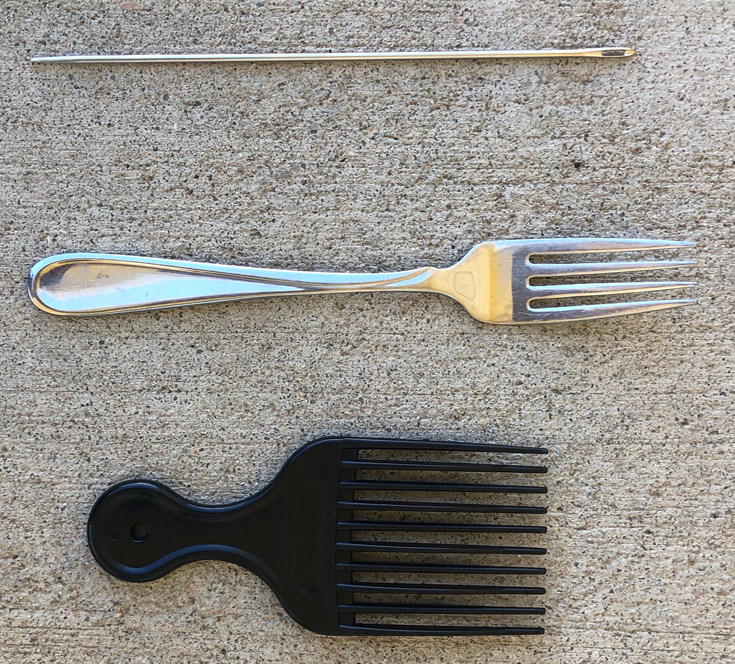
There are a few options for packing. You can use a packing comb, a fork, hair pick or the needle you’ve been weaving with. Experiment with them to see which method or combination of methods you like best. We’ll discuss them in a little more detail below.
No Packing Comb, No Problem
To straighten weaving strands, you use a packing comb to comb the strand you just wove as well as the next strand to the bottom of the loom. A packing comb is kind of like a metal pet comb. Generally it’s a slender piece of wood with tines. Don’t have a packing comb? Try one of these options:
Pack With A Dinner Fork
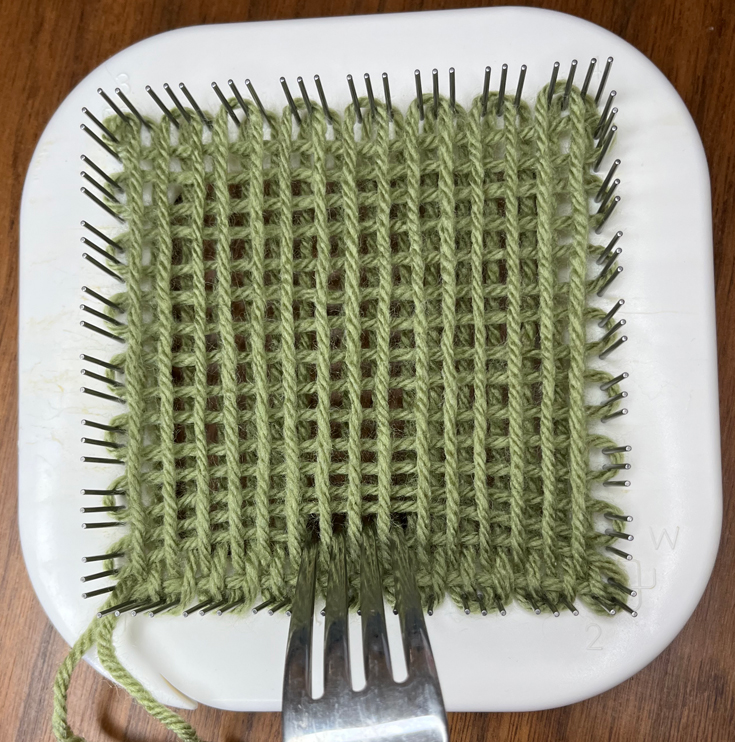
You read that right. The tines on a dinner fork tend to be just the right width for packing weave strands. Place the fork above the strand to be packed and pull it toward the bottom of the loom. You will repeat this process several times moving the fork to the left and right to pack strands across the row.
The down side to using a fork is that it’s narrow. You’ll need to move it many times to pack the strands.
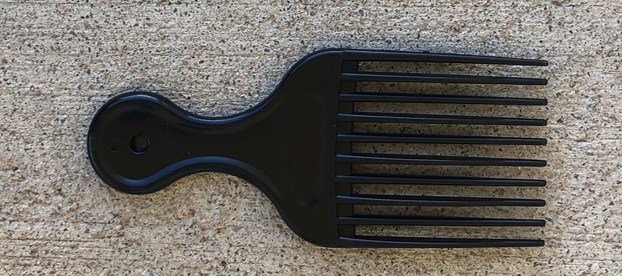
Pack with a Hair Pick
The process is the same as using a fork. Place the pick above the strand to be packed and pull down. The obvious benefit to this over the fork is that it has more teeth and can pack more threads at once. The only down side is that it’s one more tool to keep track of.
Pack With Your Weaving Needle
The packing won’t be as tight, but you can just poke at your work with your weaving needle to pack your threads. This is obviously the slowest method, but the benefit is that you don’t need an additional tool. This method works well when combined with the following packing method “Pack As You Weave”.
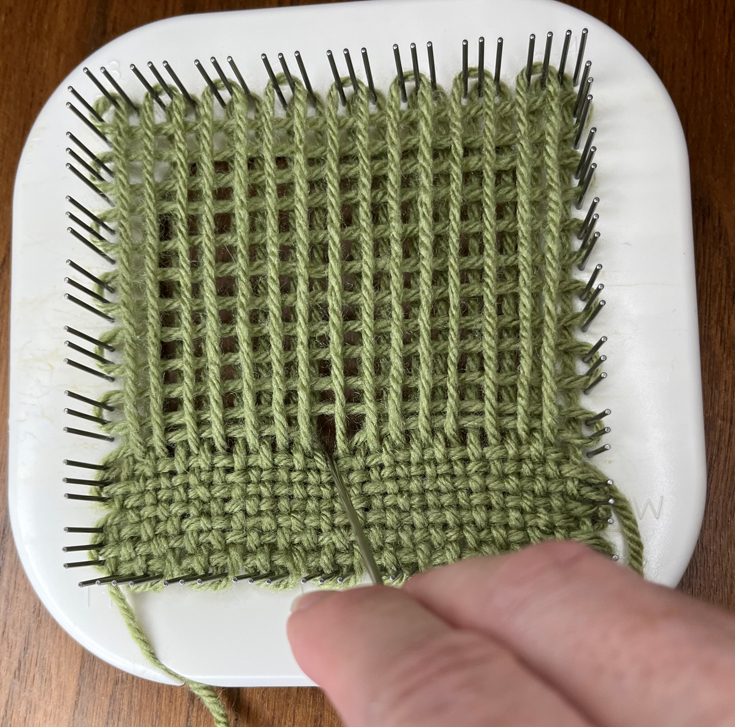
Pack As You Weave
The yarn needle itself can be a packing tool. Weave most of the row, then press the needle down toward the bottom of the loom to try to smash all the previous woven strands together. I know, not very elegant, but very effective! Packing as you weave will open up your current work area as well as compress your previously woven strands.
This doesn’t solve the problem of the creating space for the next weave, however. So you’ll need to you use this in addition to the method mentioned above “Pack With Your Weaving Needle”, then you won’t need any special packing tools.
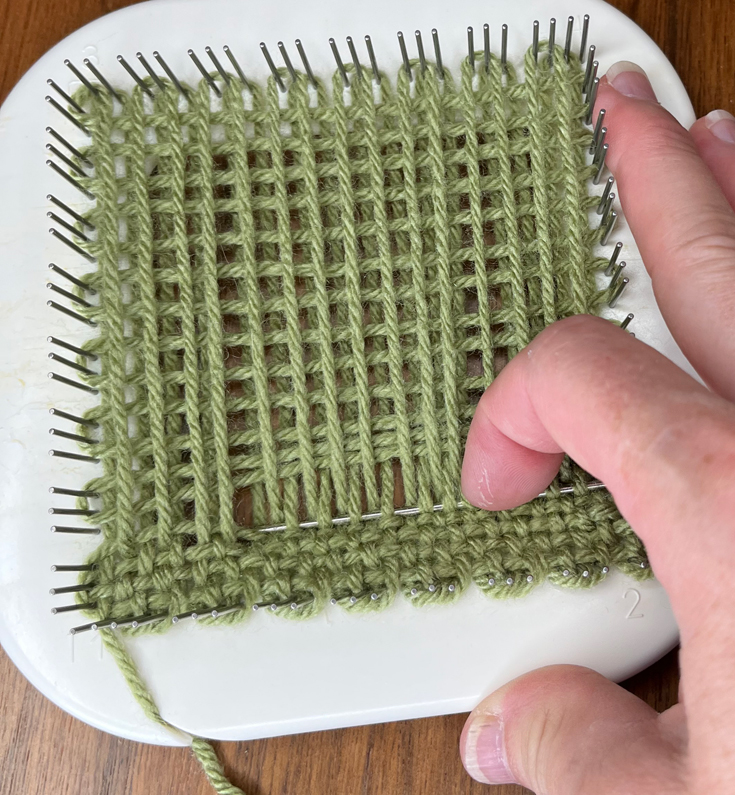
We’ve used all of the methods mention above. And they are all great. We have woven so many shapes and misplaced our packing tools often enough that we pretty much just pack as we weave and pack with the weaving needle.
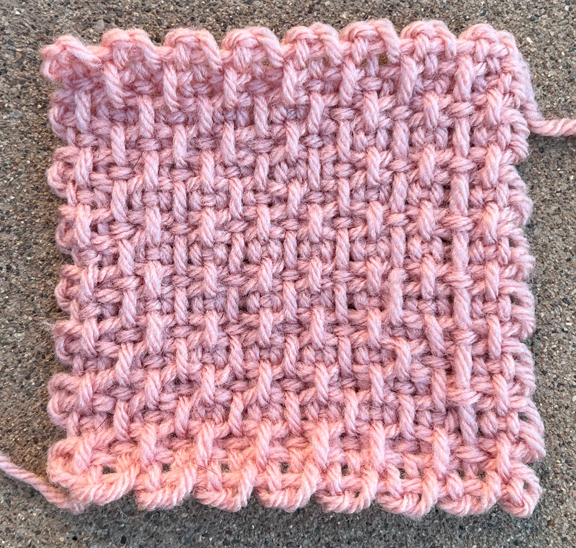
Take a look at the following image of a pin loom woven square. It was packed in our preferred style. It created a nice looking weave even without the use of a special packing tool.
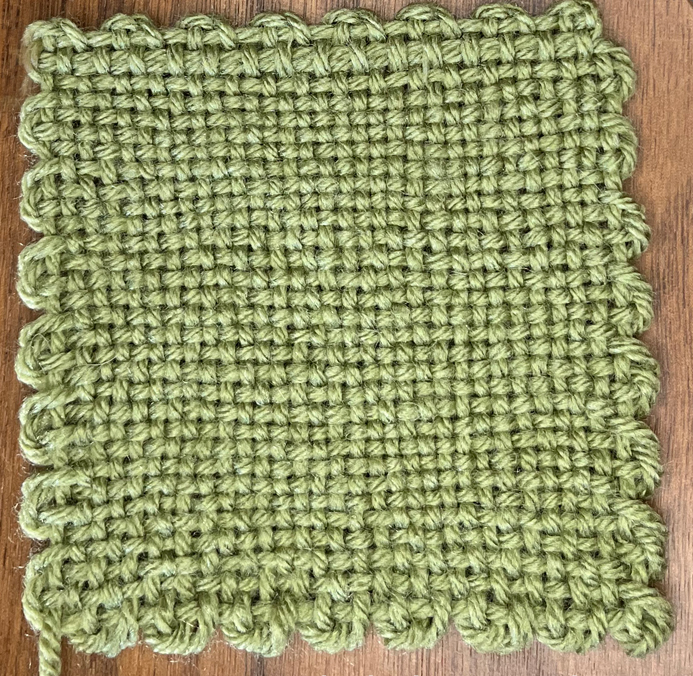
Now that we’ve talked through a few options, it’s time to get packing!
Packing Isn’t So Hard
As mentioned previously, the last few rows can be more challenging to weave. But that’s not always true. If you weave patterns that go over 1, under 3, for instance, packing is easier because the weave is looser. A great example is Loomette Weave #1 which we blogged about.
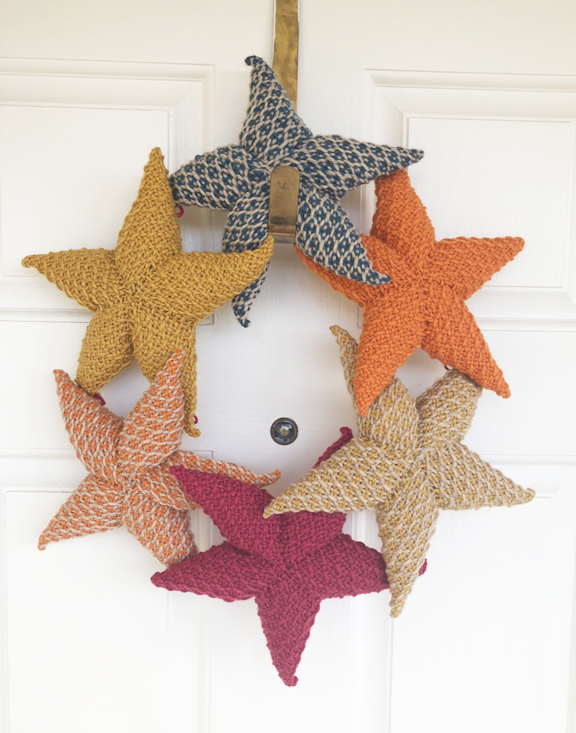
An example of a project where the packing was easier is the Starfish Trio. The cushion star was woven with two different colors of yarn in a weave pattern of over 1, under 3.
